Morning everyone,
the sun is out, my windows are open and the beach is calling…
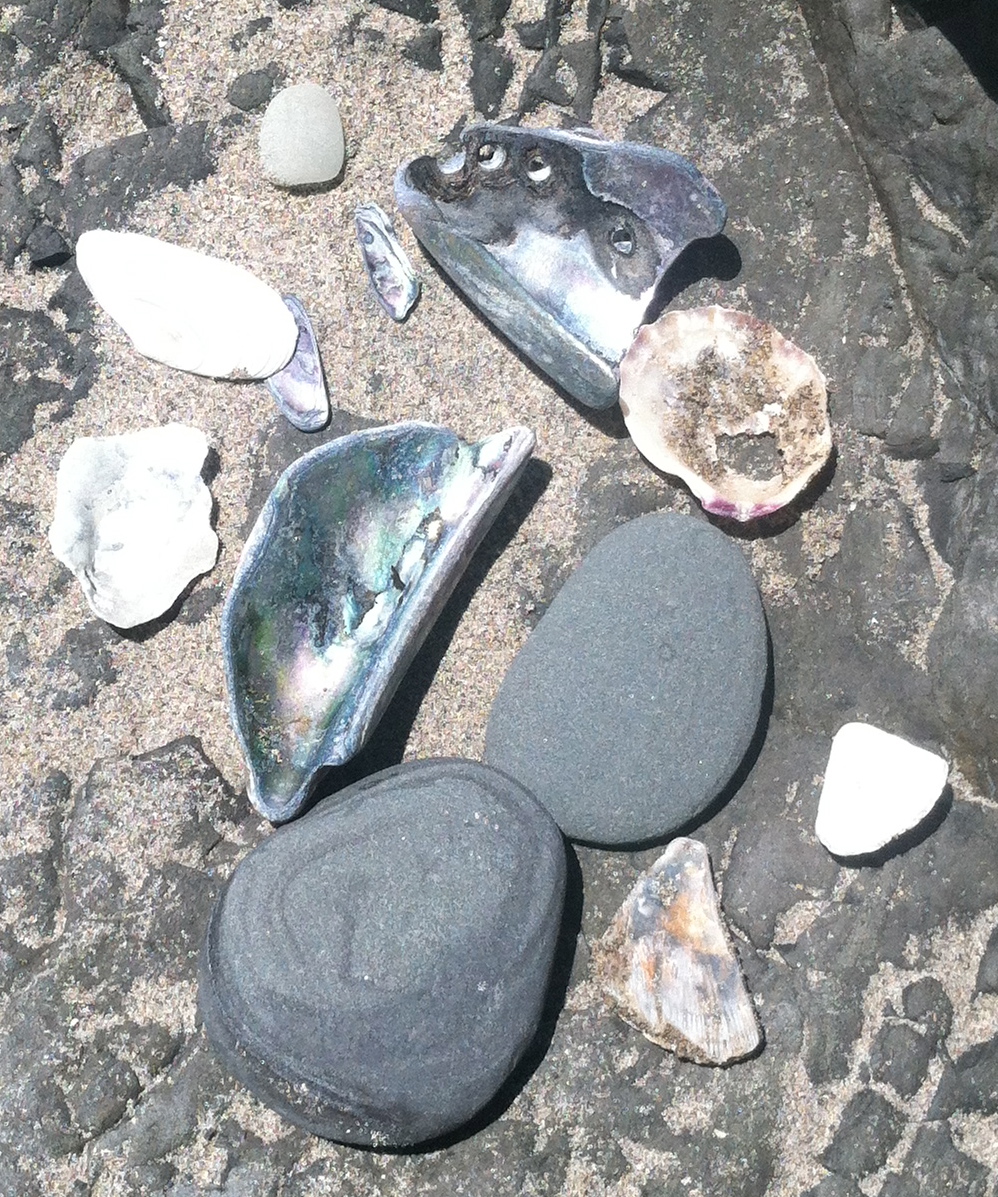
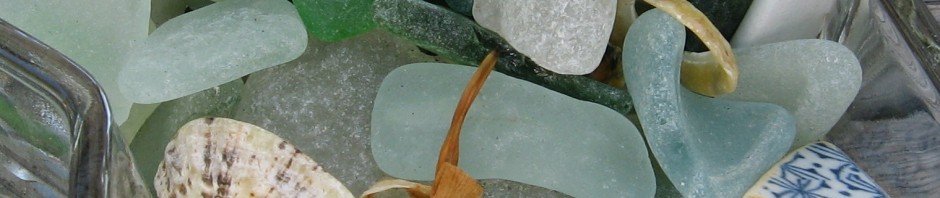
Beach Finds : Green Plum Design
This seems like just the right moment to answer the question that I am asked all the time at this time of year.
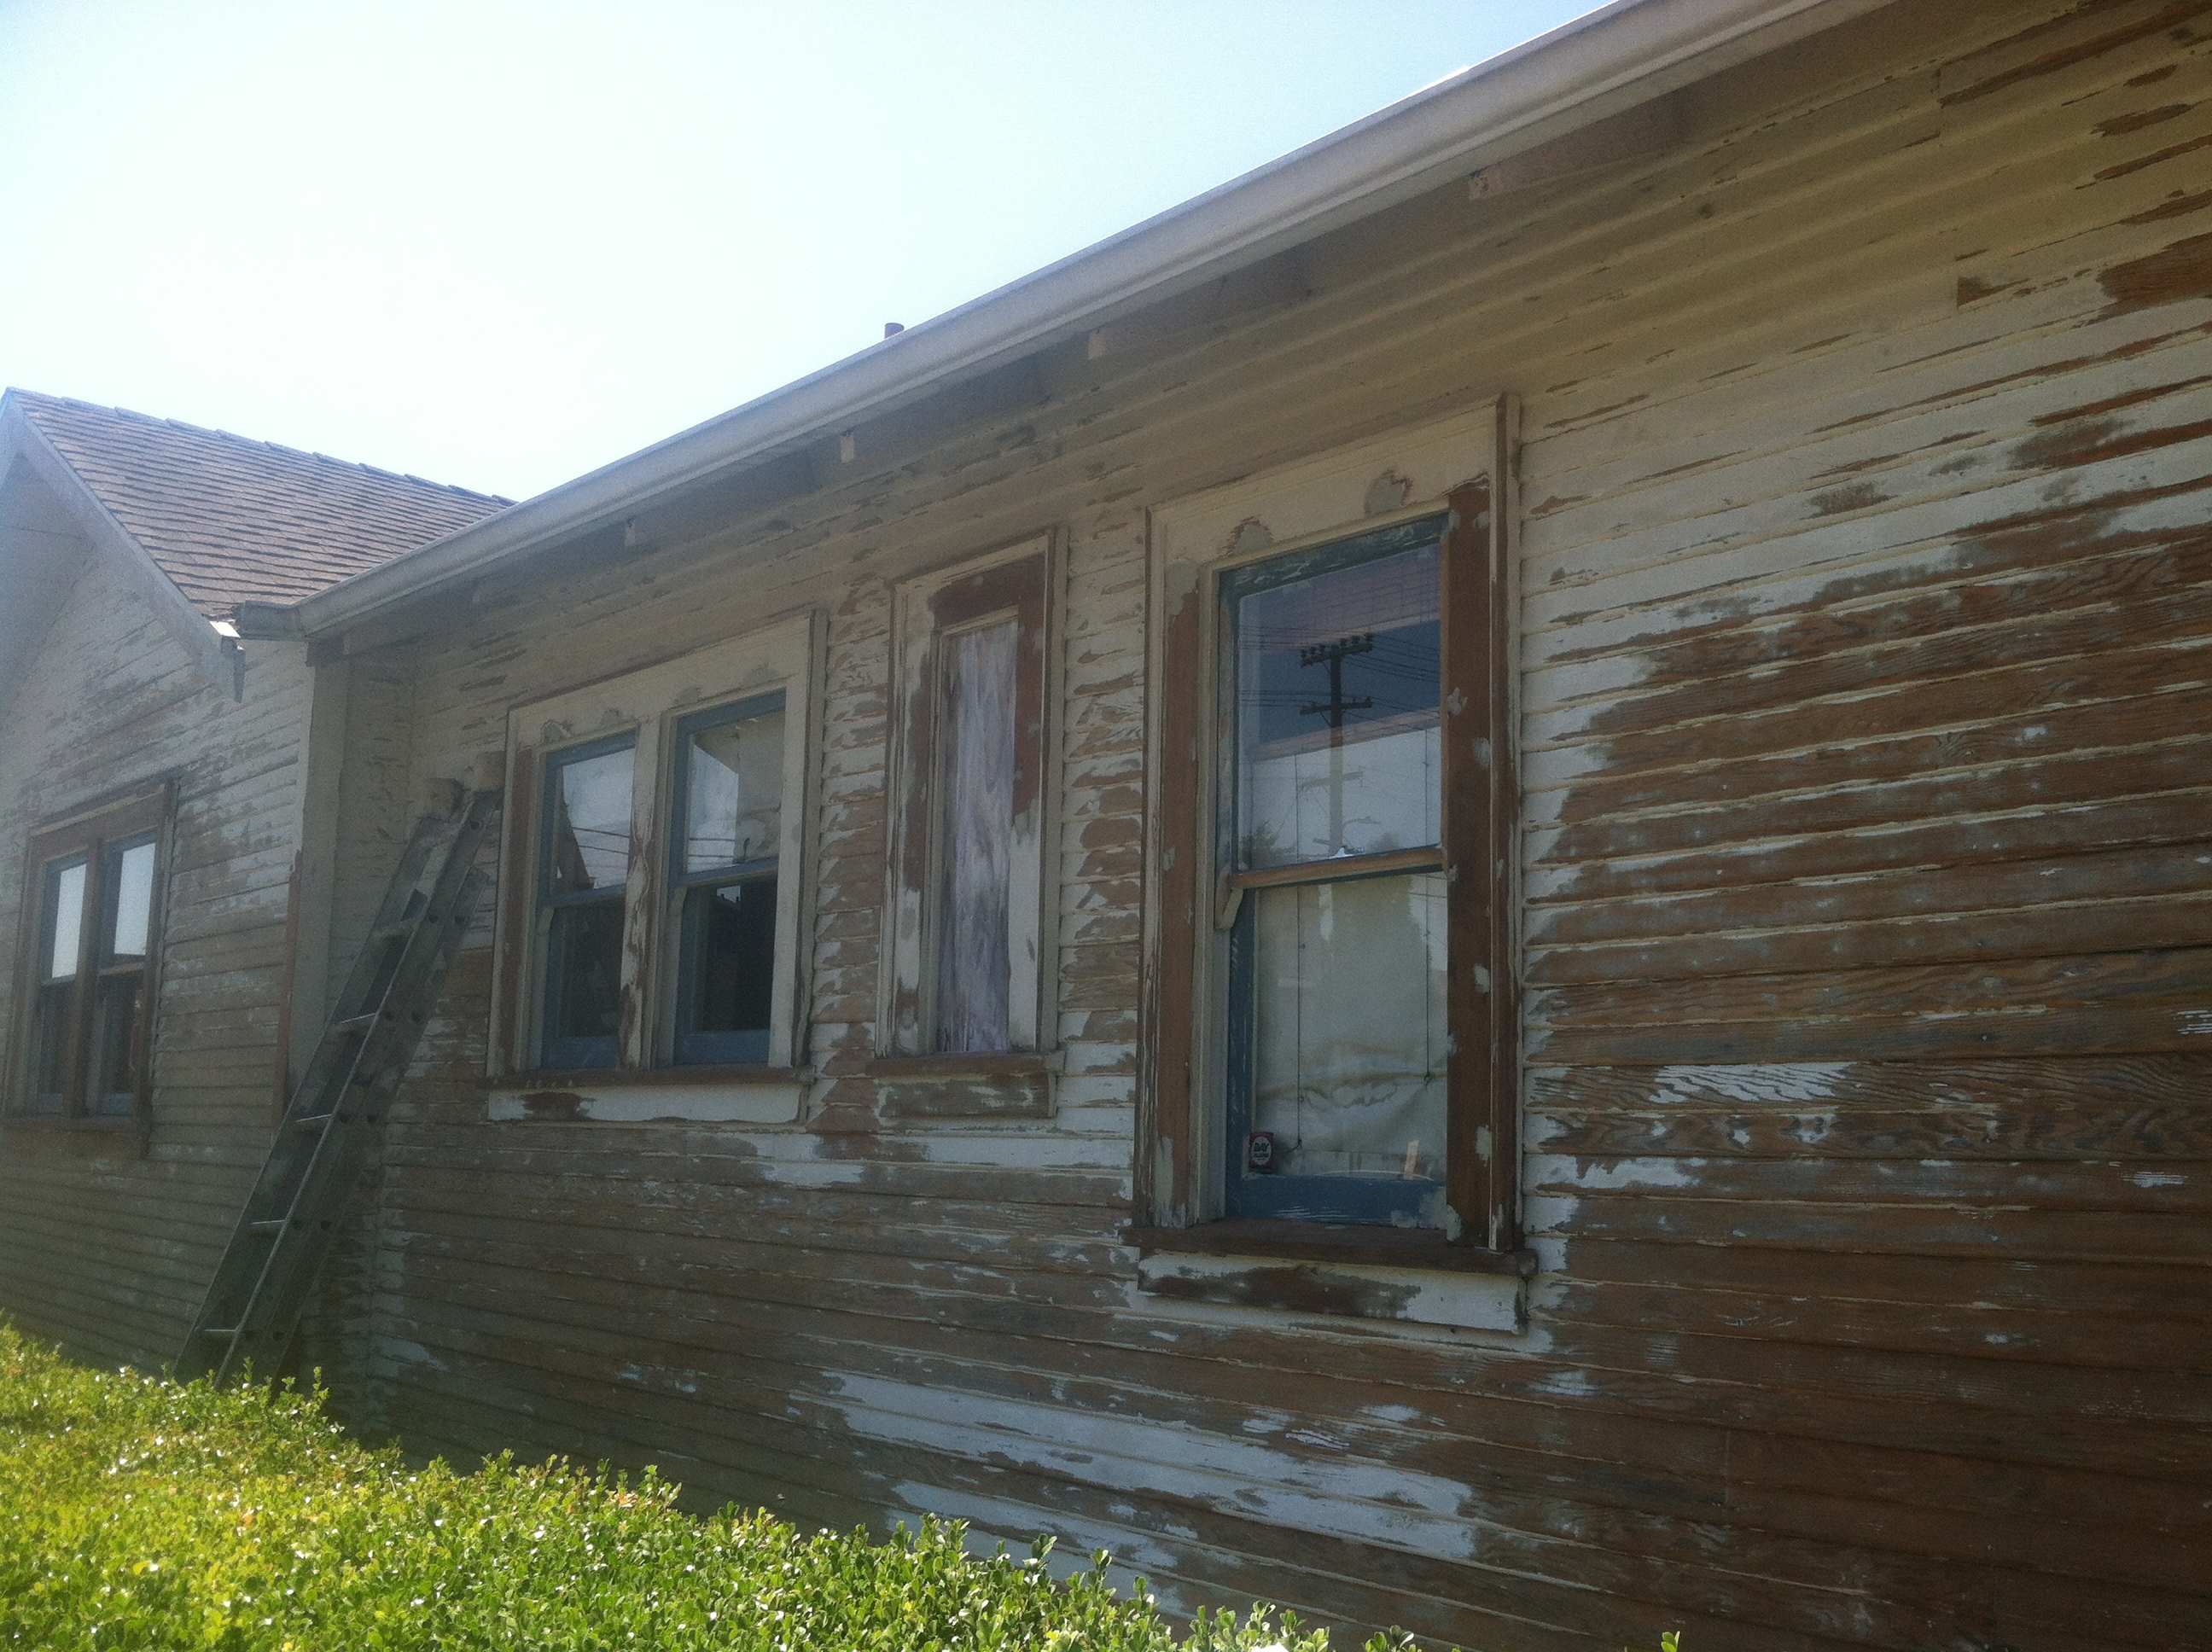
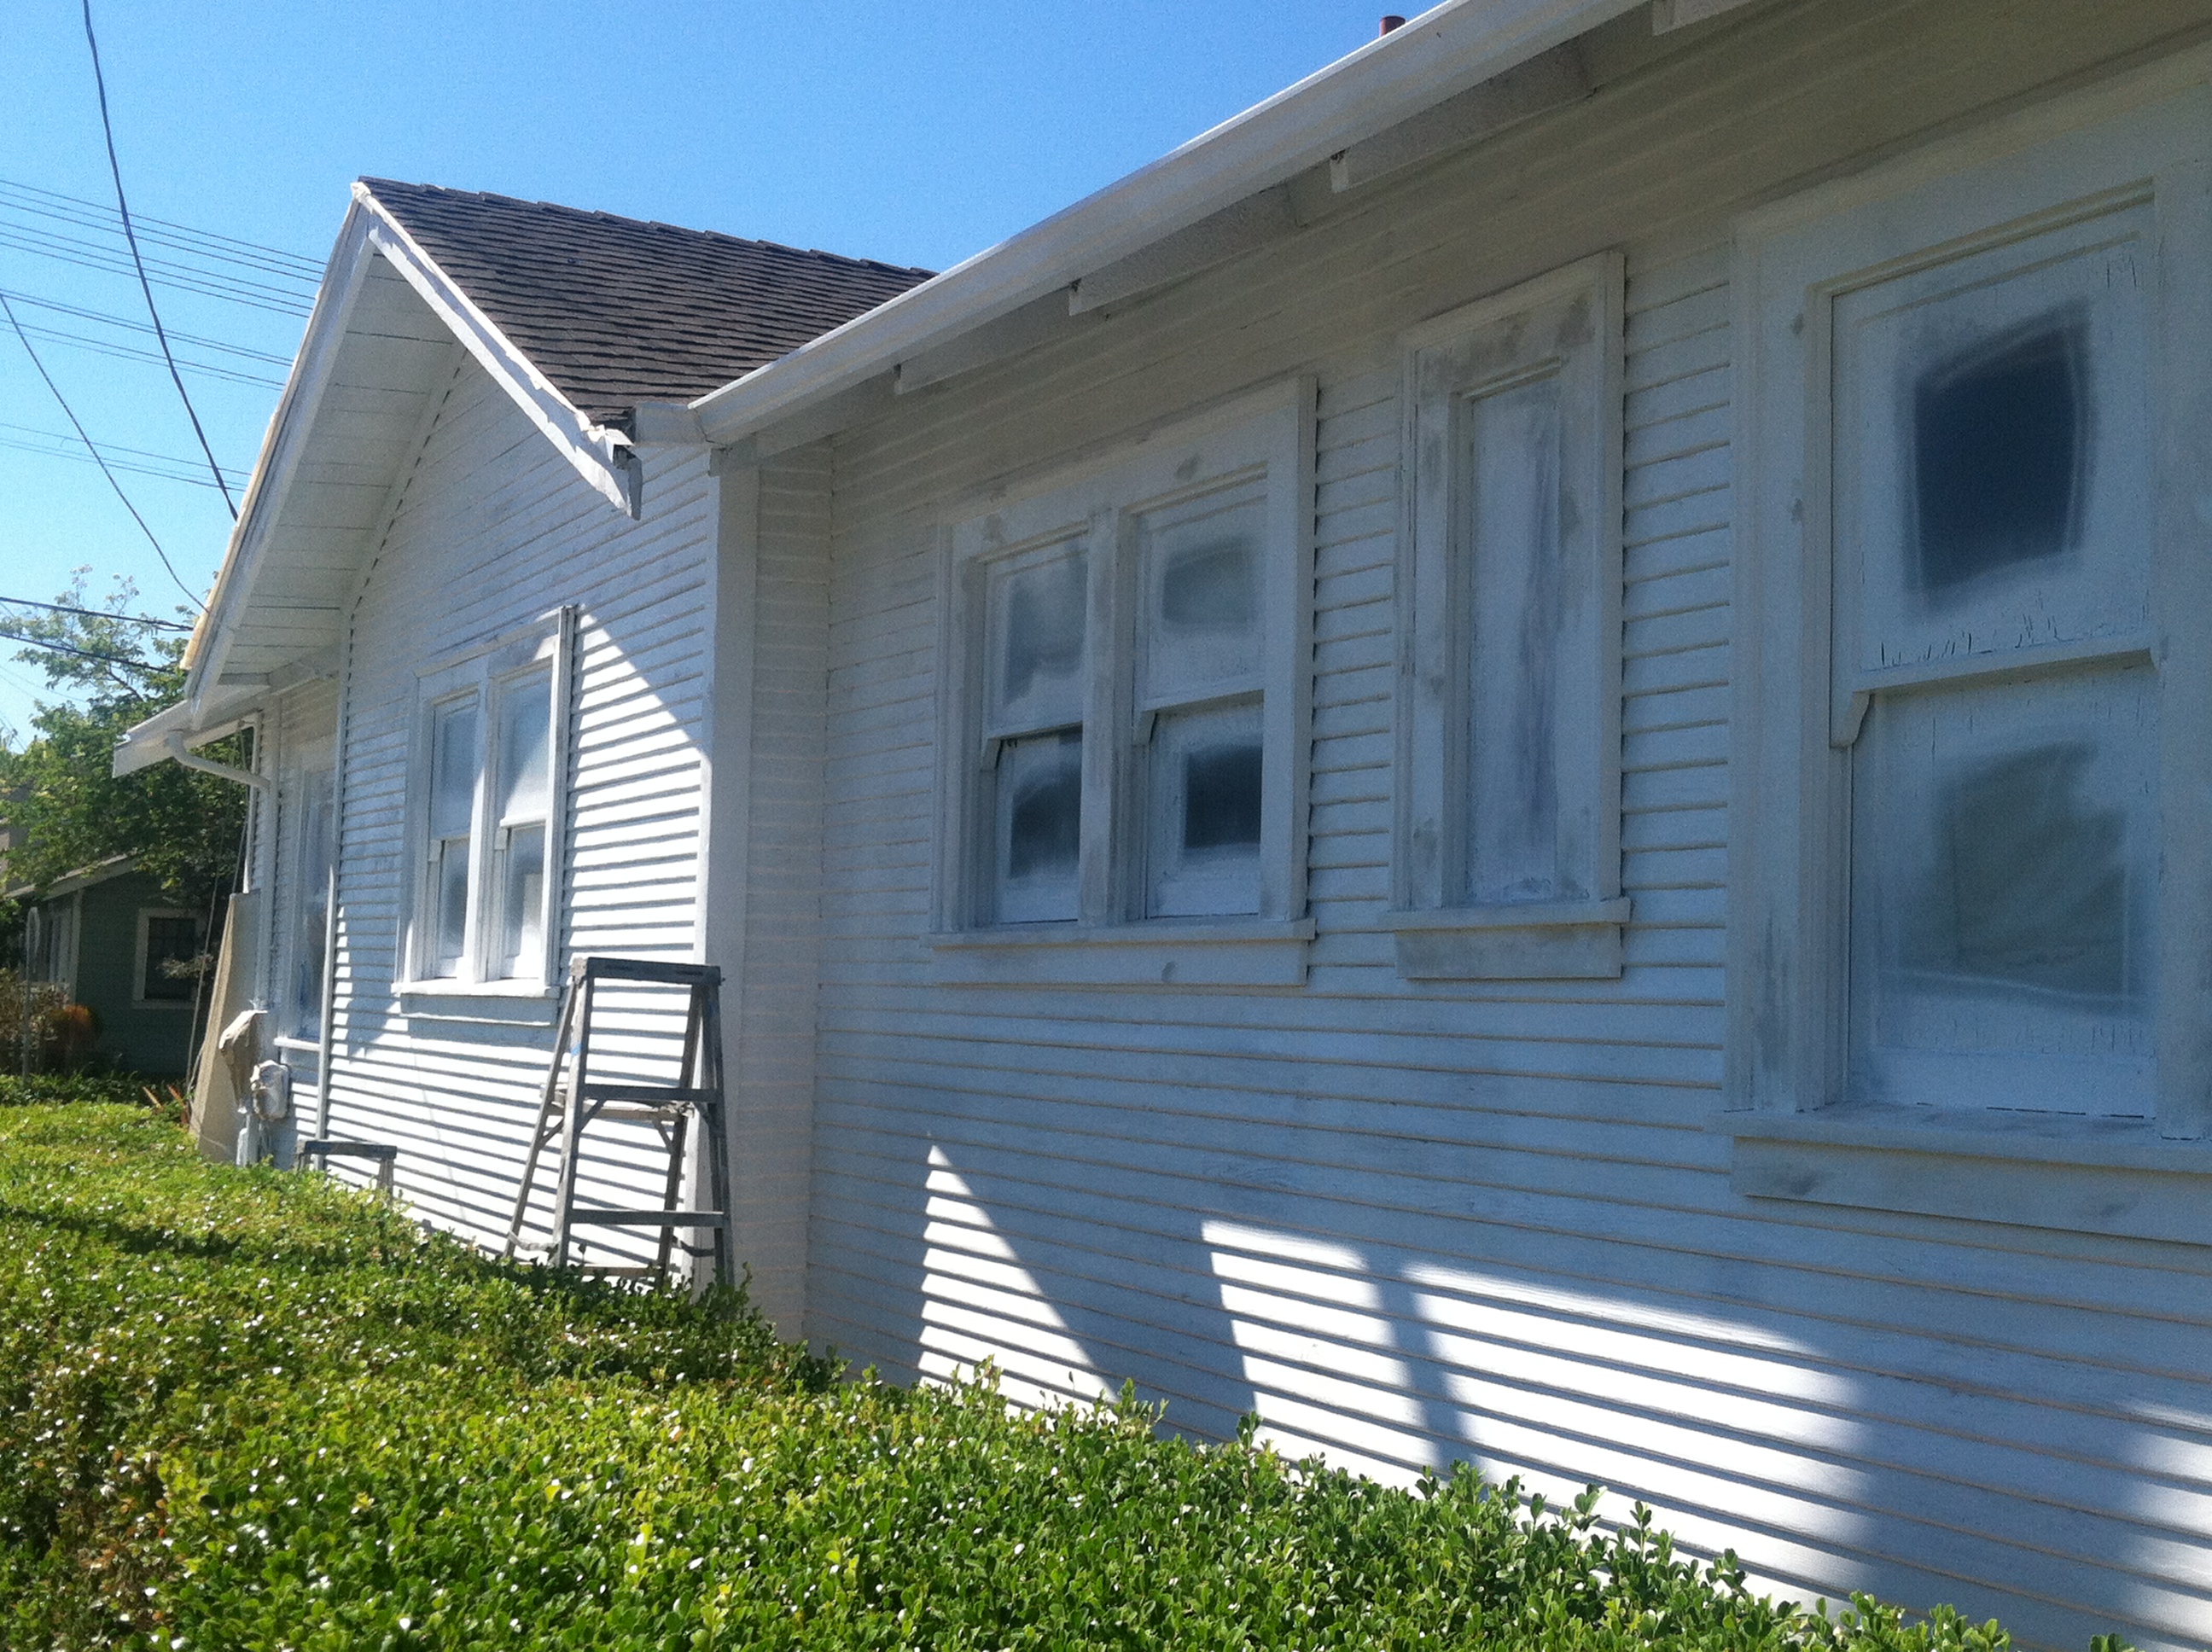
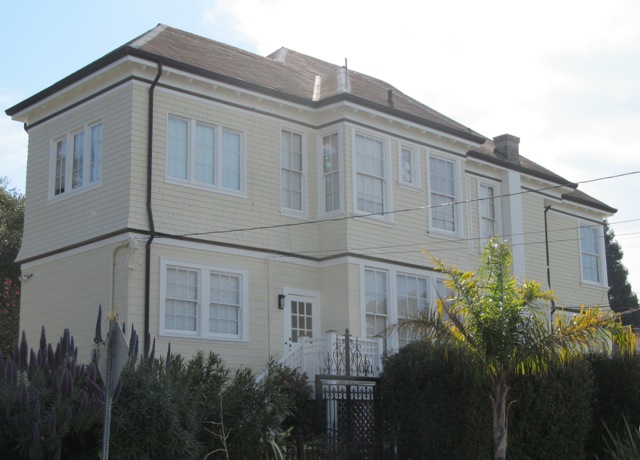
Picture the scene – I am standing with a client next to their beautiful wooden home. The sun has been doing its Californian best to blast it with its rays for the last fifteen years.
The paint has cracked and is peeling away from the wooden boards. Little pockets of dry rot sit quietly in the corners of the windows on the shadowy side of the house. Mildew is forming at the bottom of the fence. Layers of dust and cobwebs are looking quite a home in all the nooks and crannies…
“So how are you going to go about painting this house?”
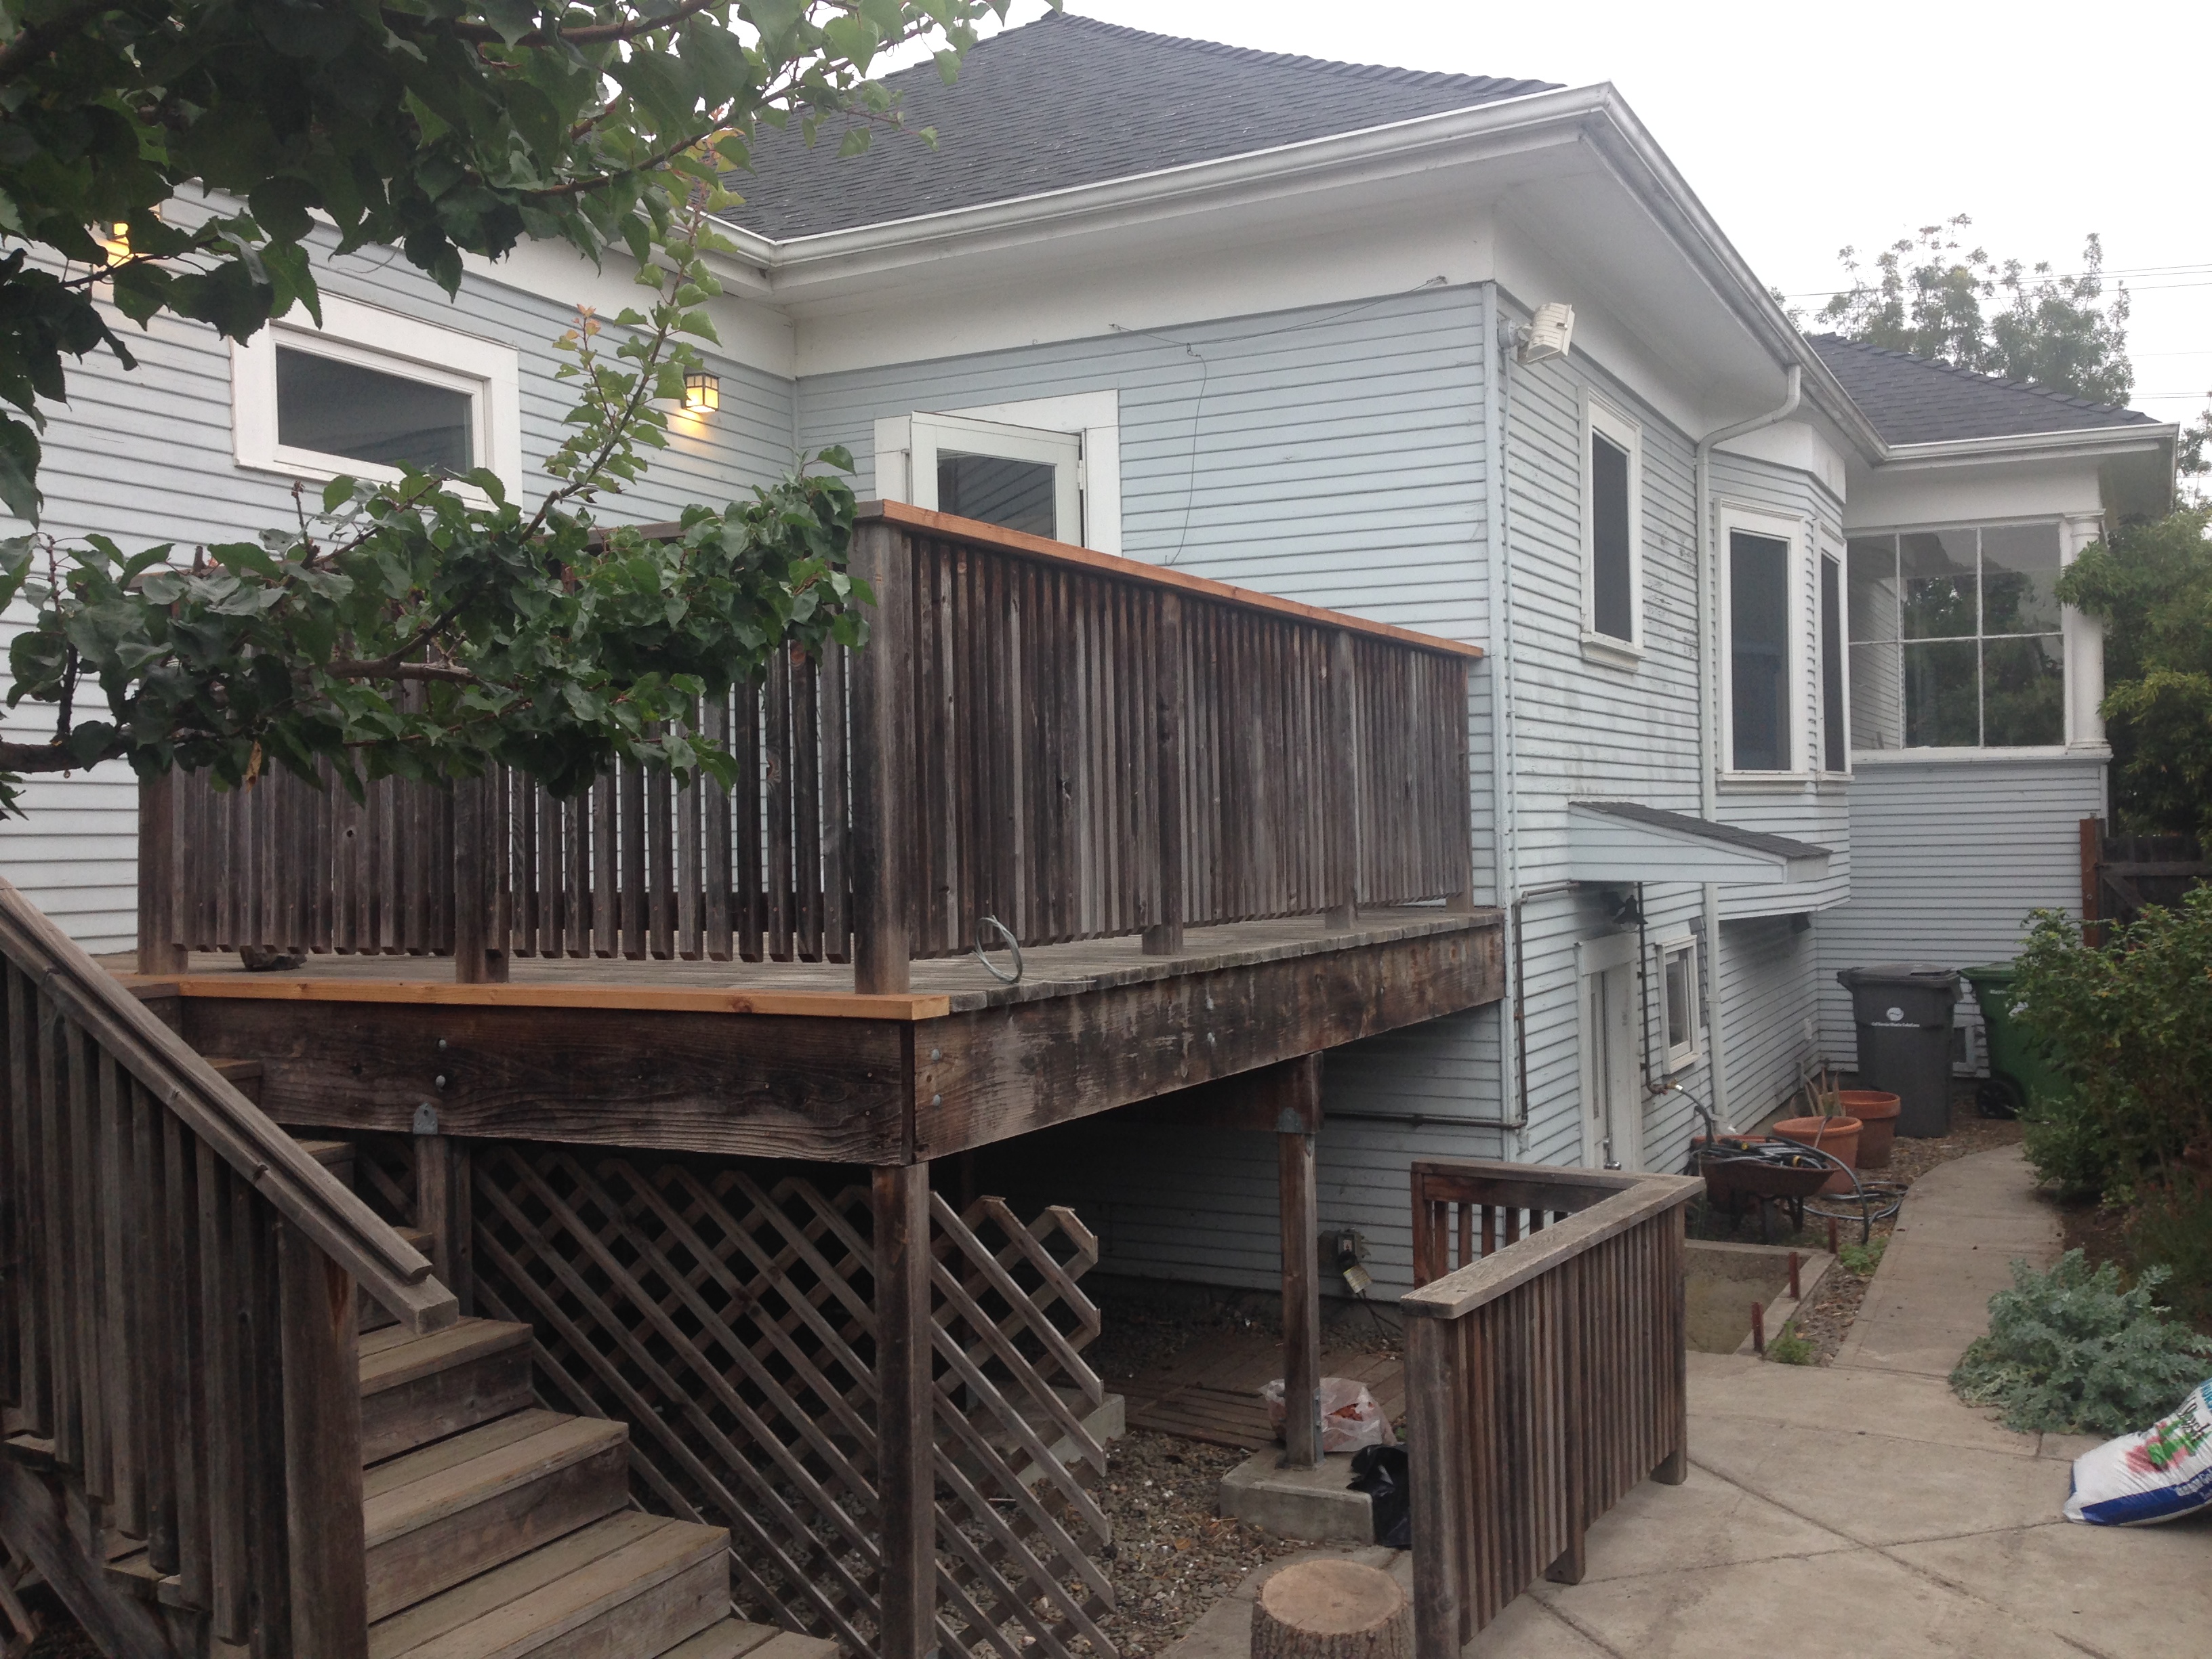
How do you go from here….
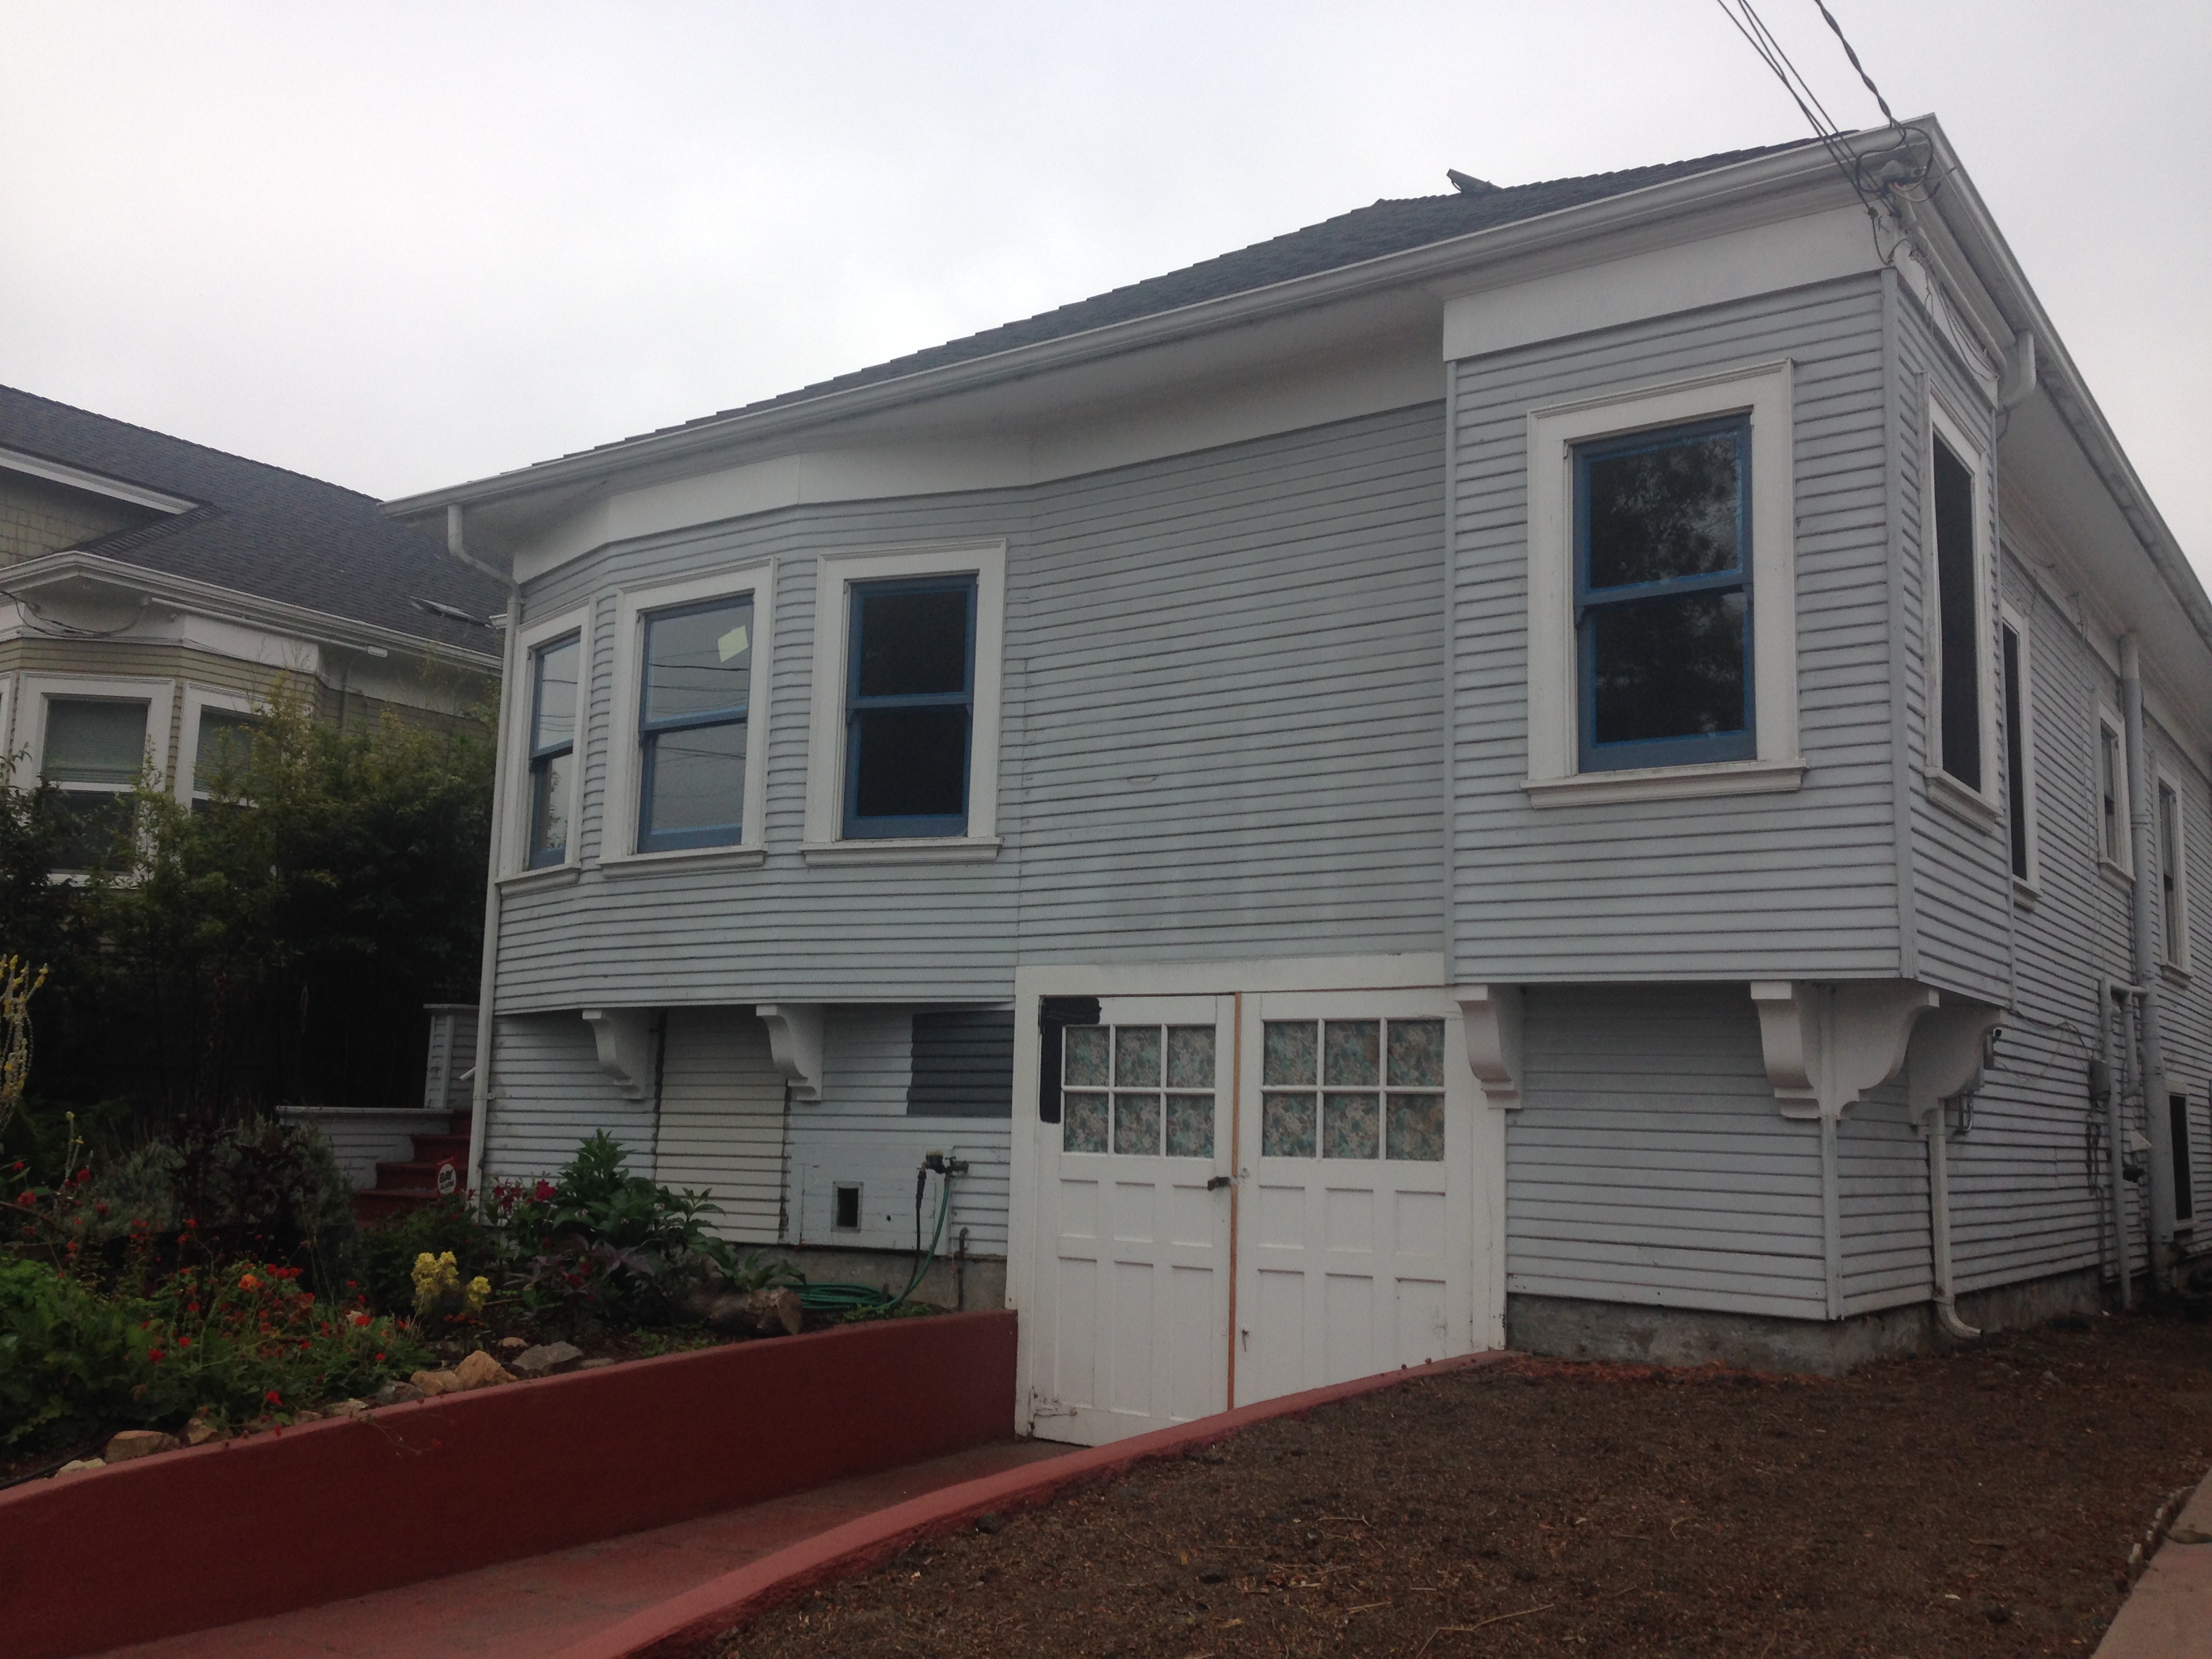
Before: Green Plum Design
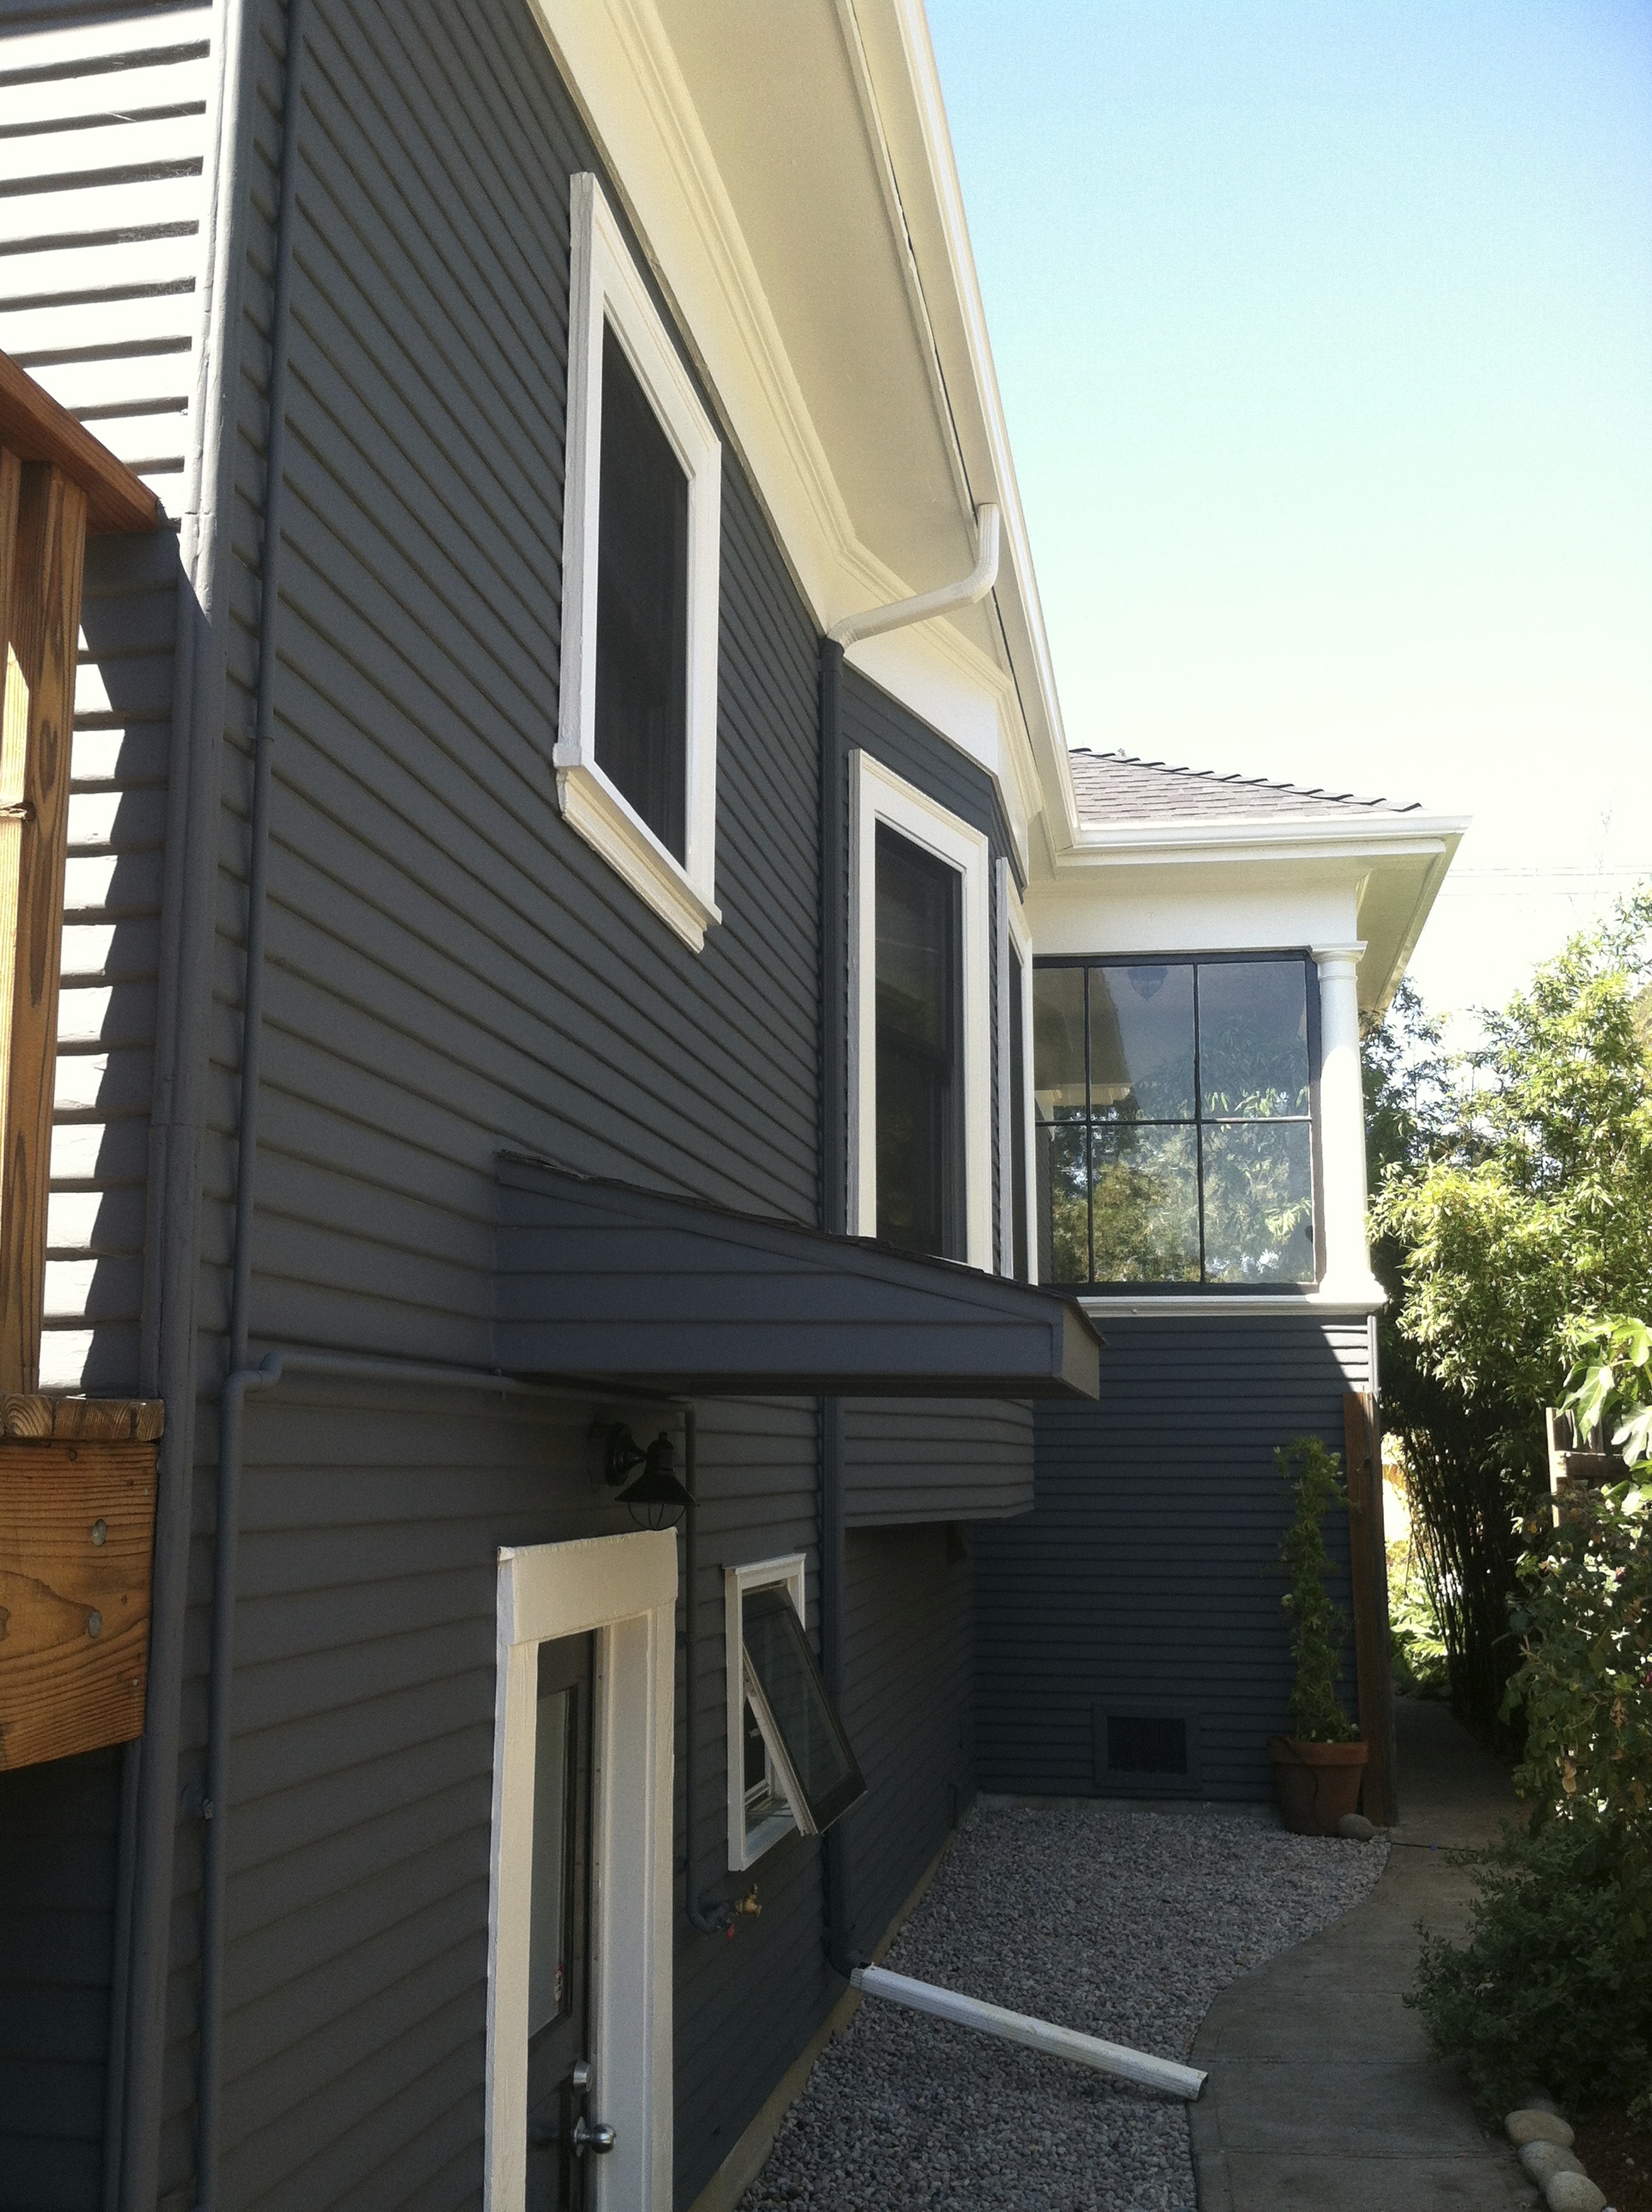
To here?
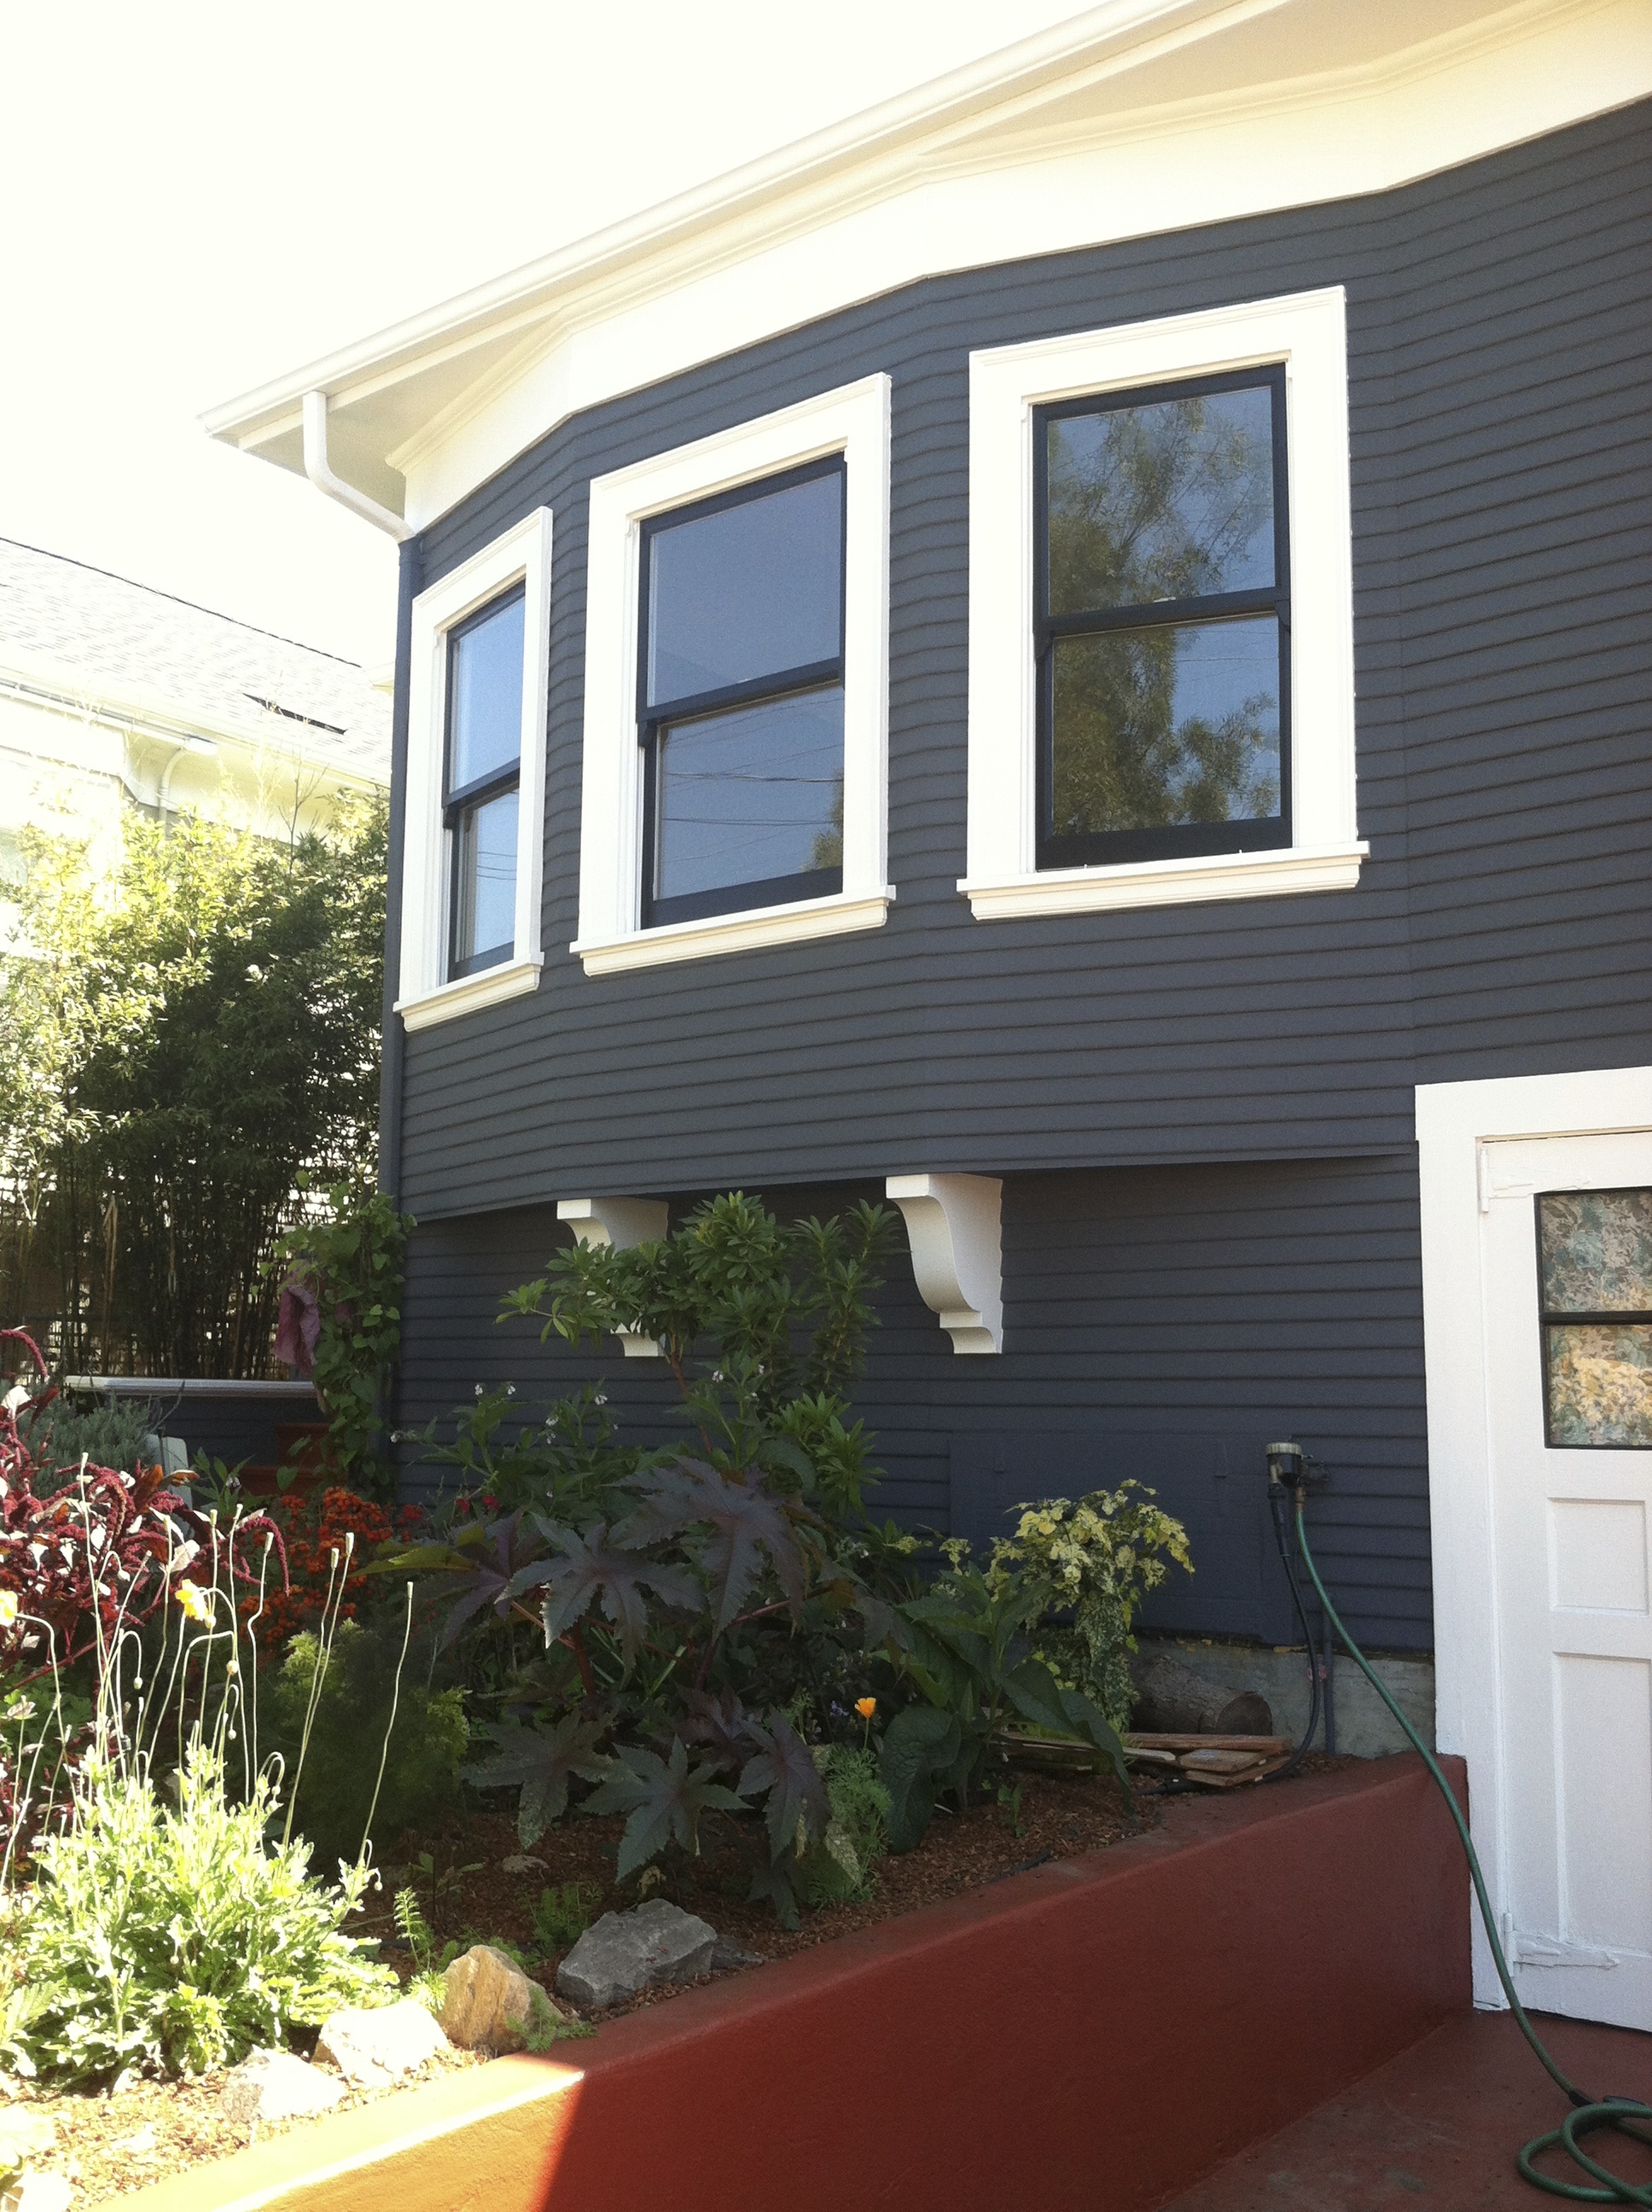
After: Green Plum Design
Or change this…
Before: Green Plum Design
Into this?
After: Green Plum Design
I can tell you it is the most satisfying process. From A to Z in but a few weeks. Painting being only a small percentage of the job. You know what they say – it’s all in the prep work. Never has an over used phrase been so true.
Here’s the sort of thing I might be looking at on day one…
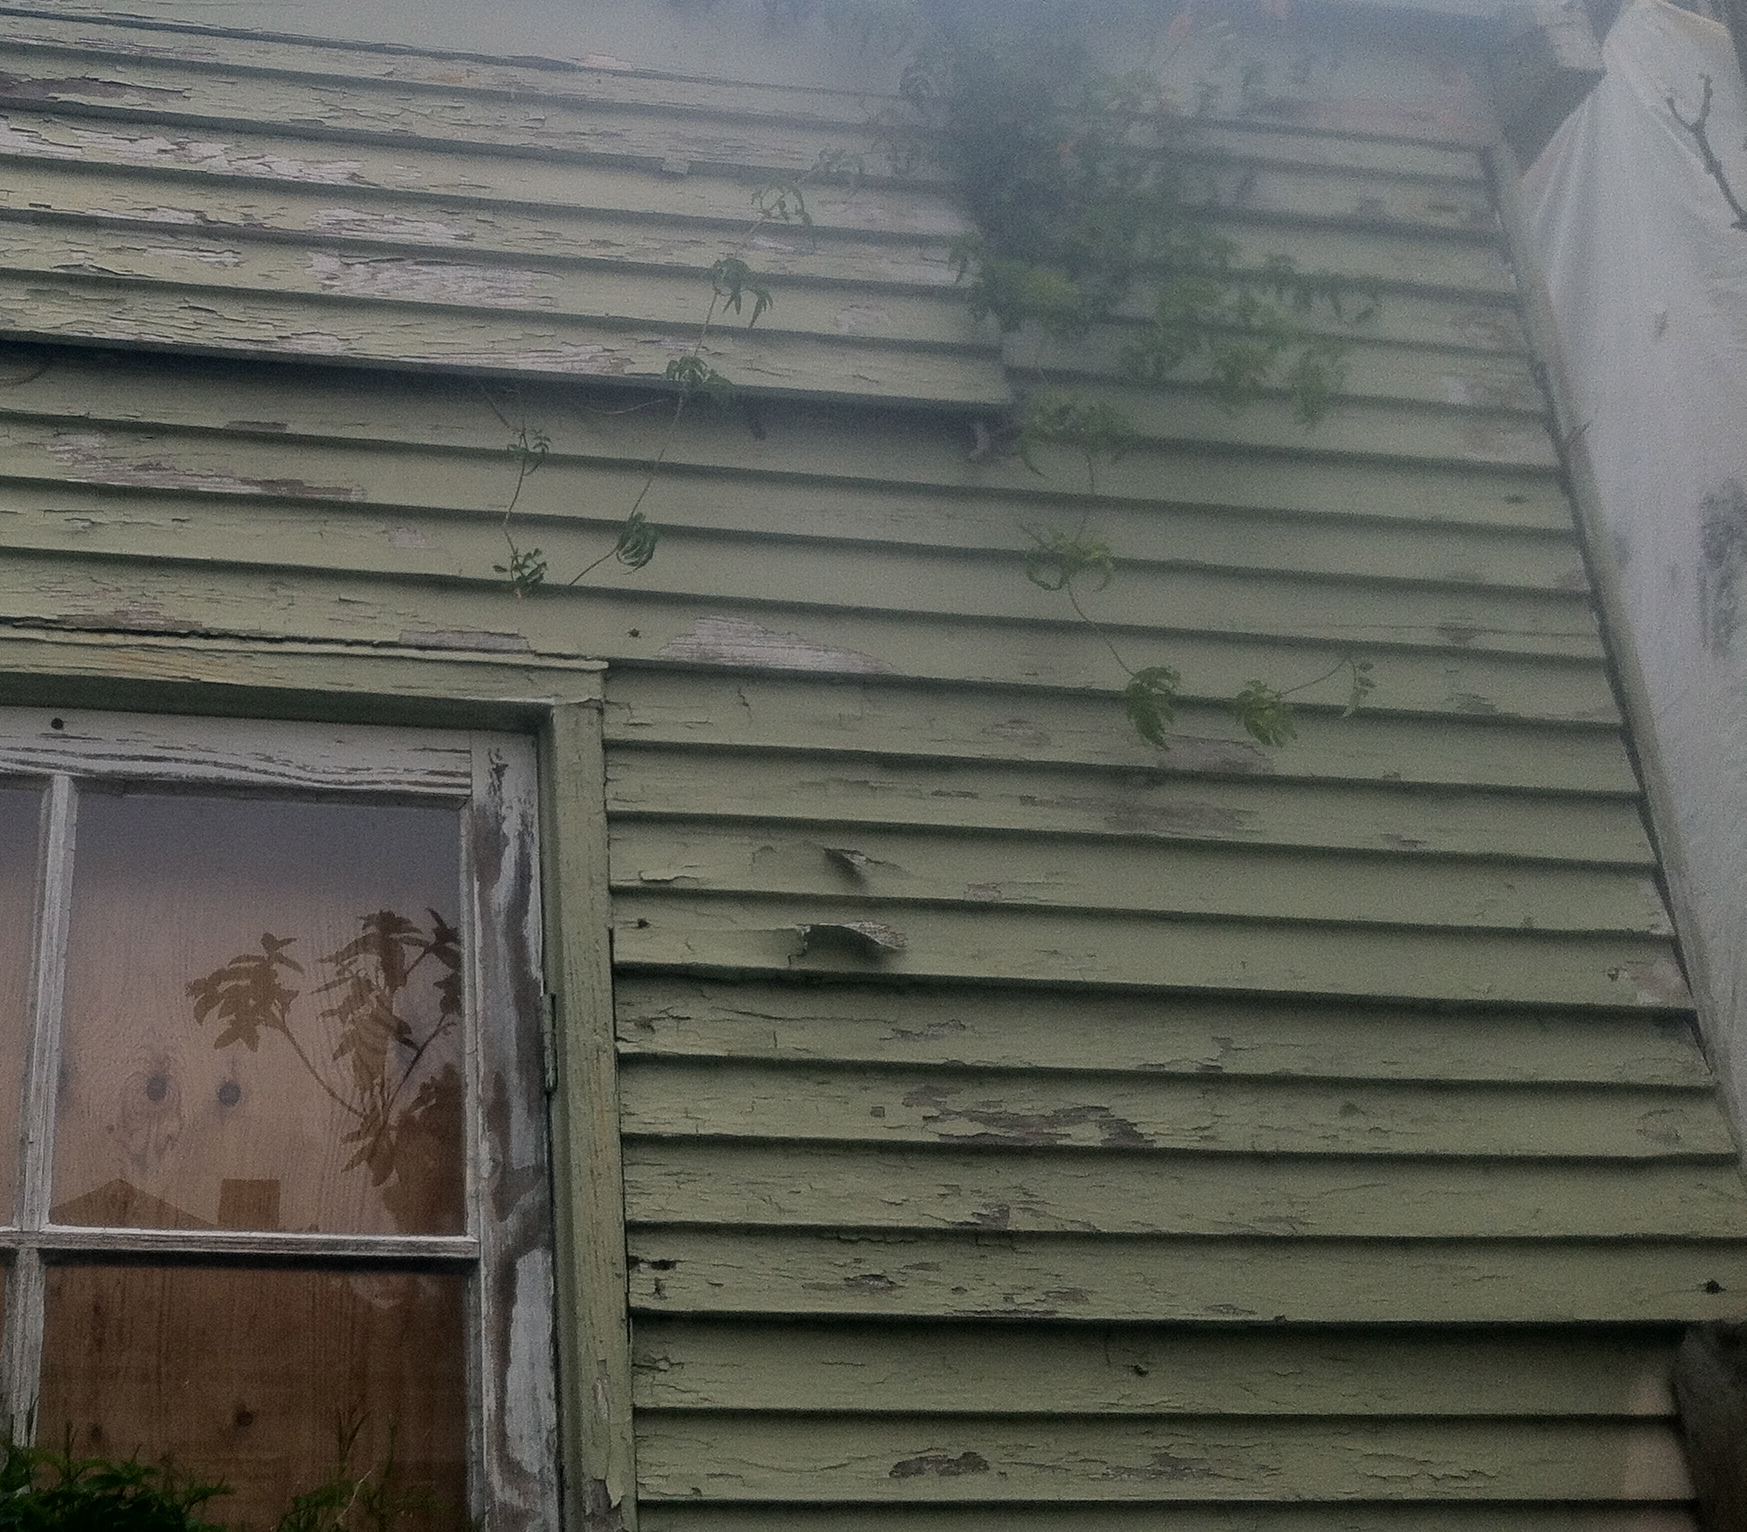
15 years later…: Green Plum Design
Not so pretty but common under the blistering sunshine of the Bay Area. The south side is usually the worst.
If the house was built before 1979, as most of them are, we have to follow all the lead safety regulations, wear the hazmat suits, get the gloves and masks on and lay thick sheets of plastic all around the house to catch any potential lead paint or dust. Once dressed accordingly, we scrape off all the loose paint.
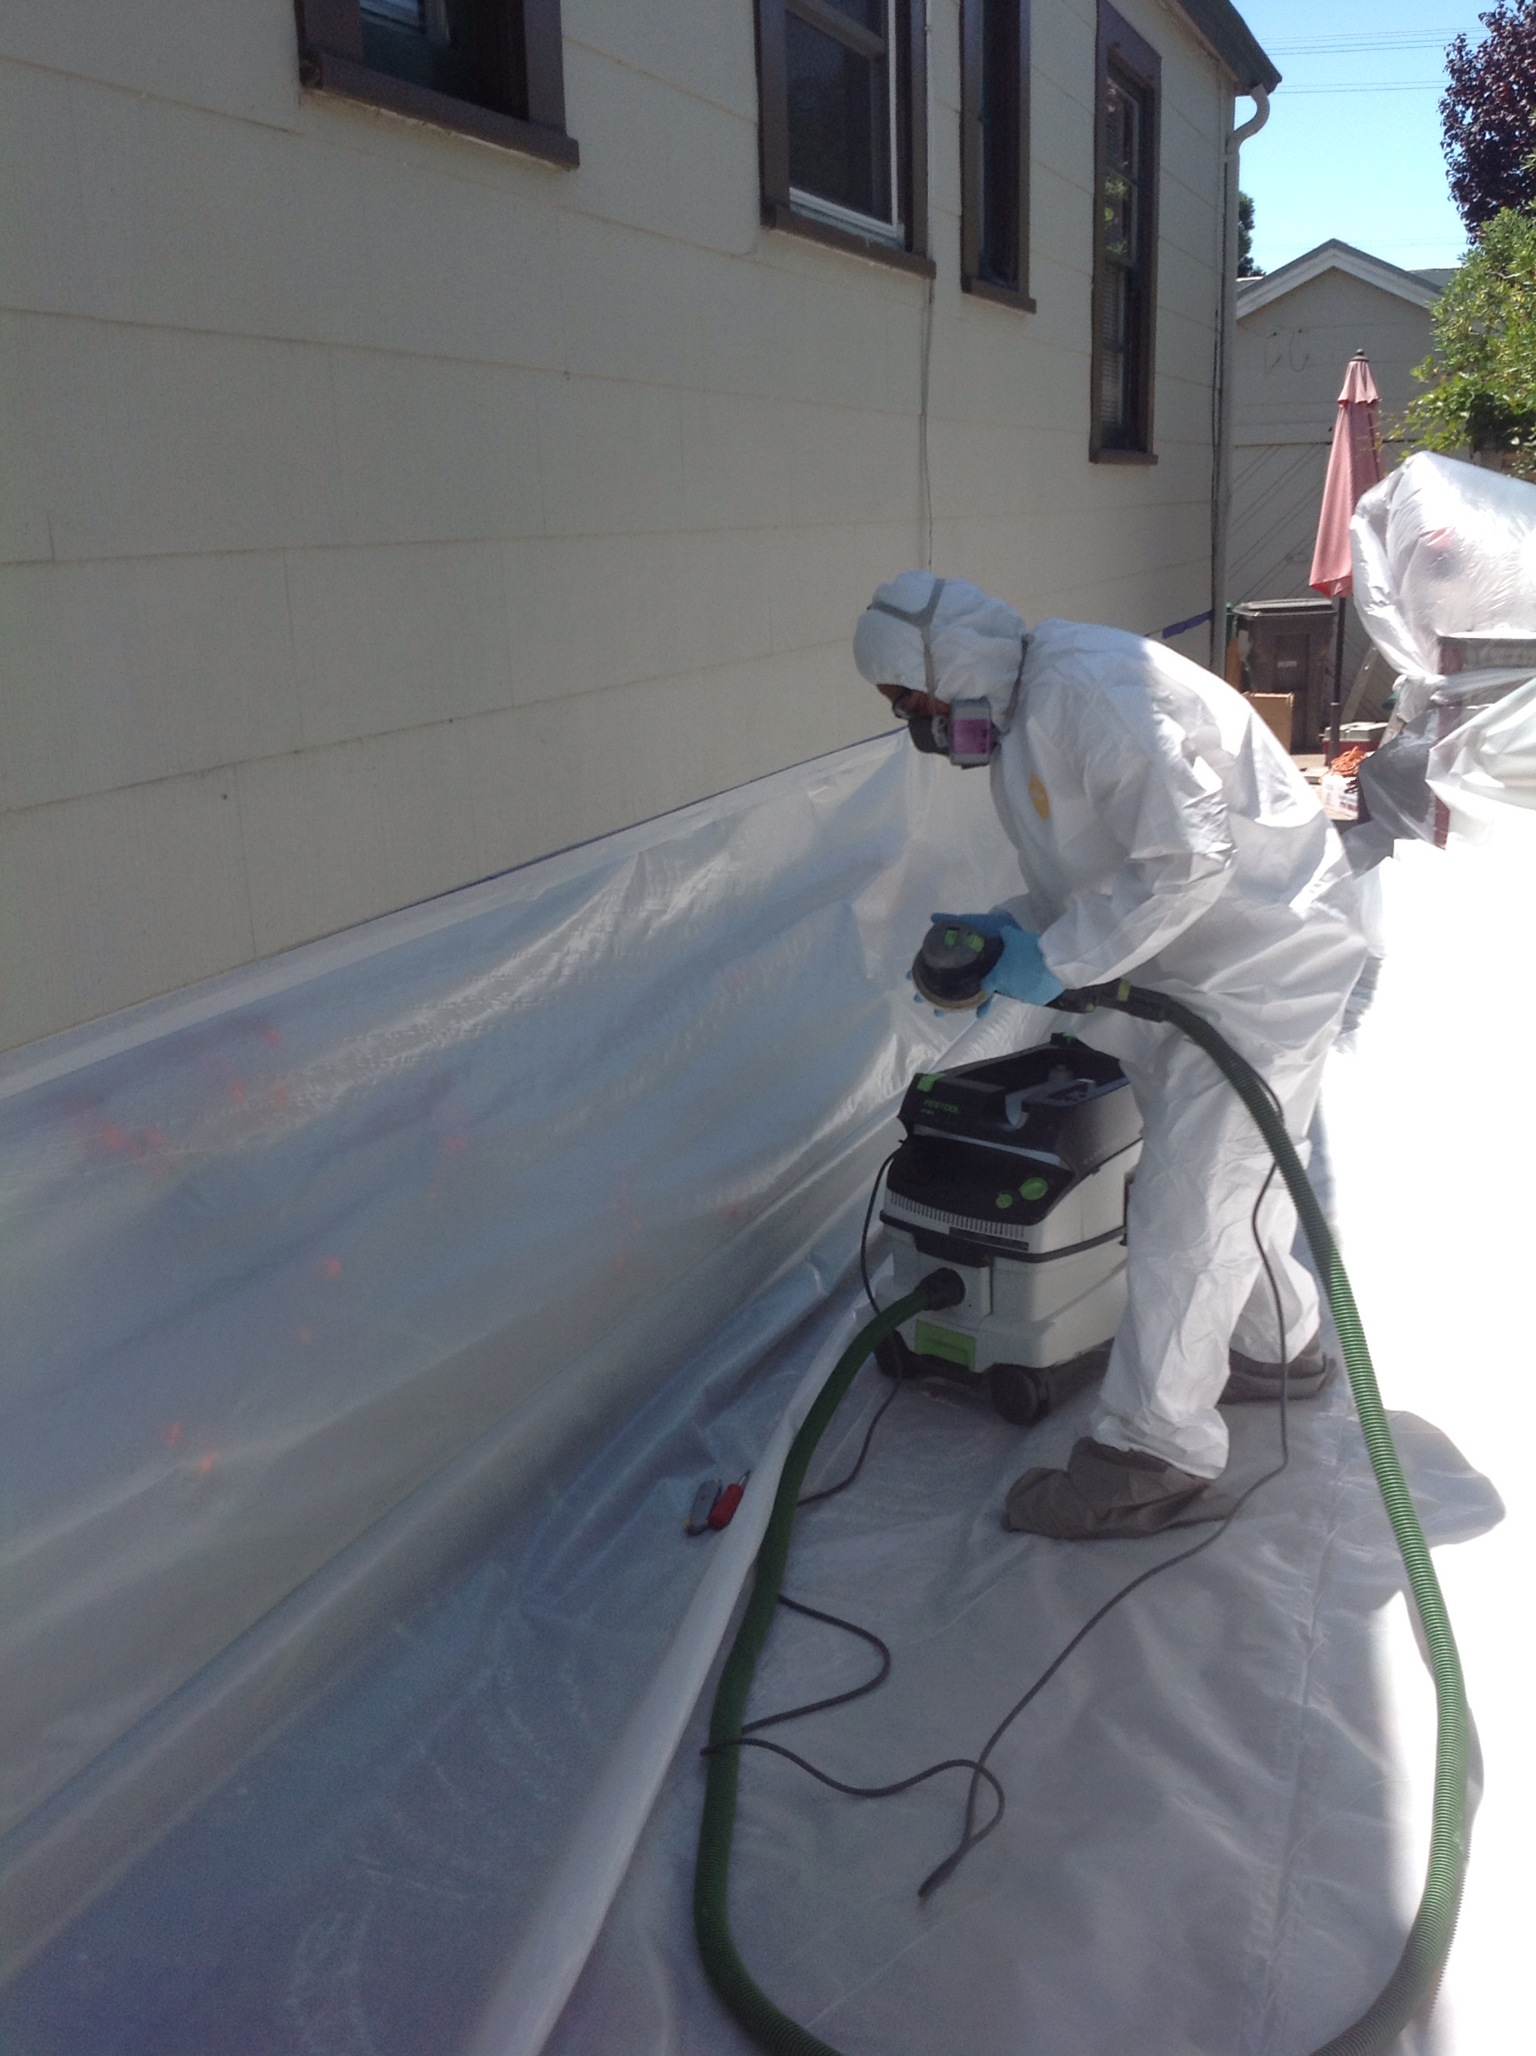
Lead Precautions: Green Plum Design
Followed by a power water wash being careful to close all the windows first… Then the real fun starts. Just like exfoliating a flaky skinned face, we get out our fabulous festool sanders and sand every inch of the wood. Starting with the rougher sanders and graduating to the finer and smoother sanders. The HEPA vacuums ensure that any potential lead dust is sucked away in a sealed container.
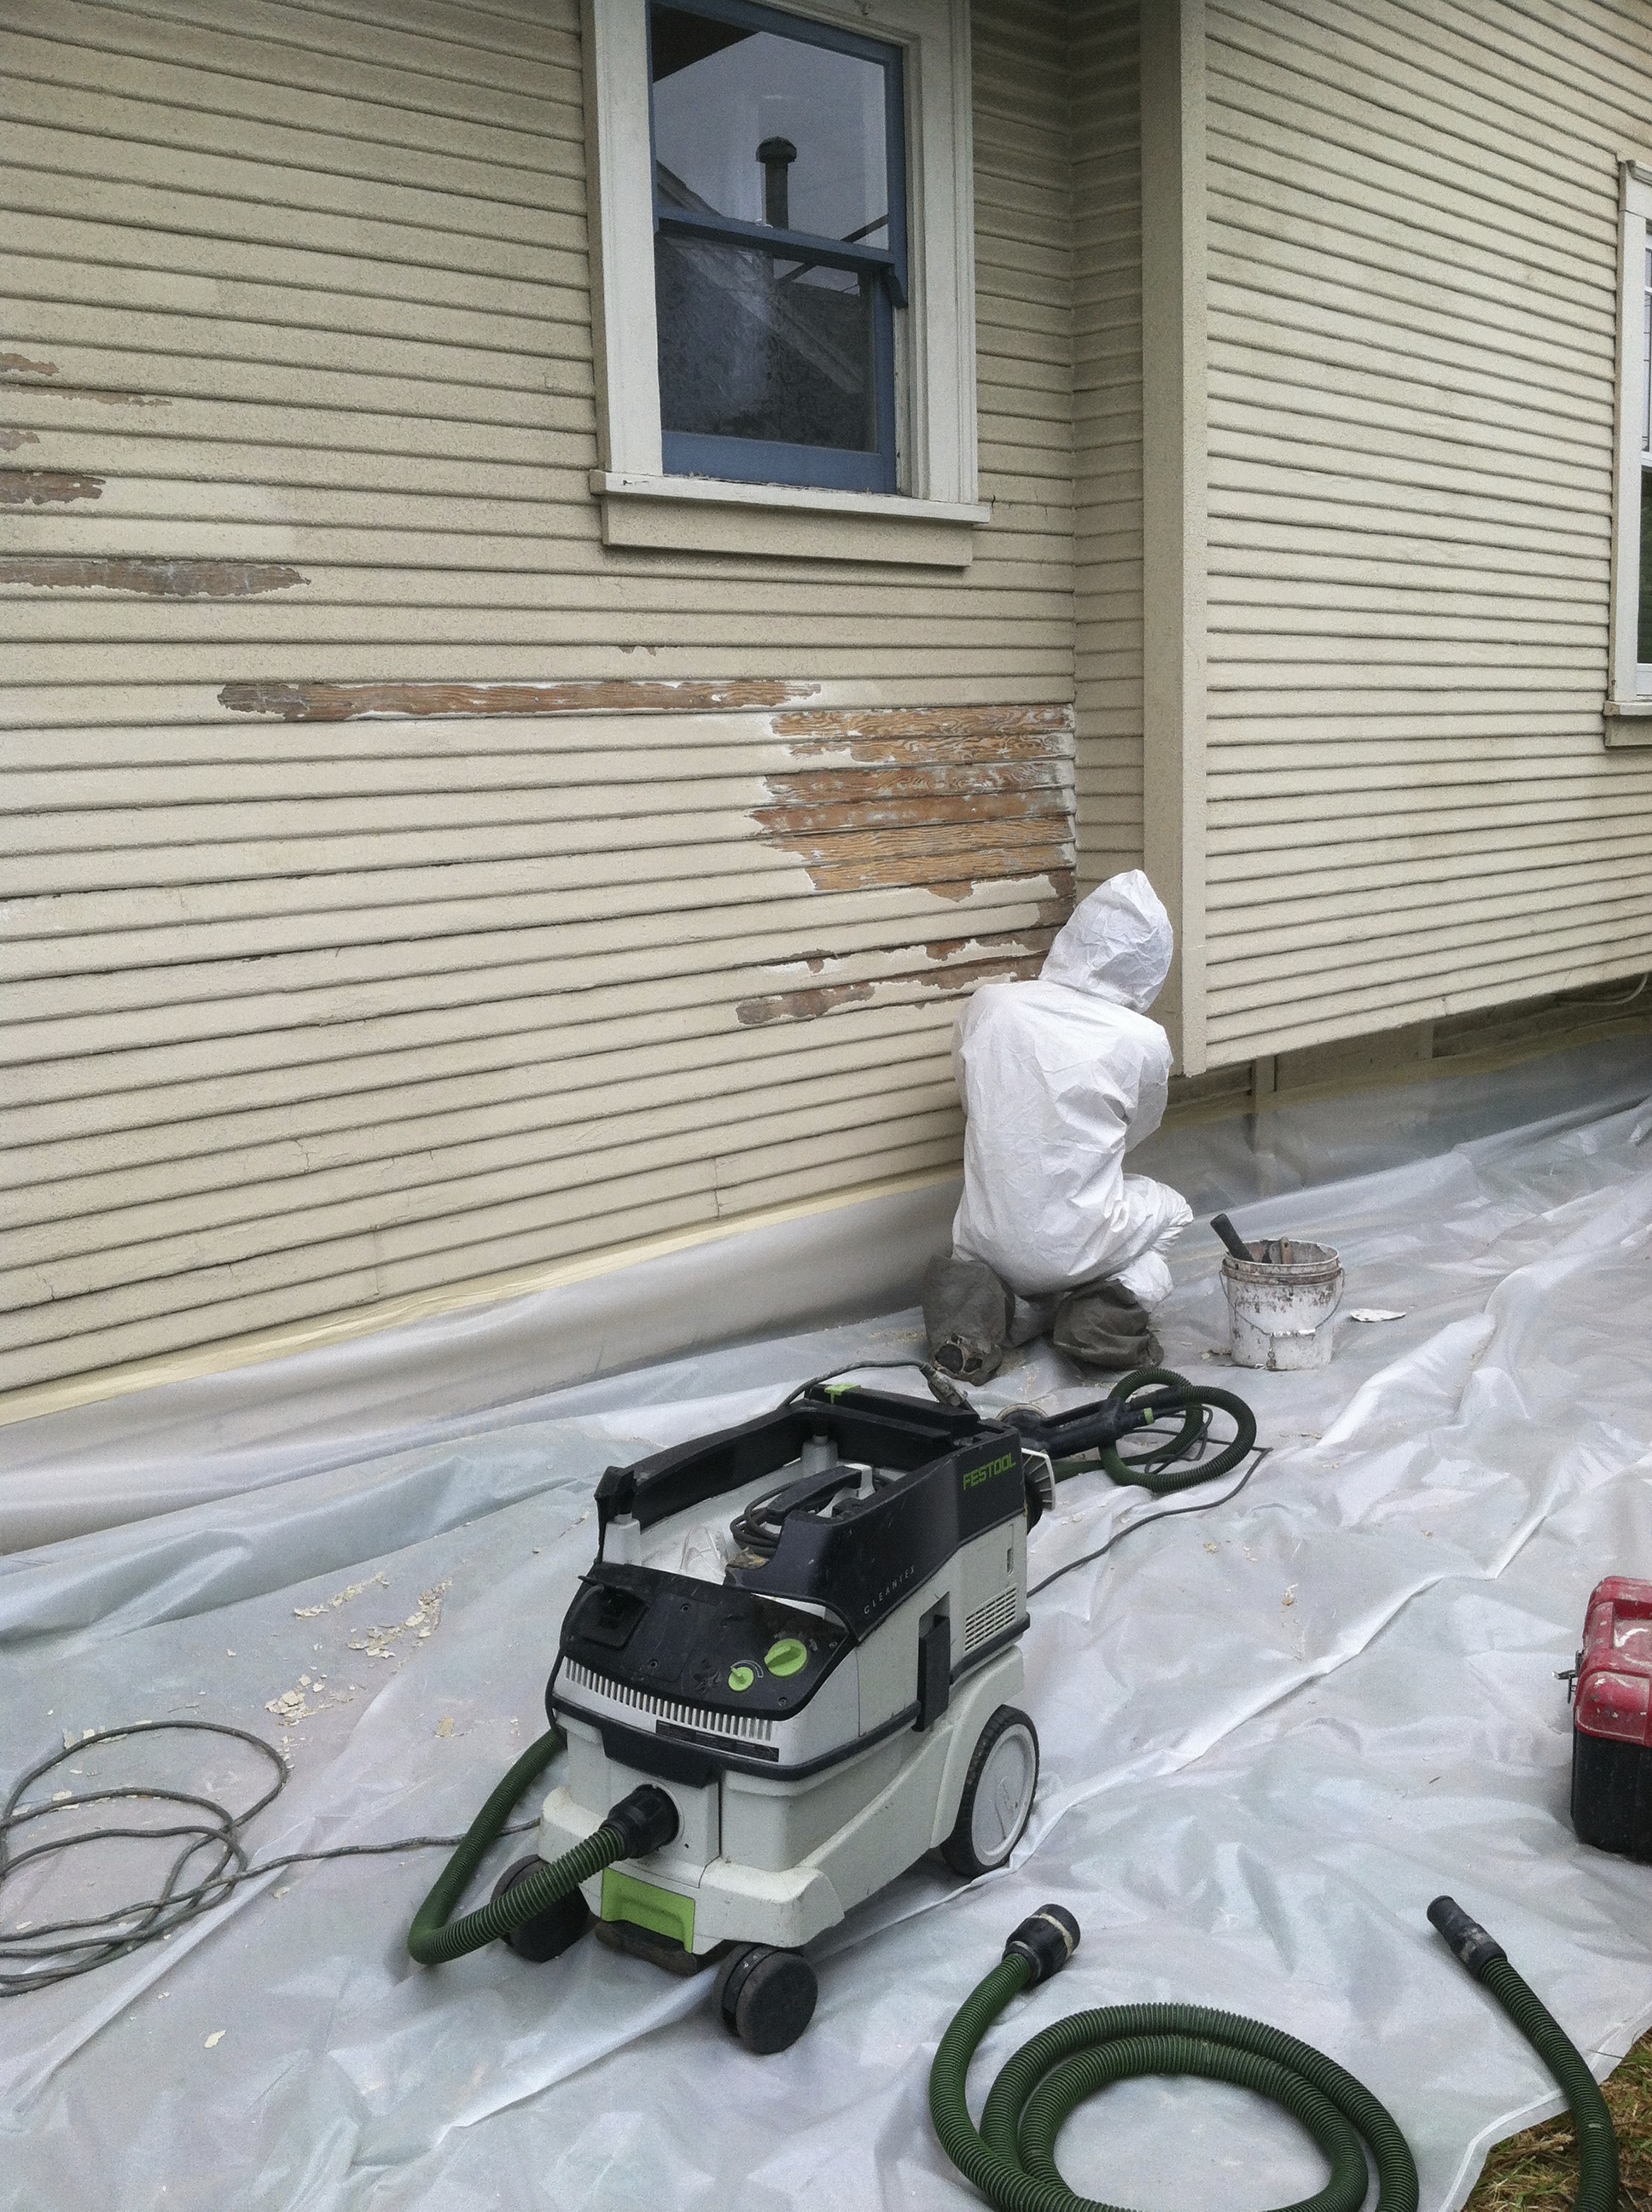
Festool Sanders at Work: Green Plum Design
To go from this…a challenging job of stucco over clapboard…
To this…
Stripped clean and sanded: Green Plum Design
Often revealing beautiful glimpses of wood grain exposed to the sun. Tempting to leave it like that but…next thing is to prime all those exposed areas..
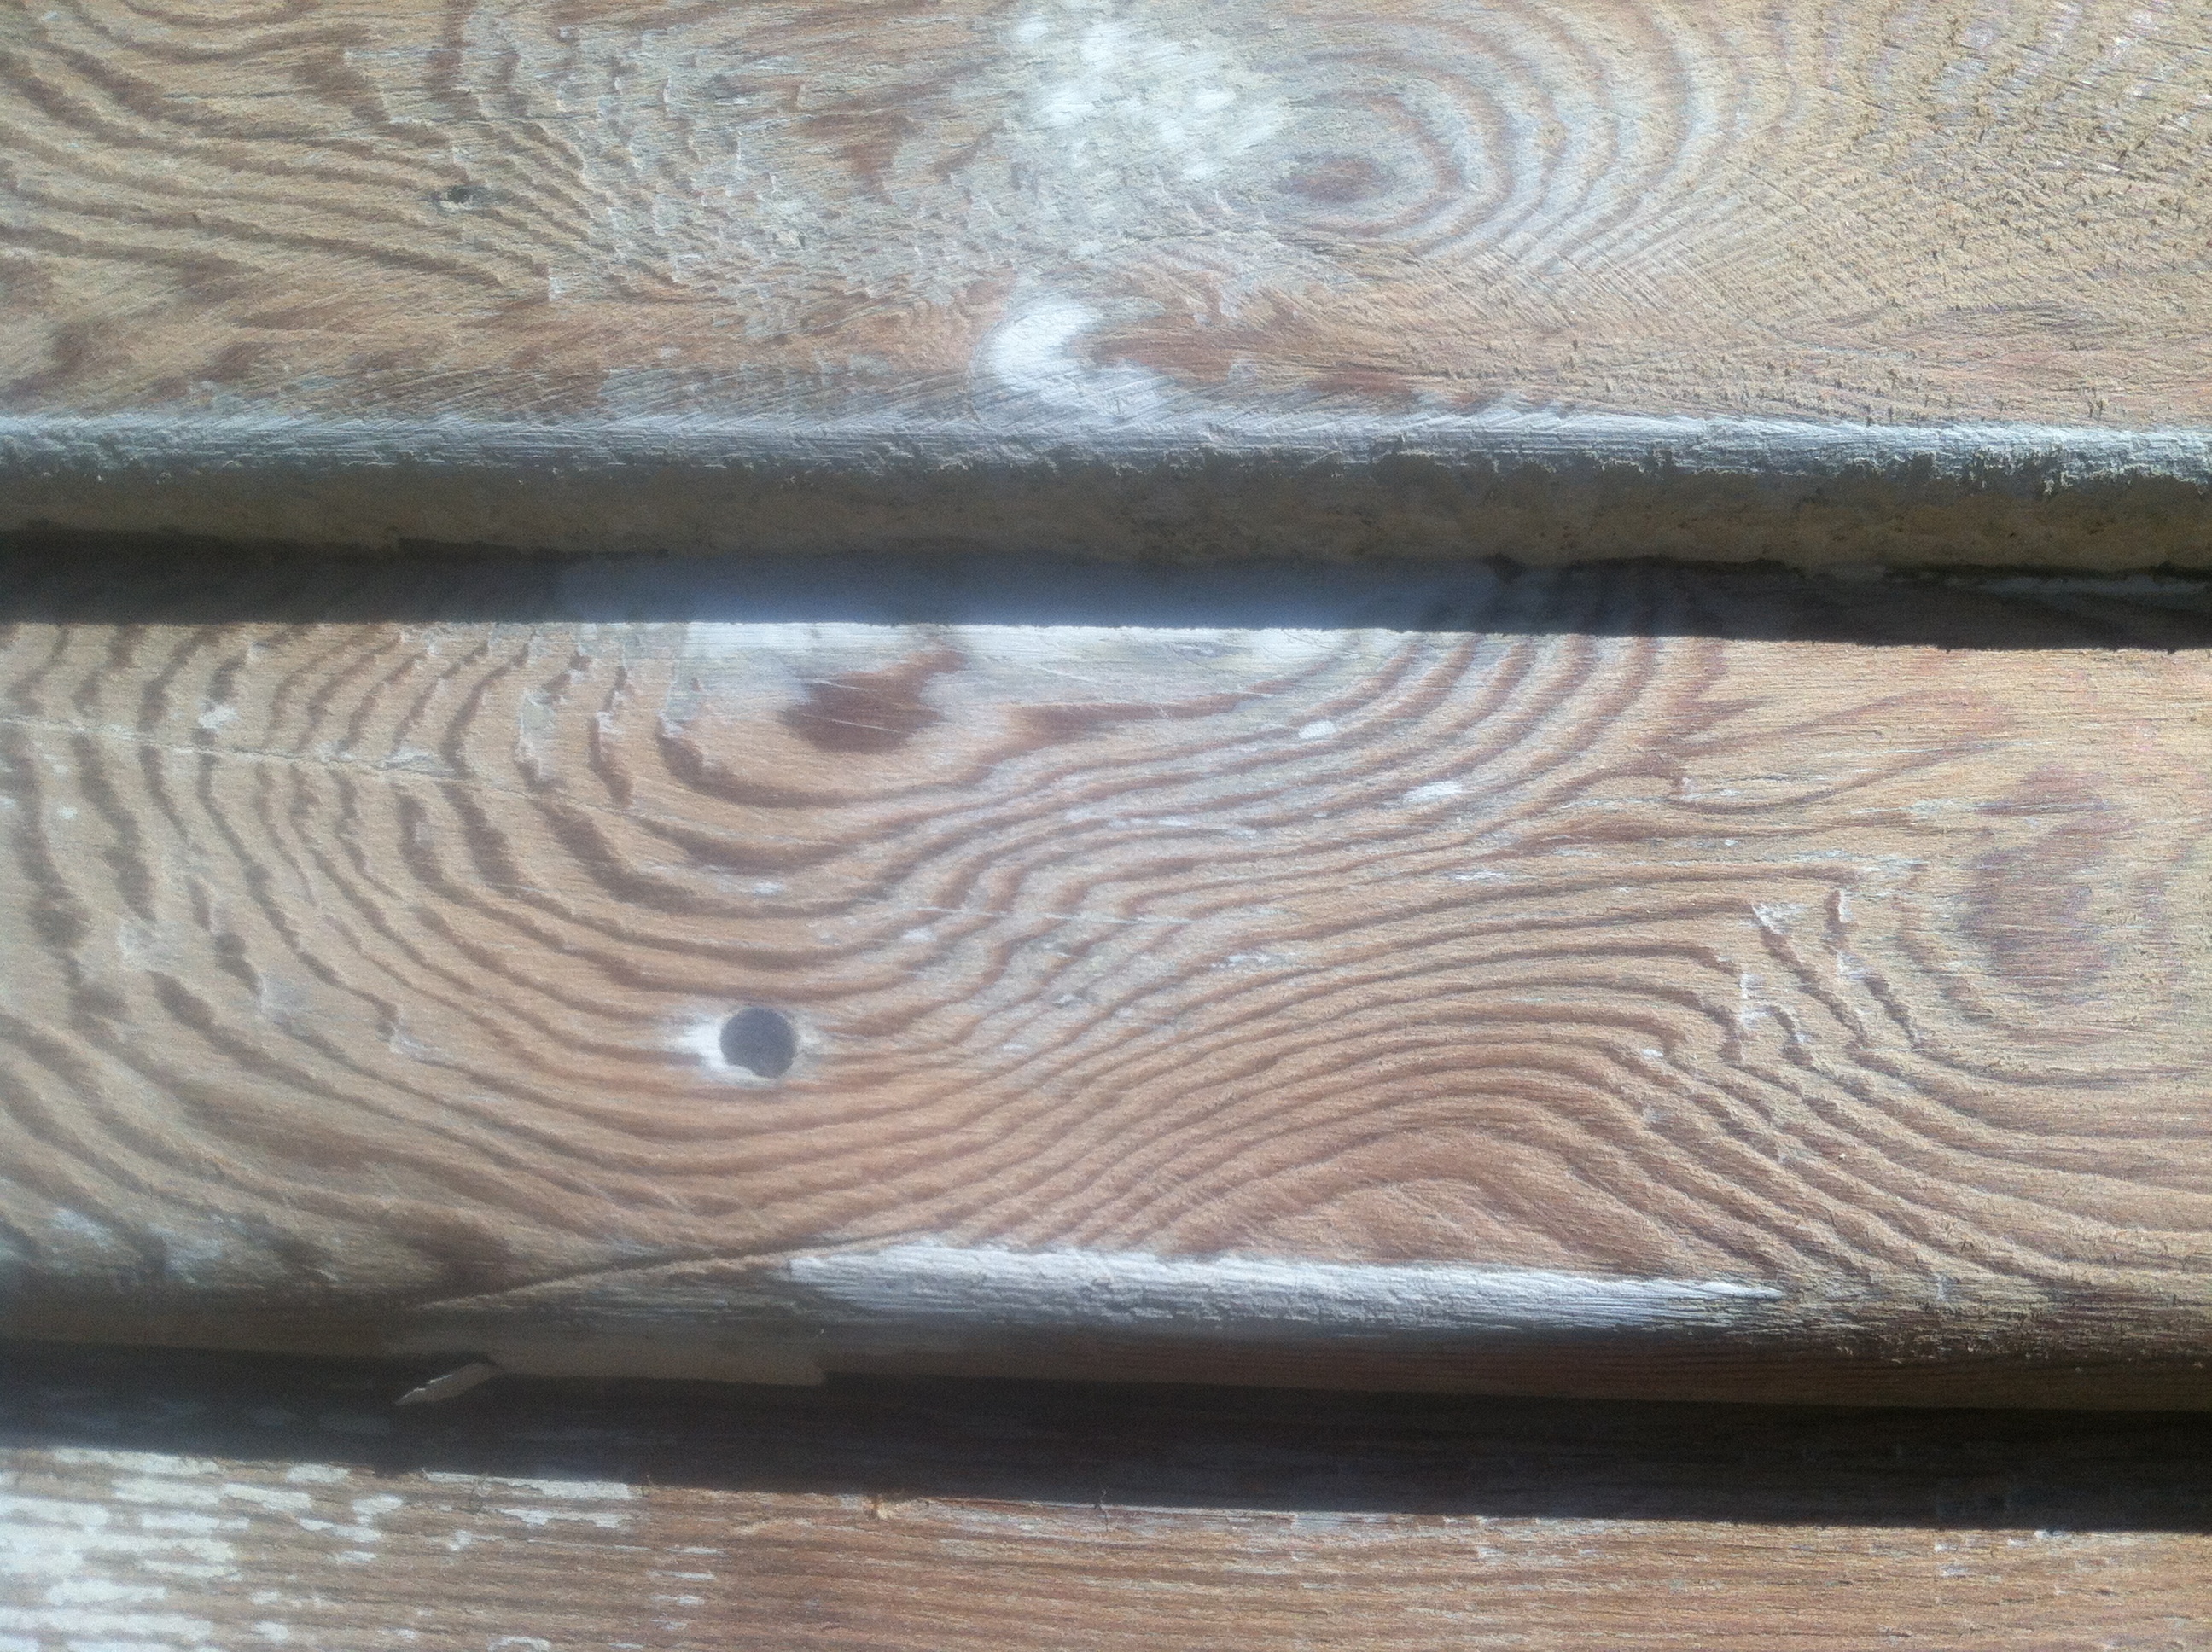
Beautiful Grain in Exposed Wood: Green Plum Design
Now we get down to the caulking, filling, sanding, priming and then some more sanding …not necessarily in that order…
It is rare for me to find a house where at least one piece of wood doesn’t need replacing. Little patches of rot can be satisfactorily dug out and then we use a fabulous liquid and then solid epoxy that hardens and seals the surrounding wood – expensive stuff but it totally does the business.
Now all sanded and primed and filled – your house will be smooth and clean and ready to receive the paint. Any dirt, un-eveness or gaps can lead to bubbles and cracking so time spent on this is essential to the longevity of the job. At this point, the house looks like a ghost of itself…
Fully Prepped and Ready to Paint: Green Plum Design
So paint leads inevitably to the question of color…
Let me just say that it is rare for there not to be just the teensiest amount of angst in choosing the color…
He wants blue, she wants green…the neighbor favors a Tuscan burnt orange…
One thing I will say is that you just have to get a sample up on your wall because colors are tricky slippery things that change all the time and on all the different surfaces – the only solution is to put it on your wall and take a look at it in different lights over a day or so…
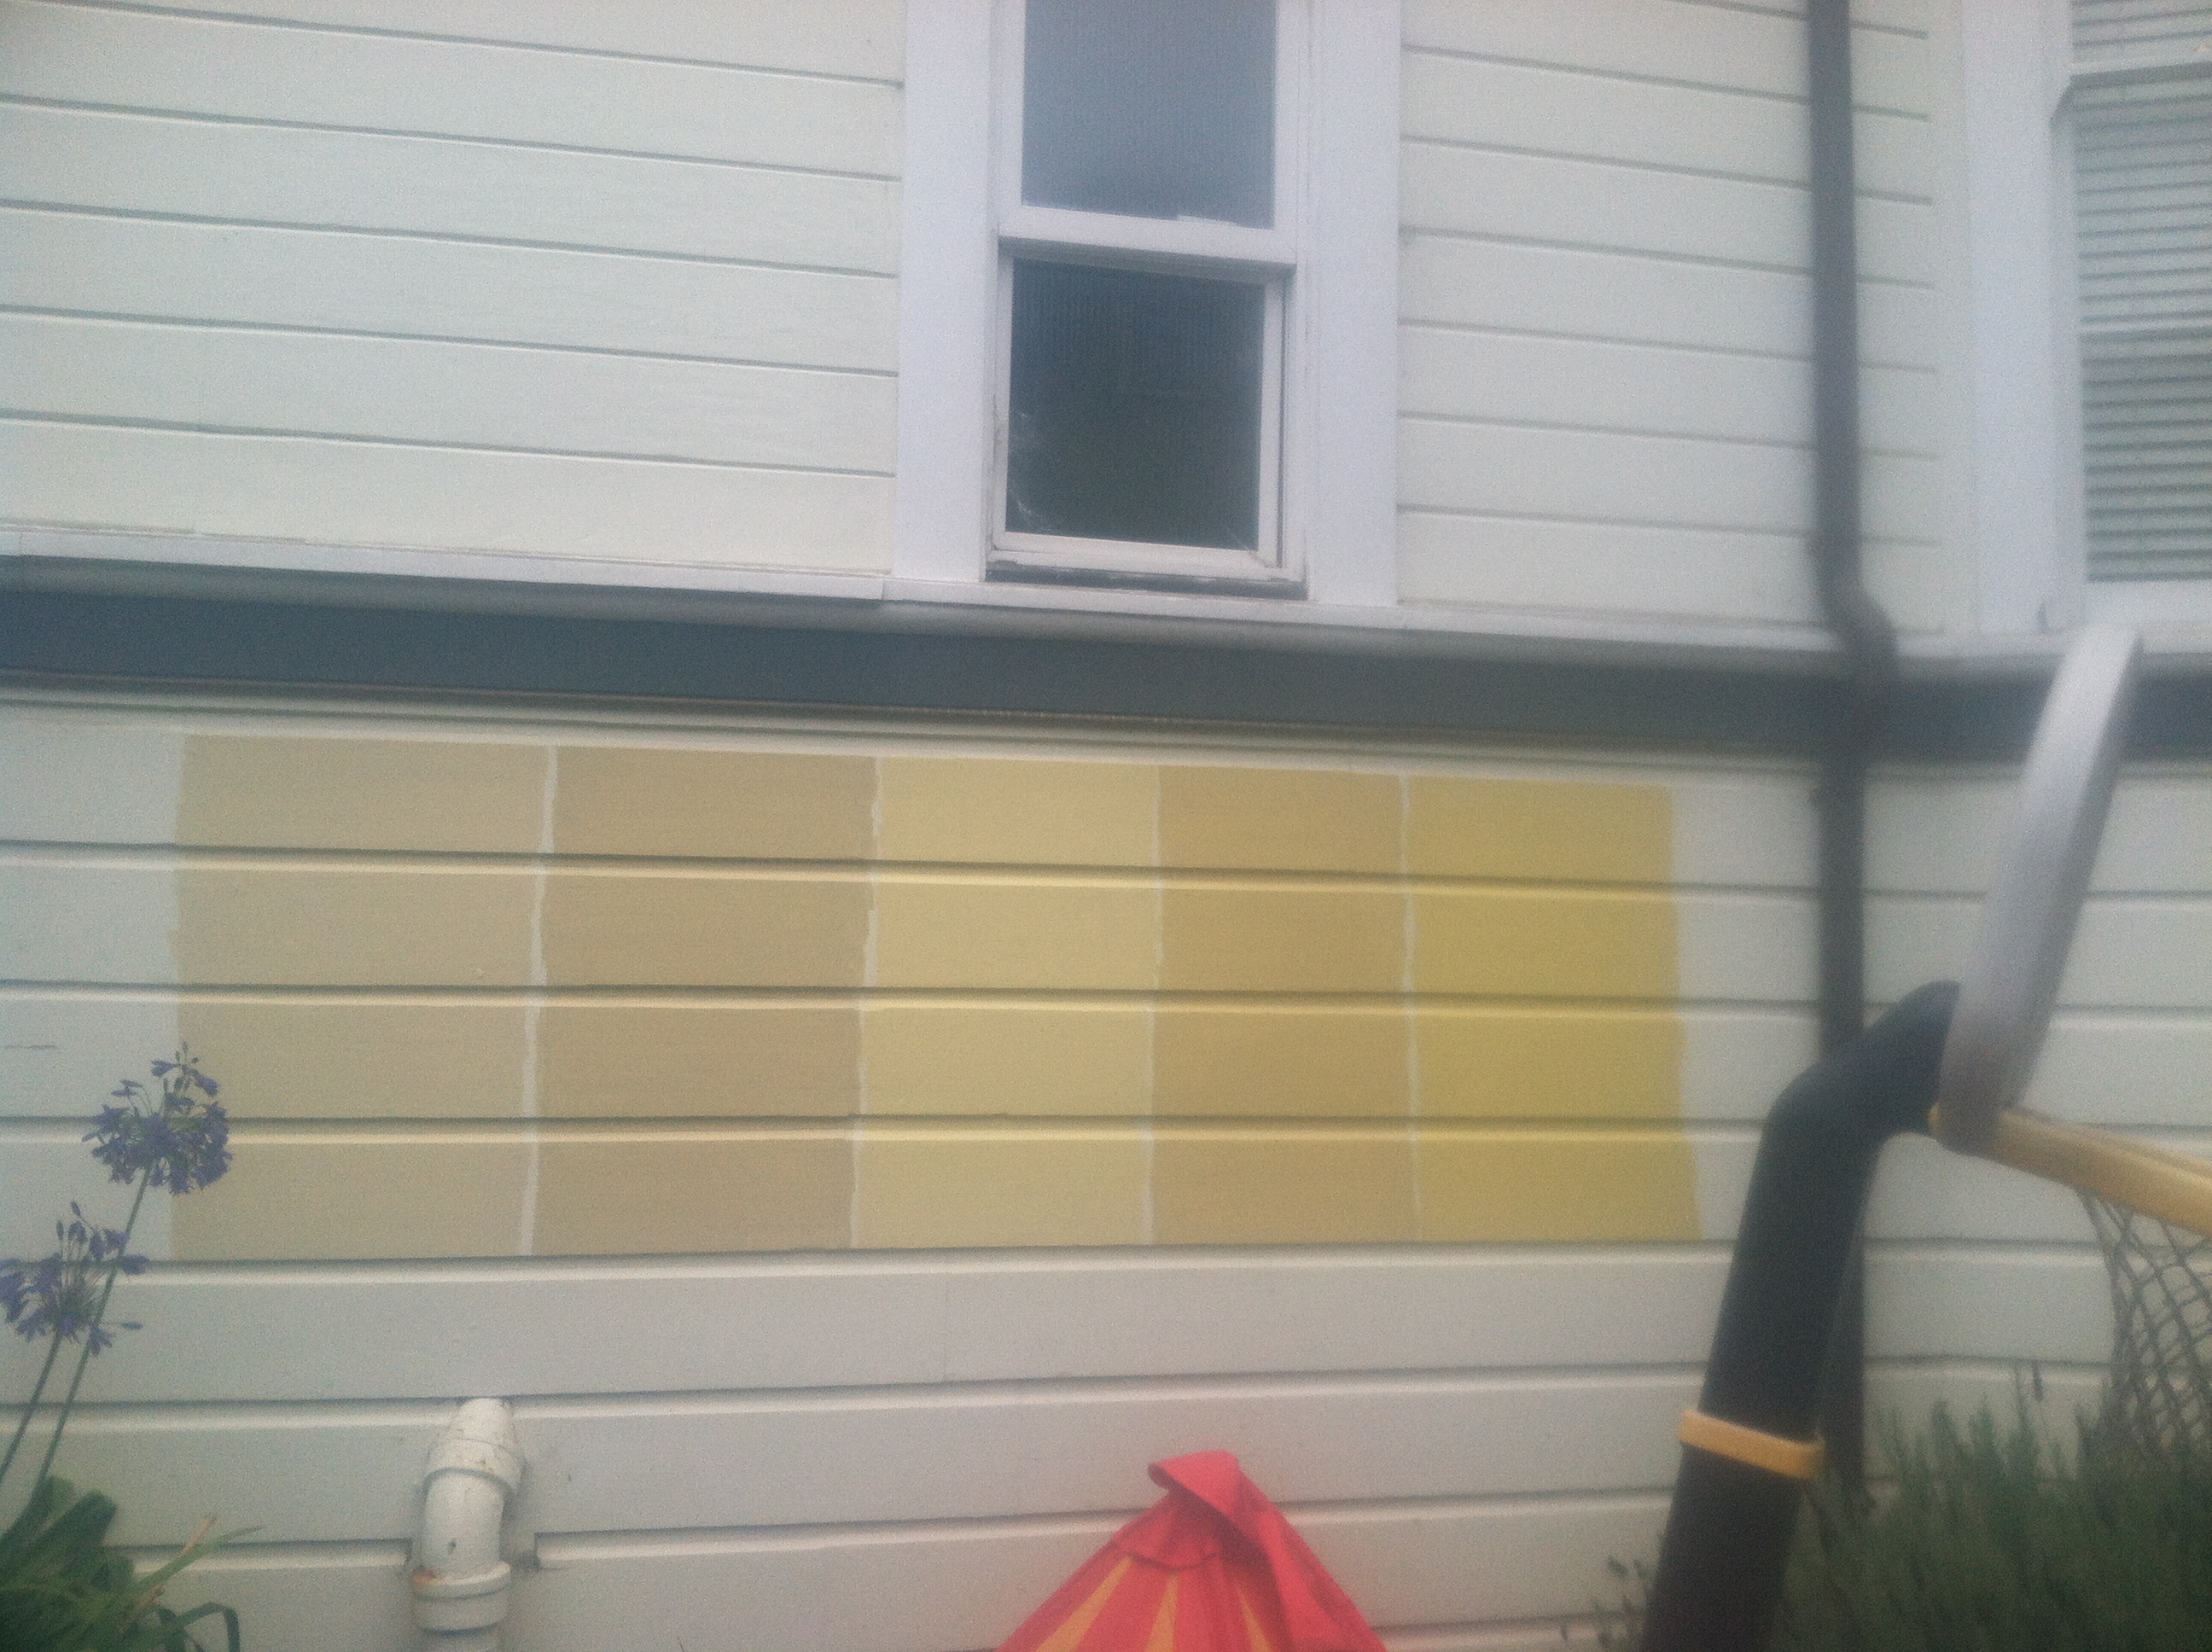
Which Color? Green Plum Design
So there you have it – on goes the paint. Then a day for touch ups – getting the lines perfectly straight between windows and walls, making sure every spot is covered. We check and then check again..
Now time to pack up all of our equipment, peel the masking liquid off your freshly cleaned windows, scout the area for anything we may have left behind. Clean up, clean up and clean up a bit more.
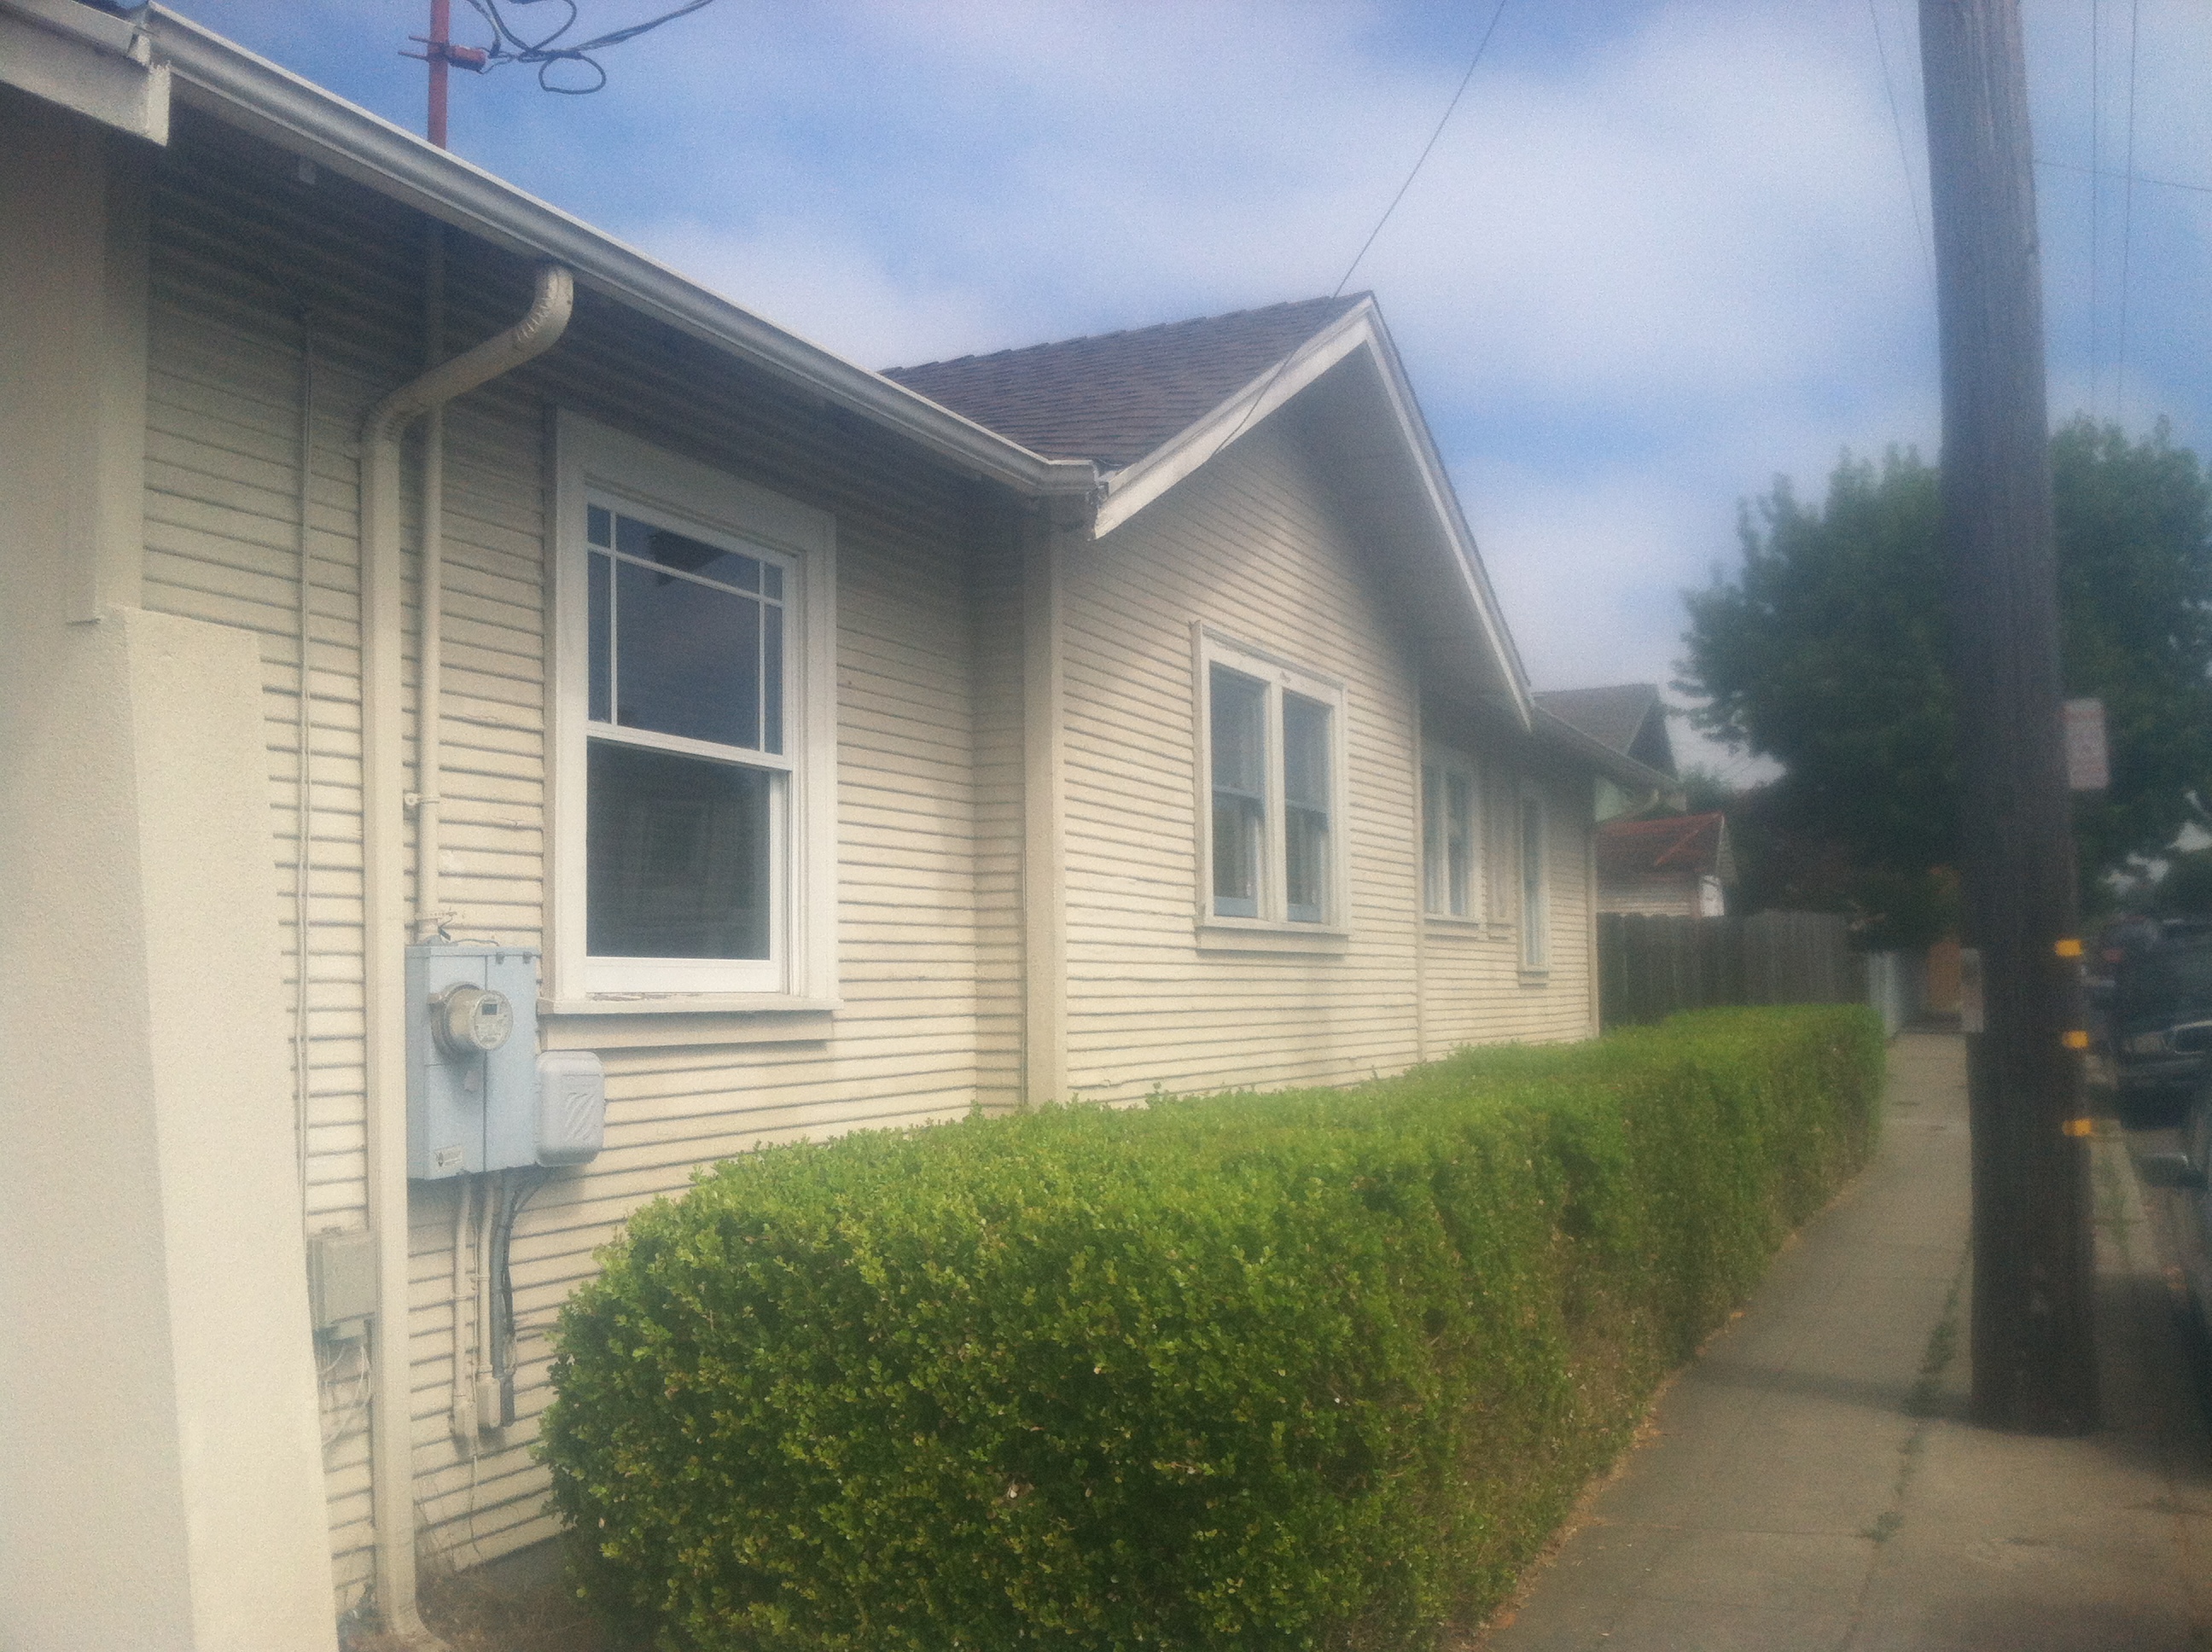
And here is the end result…
One more time: Before…
Before: Green Plum Design
And after…
Finished Product: Green Plum Design
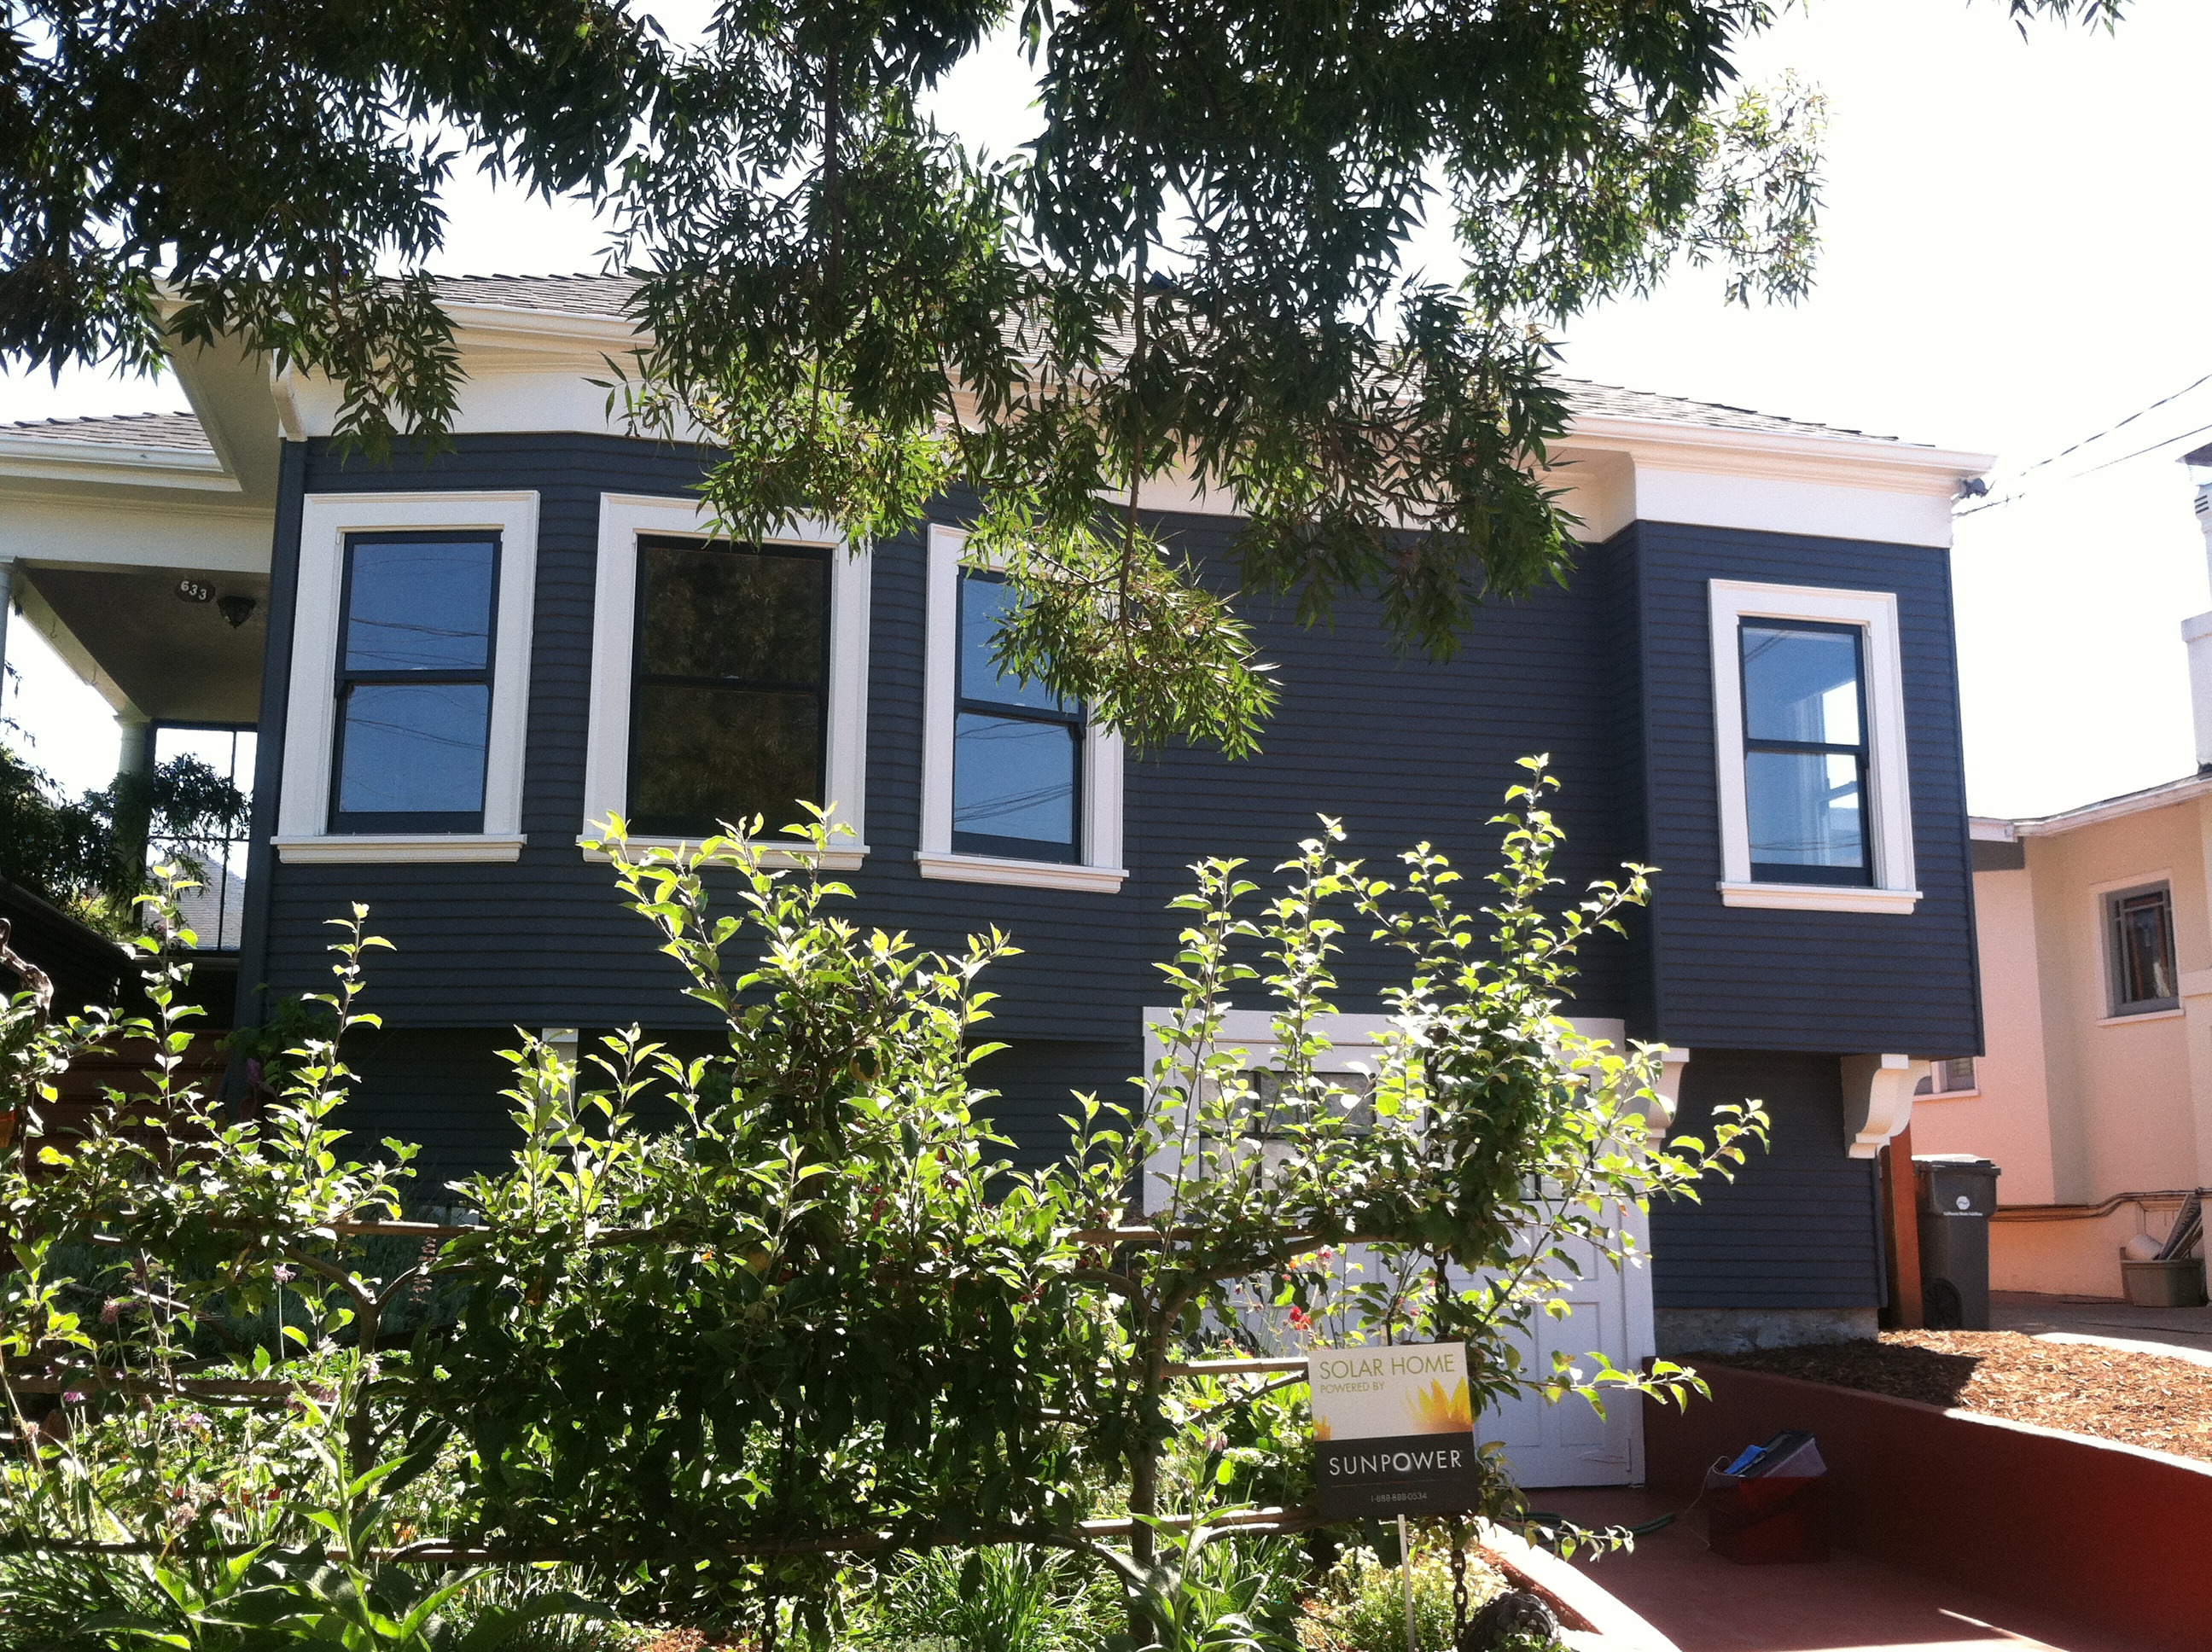
Body: Stormy Sky 1616
Frames: White Dove OC 17
Windows: Black Beauty 2128-10
Green Plum Design
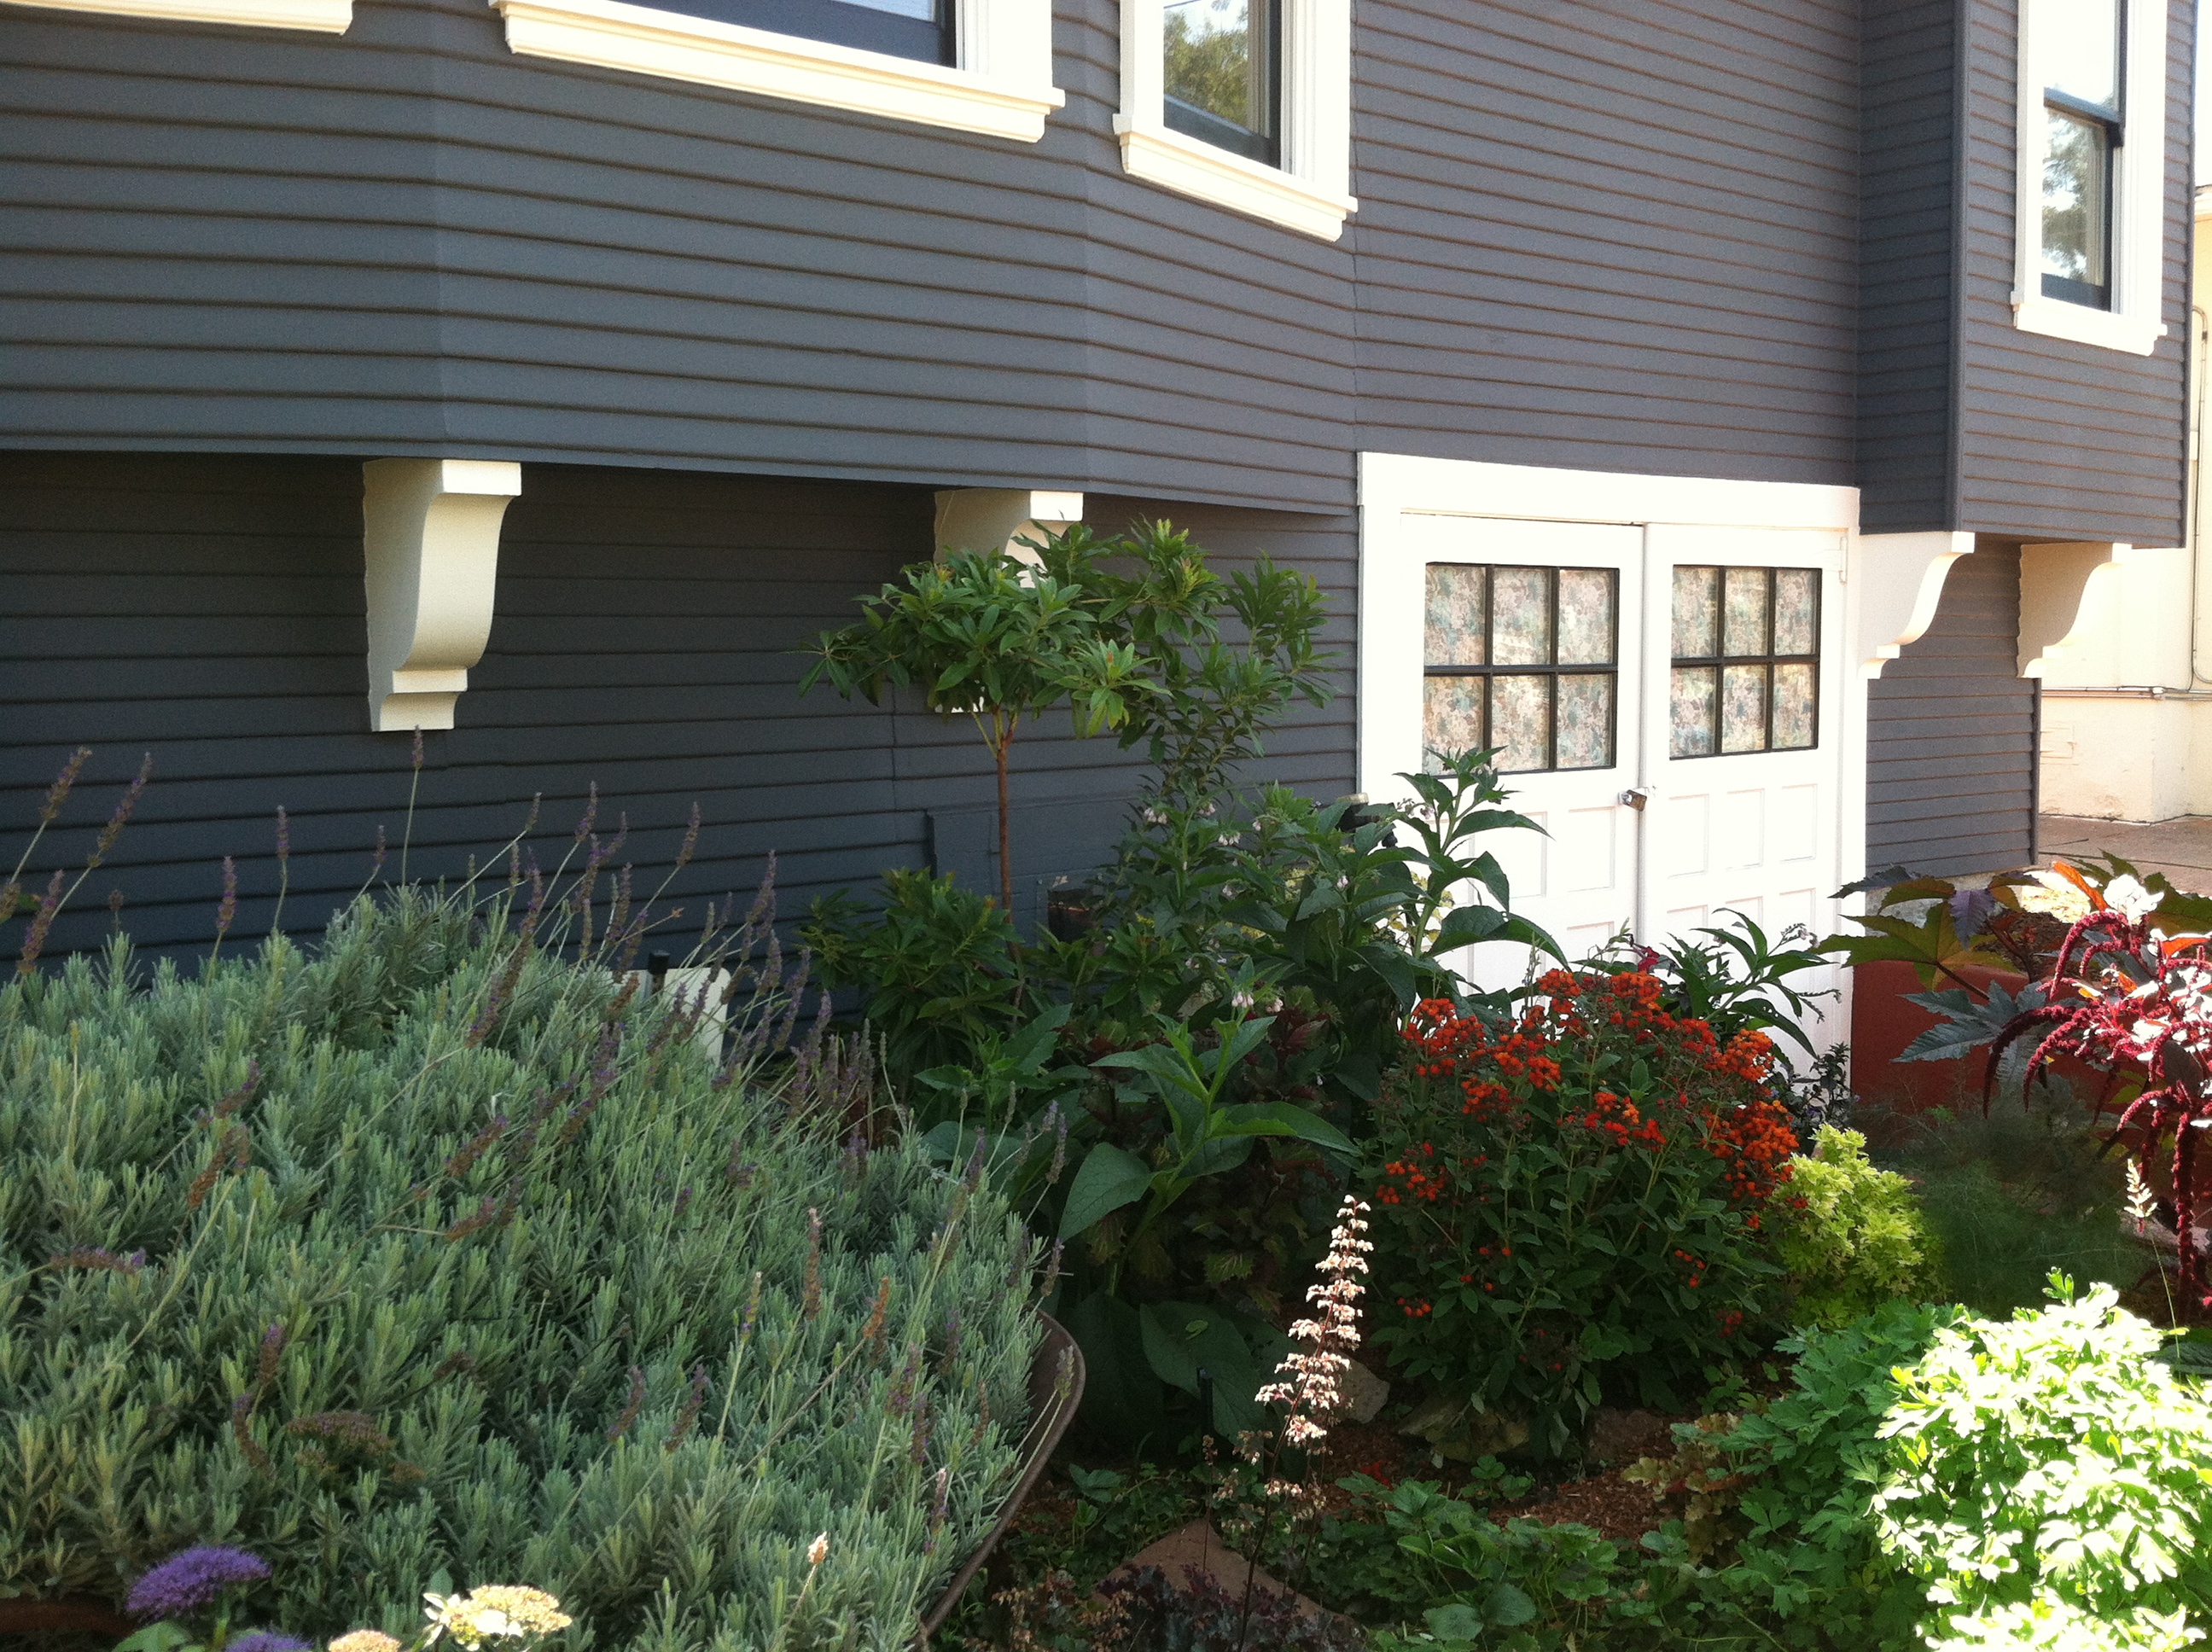
Attention to Detail: Green Plum Design
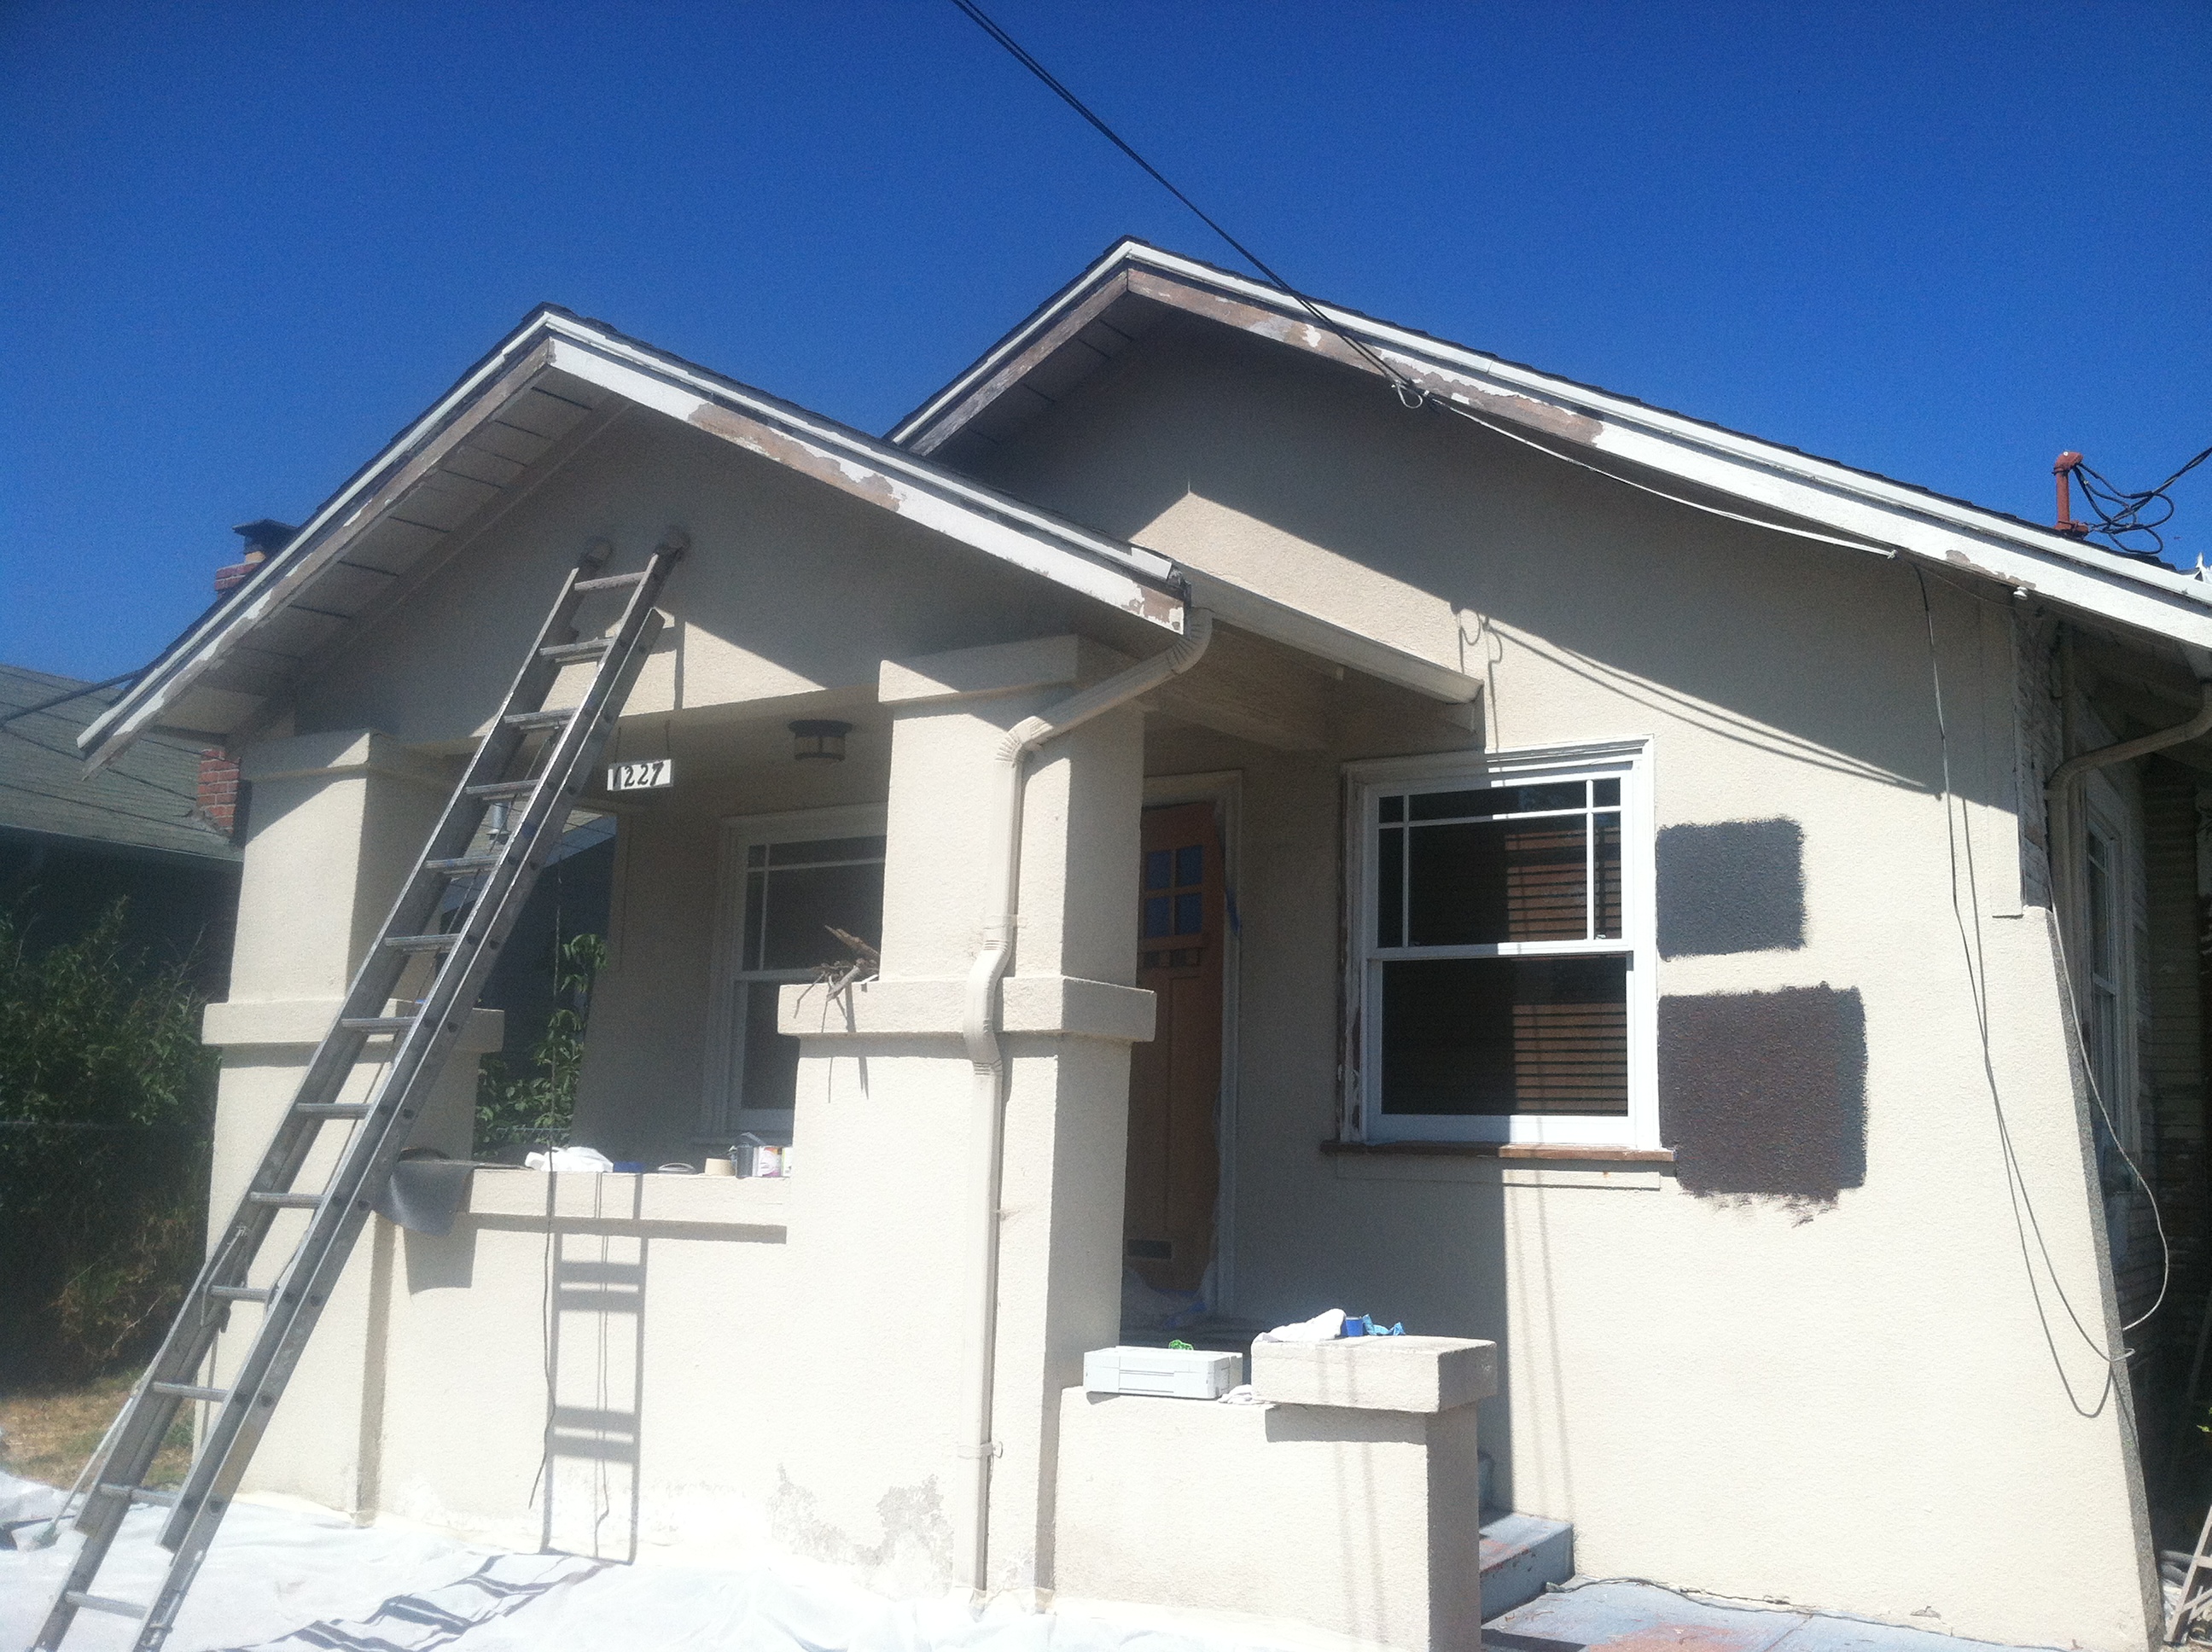
Before…

Before: Green Plum Design
And after…
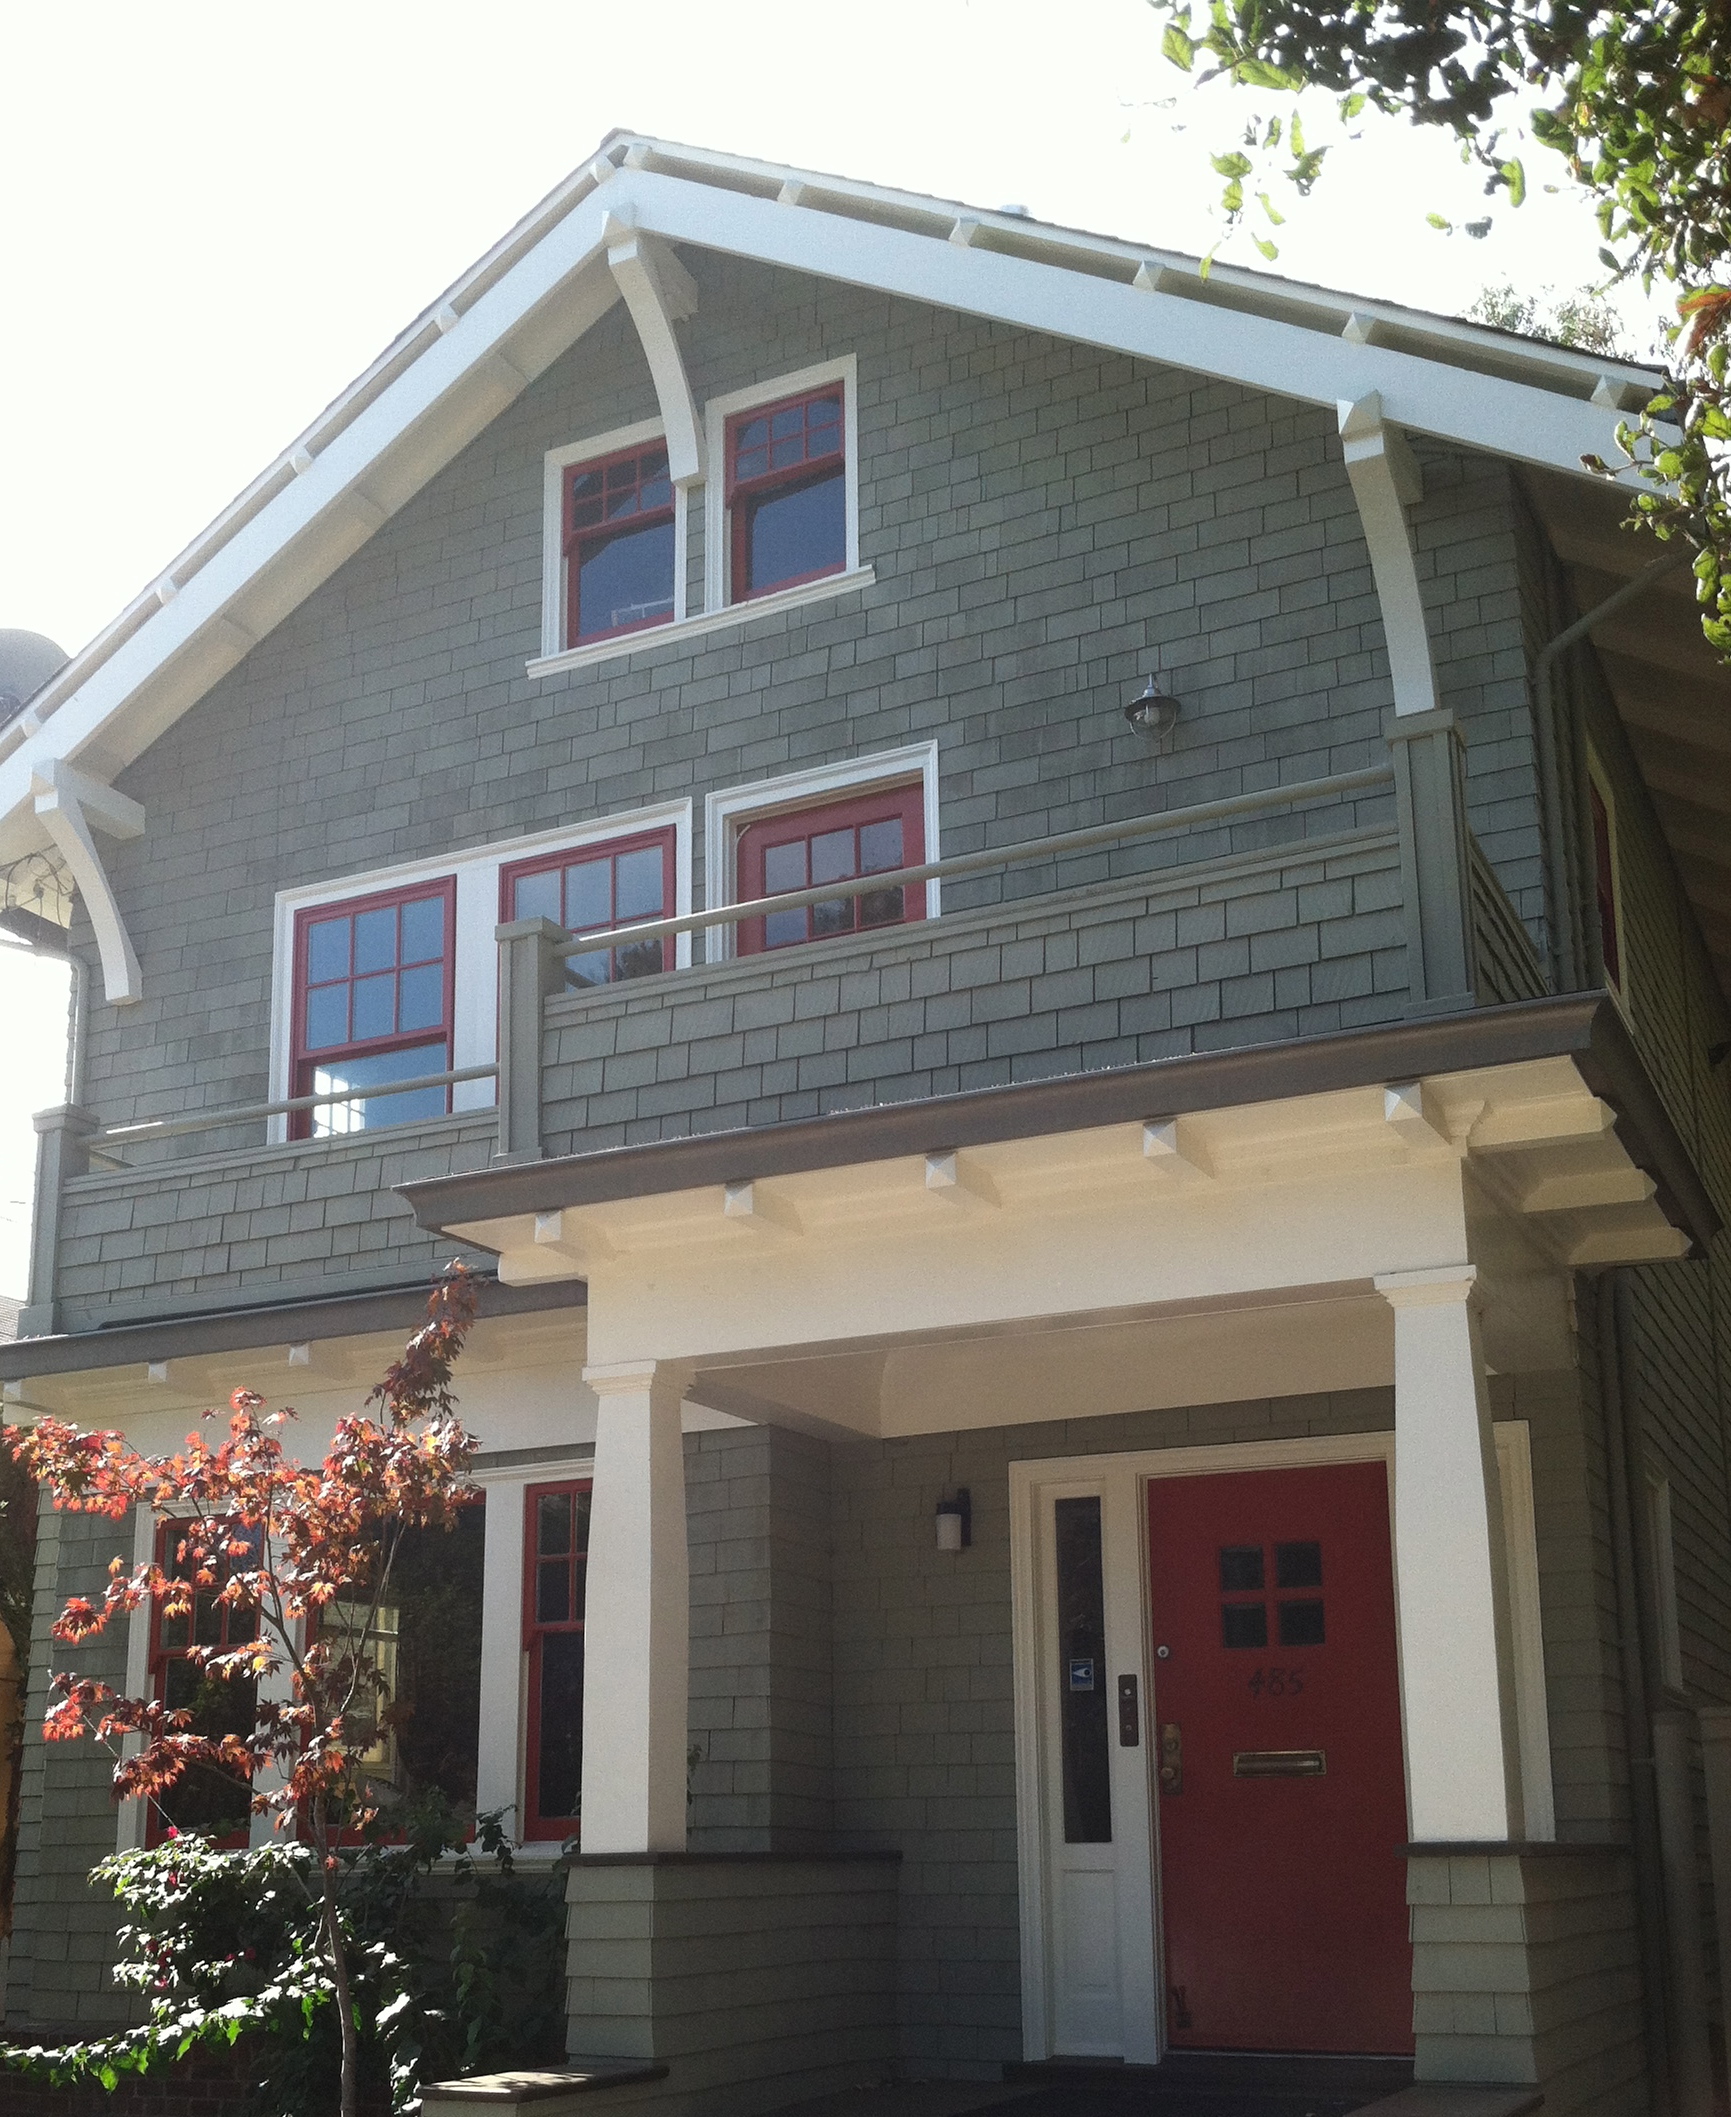
After: Green Plum Design
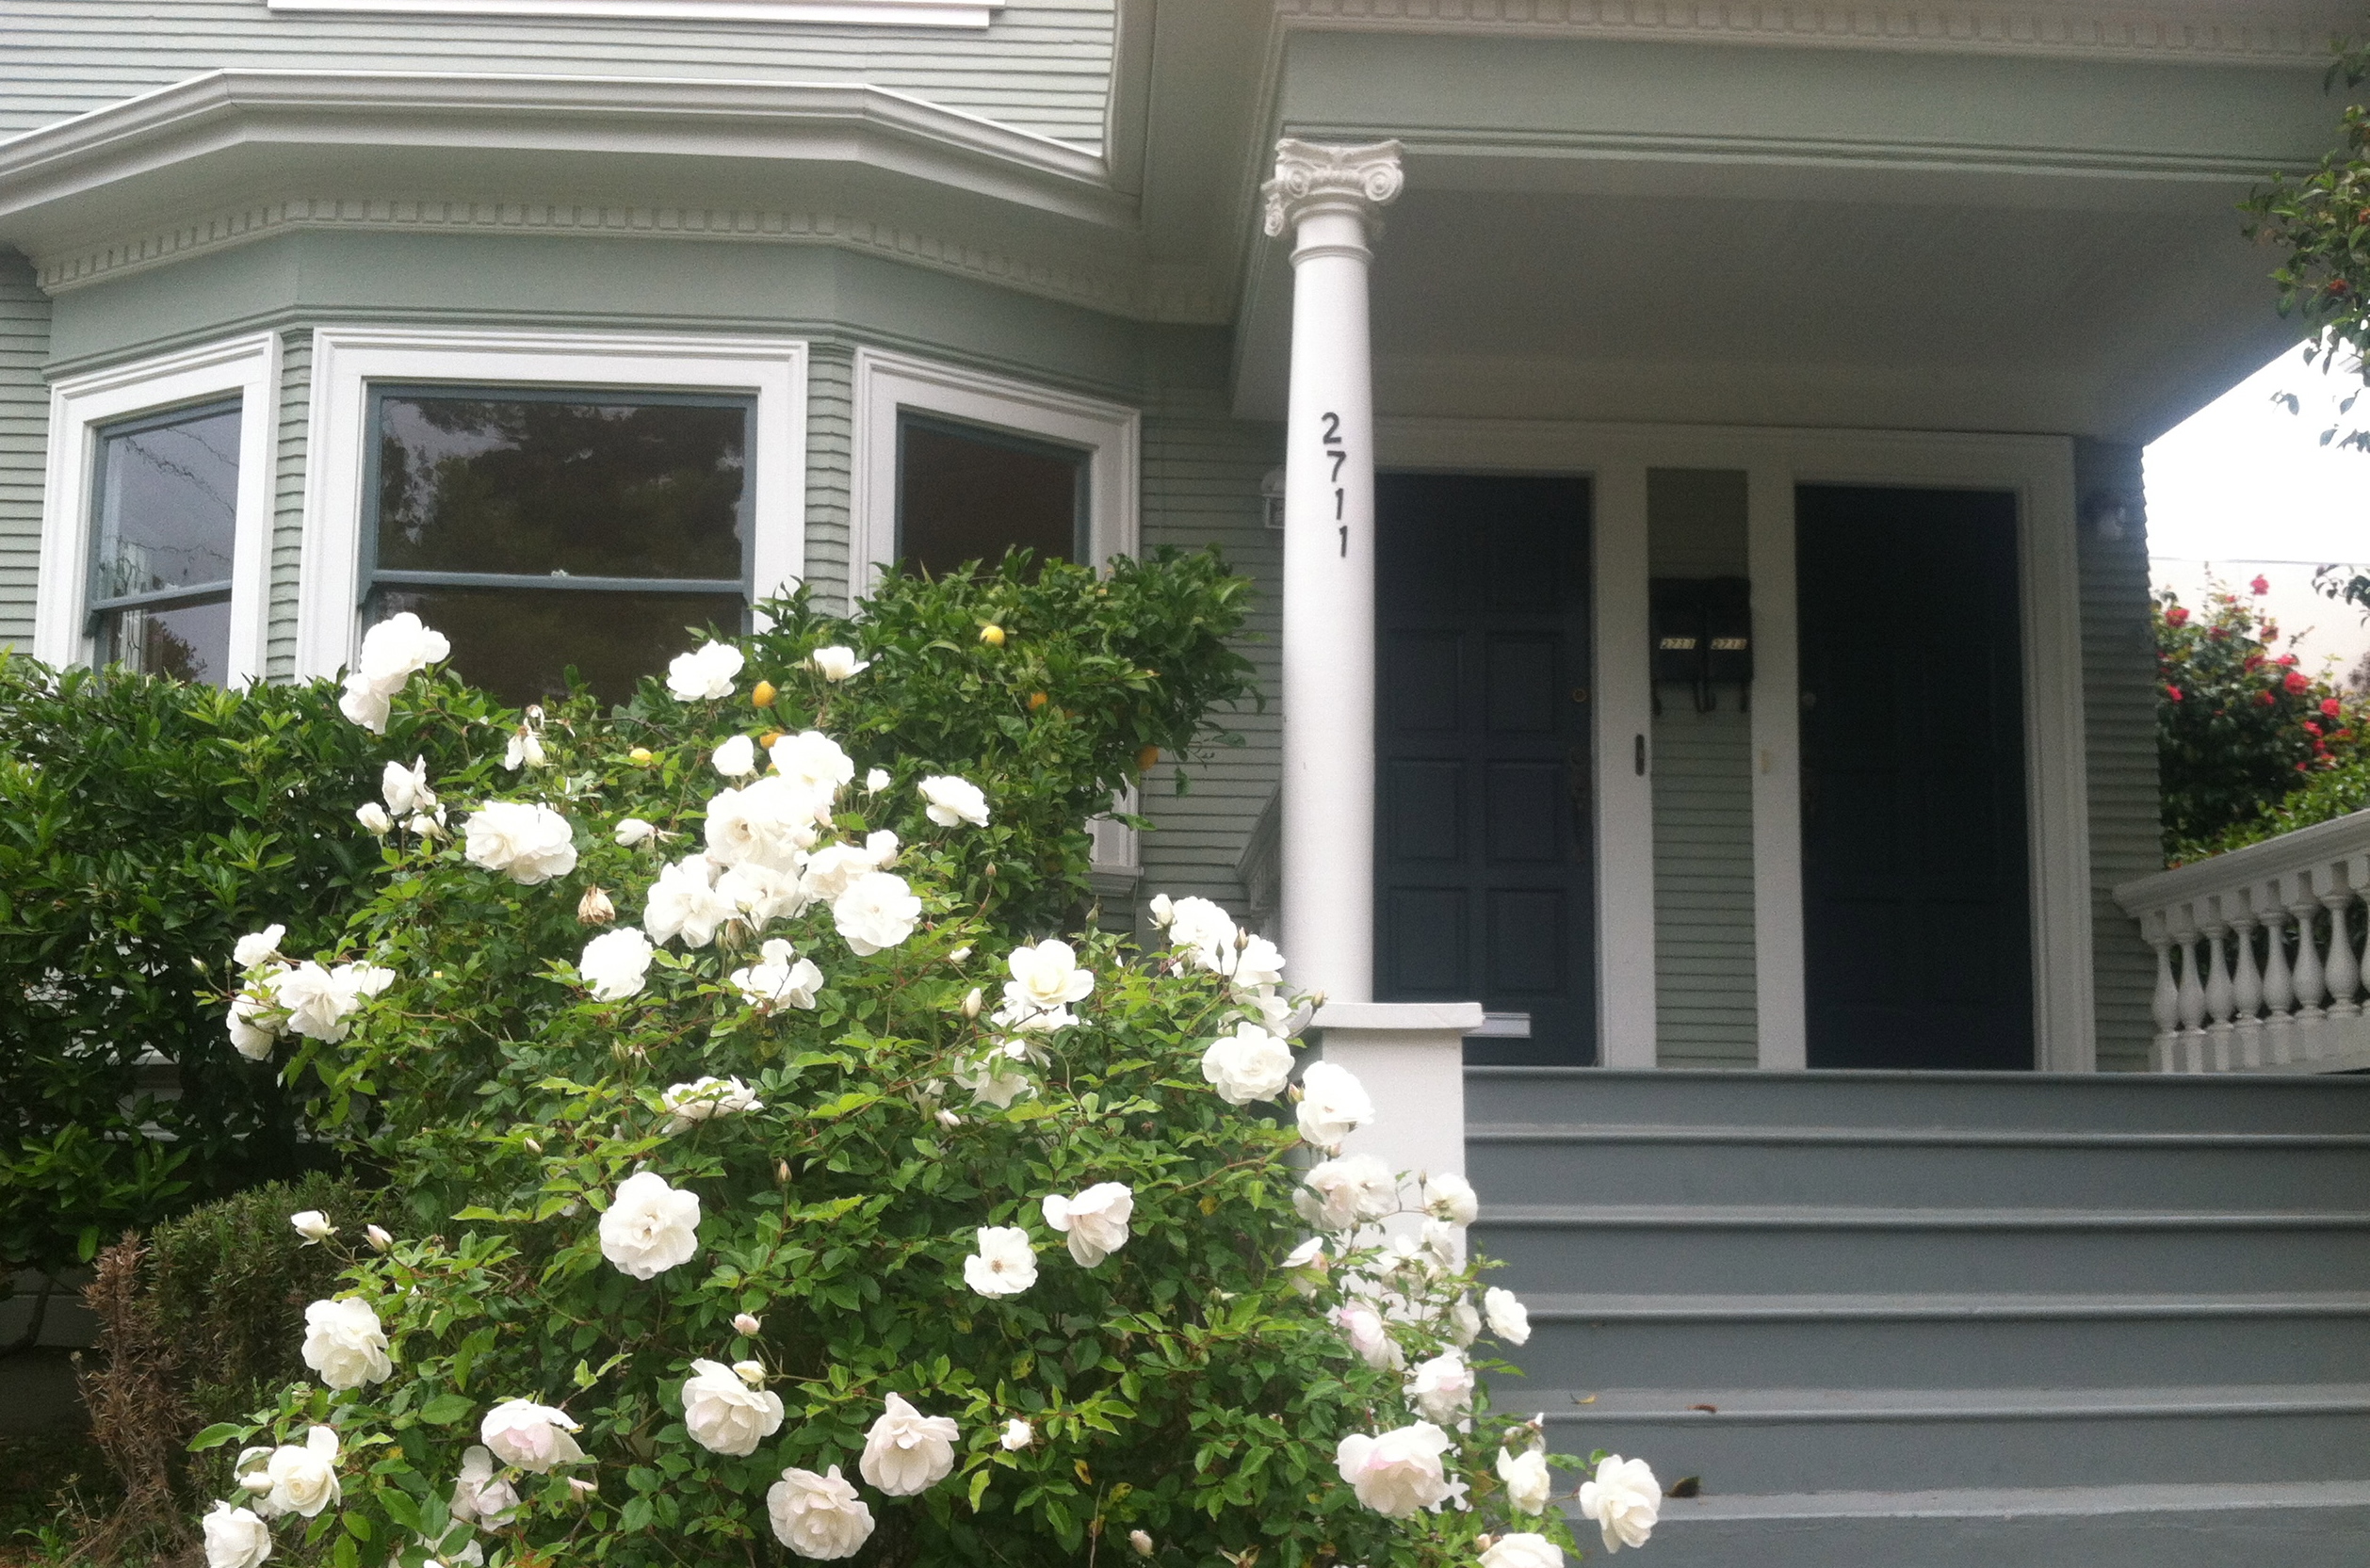
Body: Texas Sage
Frames: Linen White
Windows/ Door: Strawberry Field
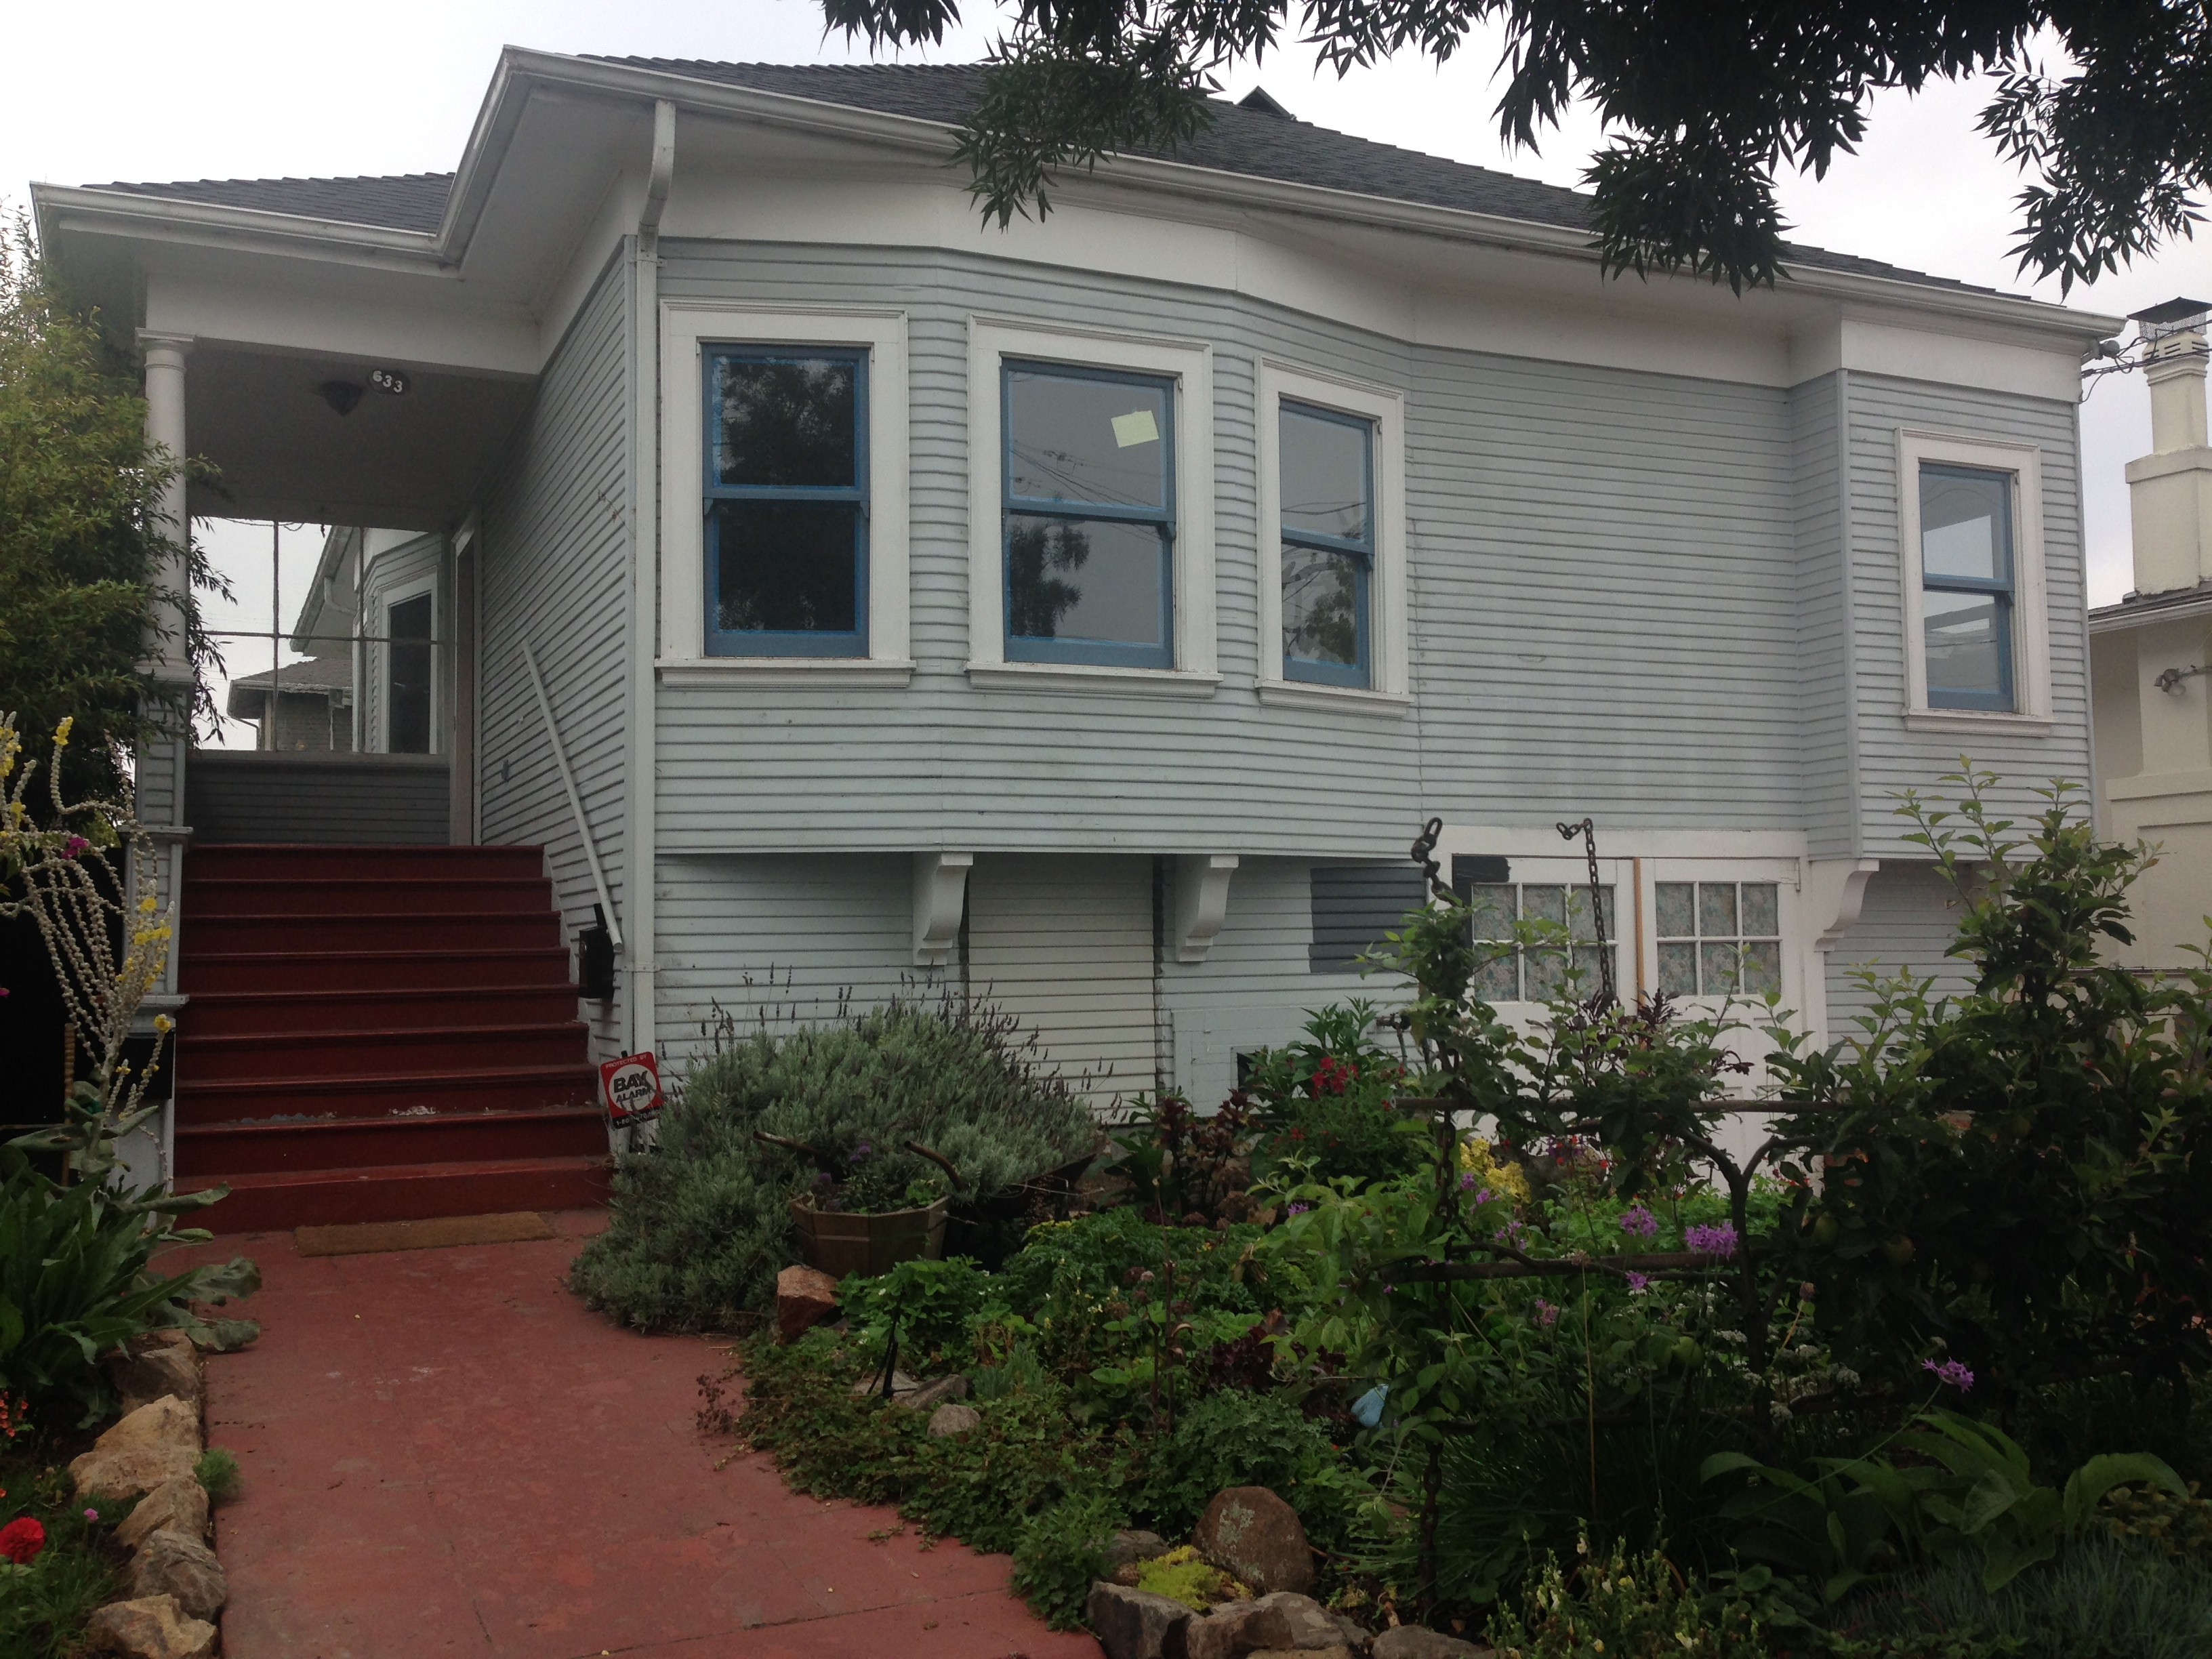
Before…
Before: Green Plum Design
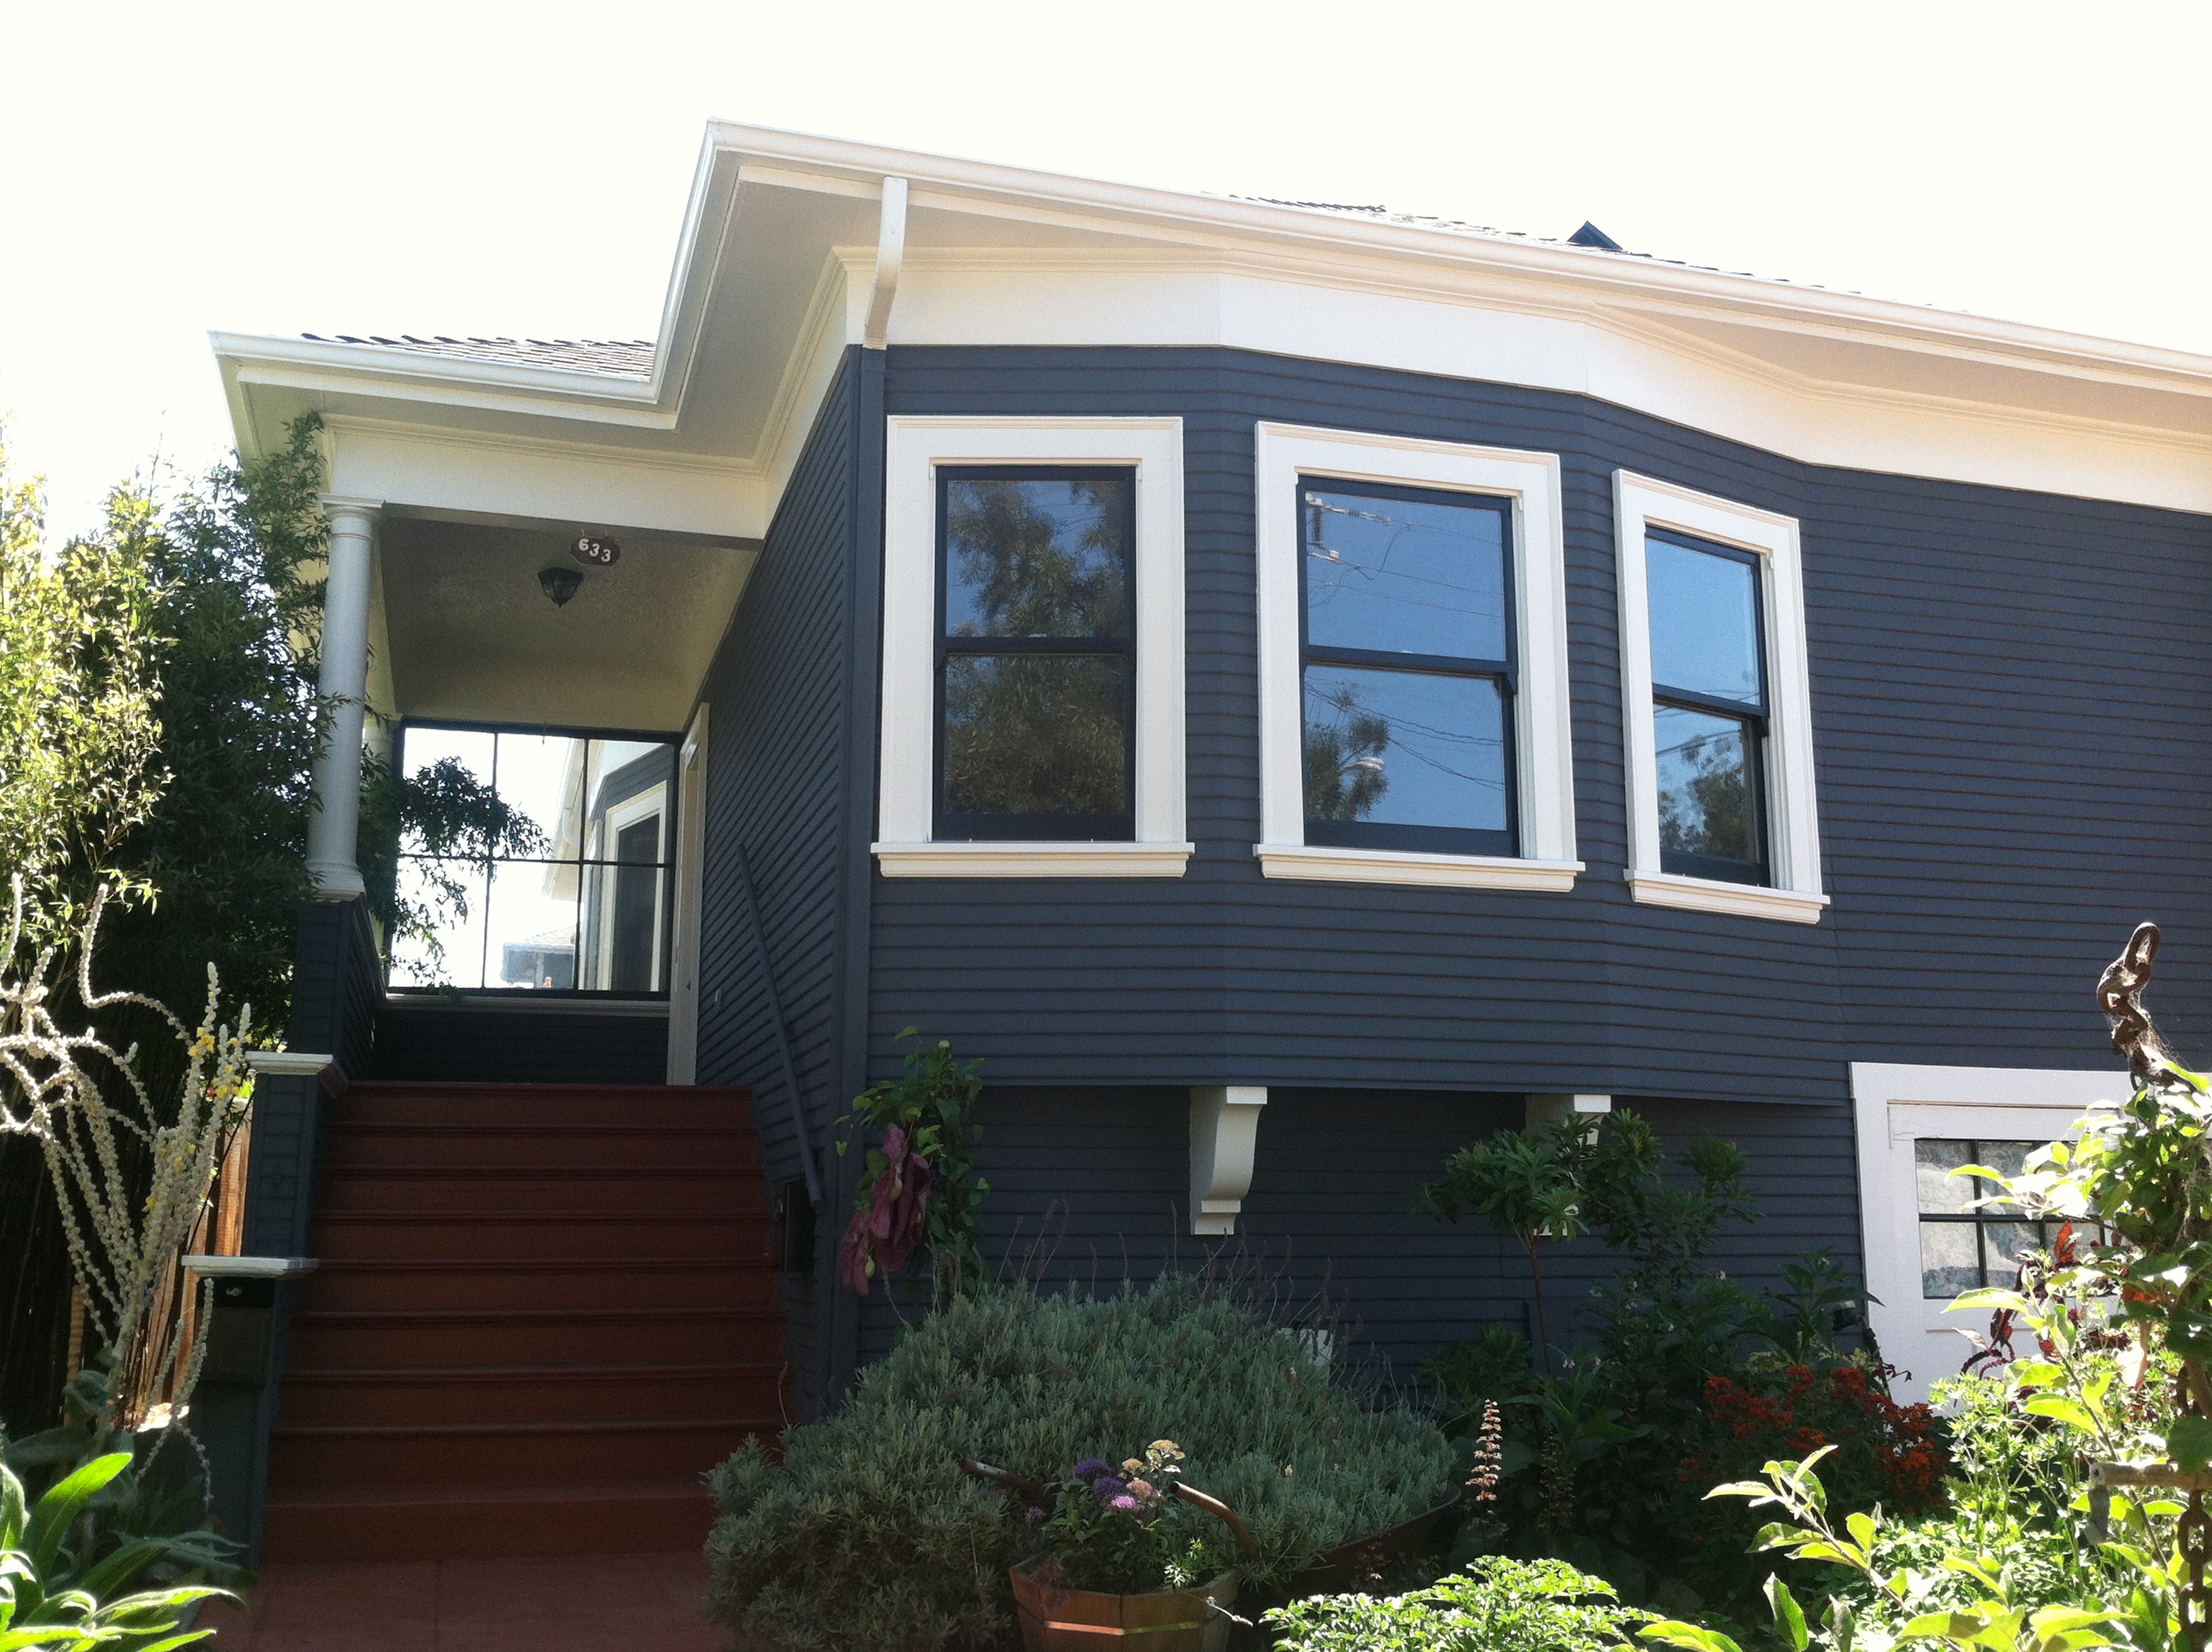
And after…
Before: Green Plum Design
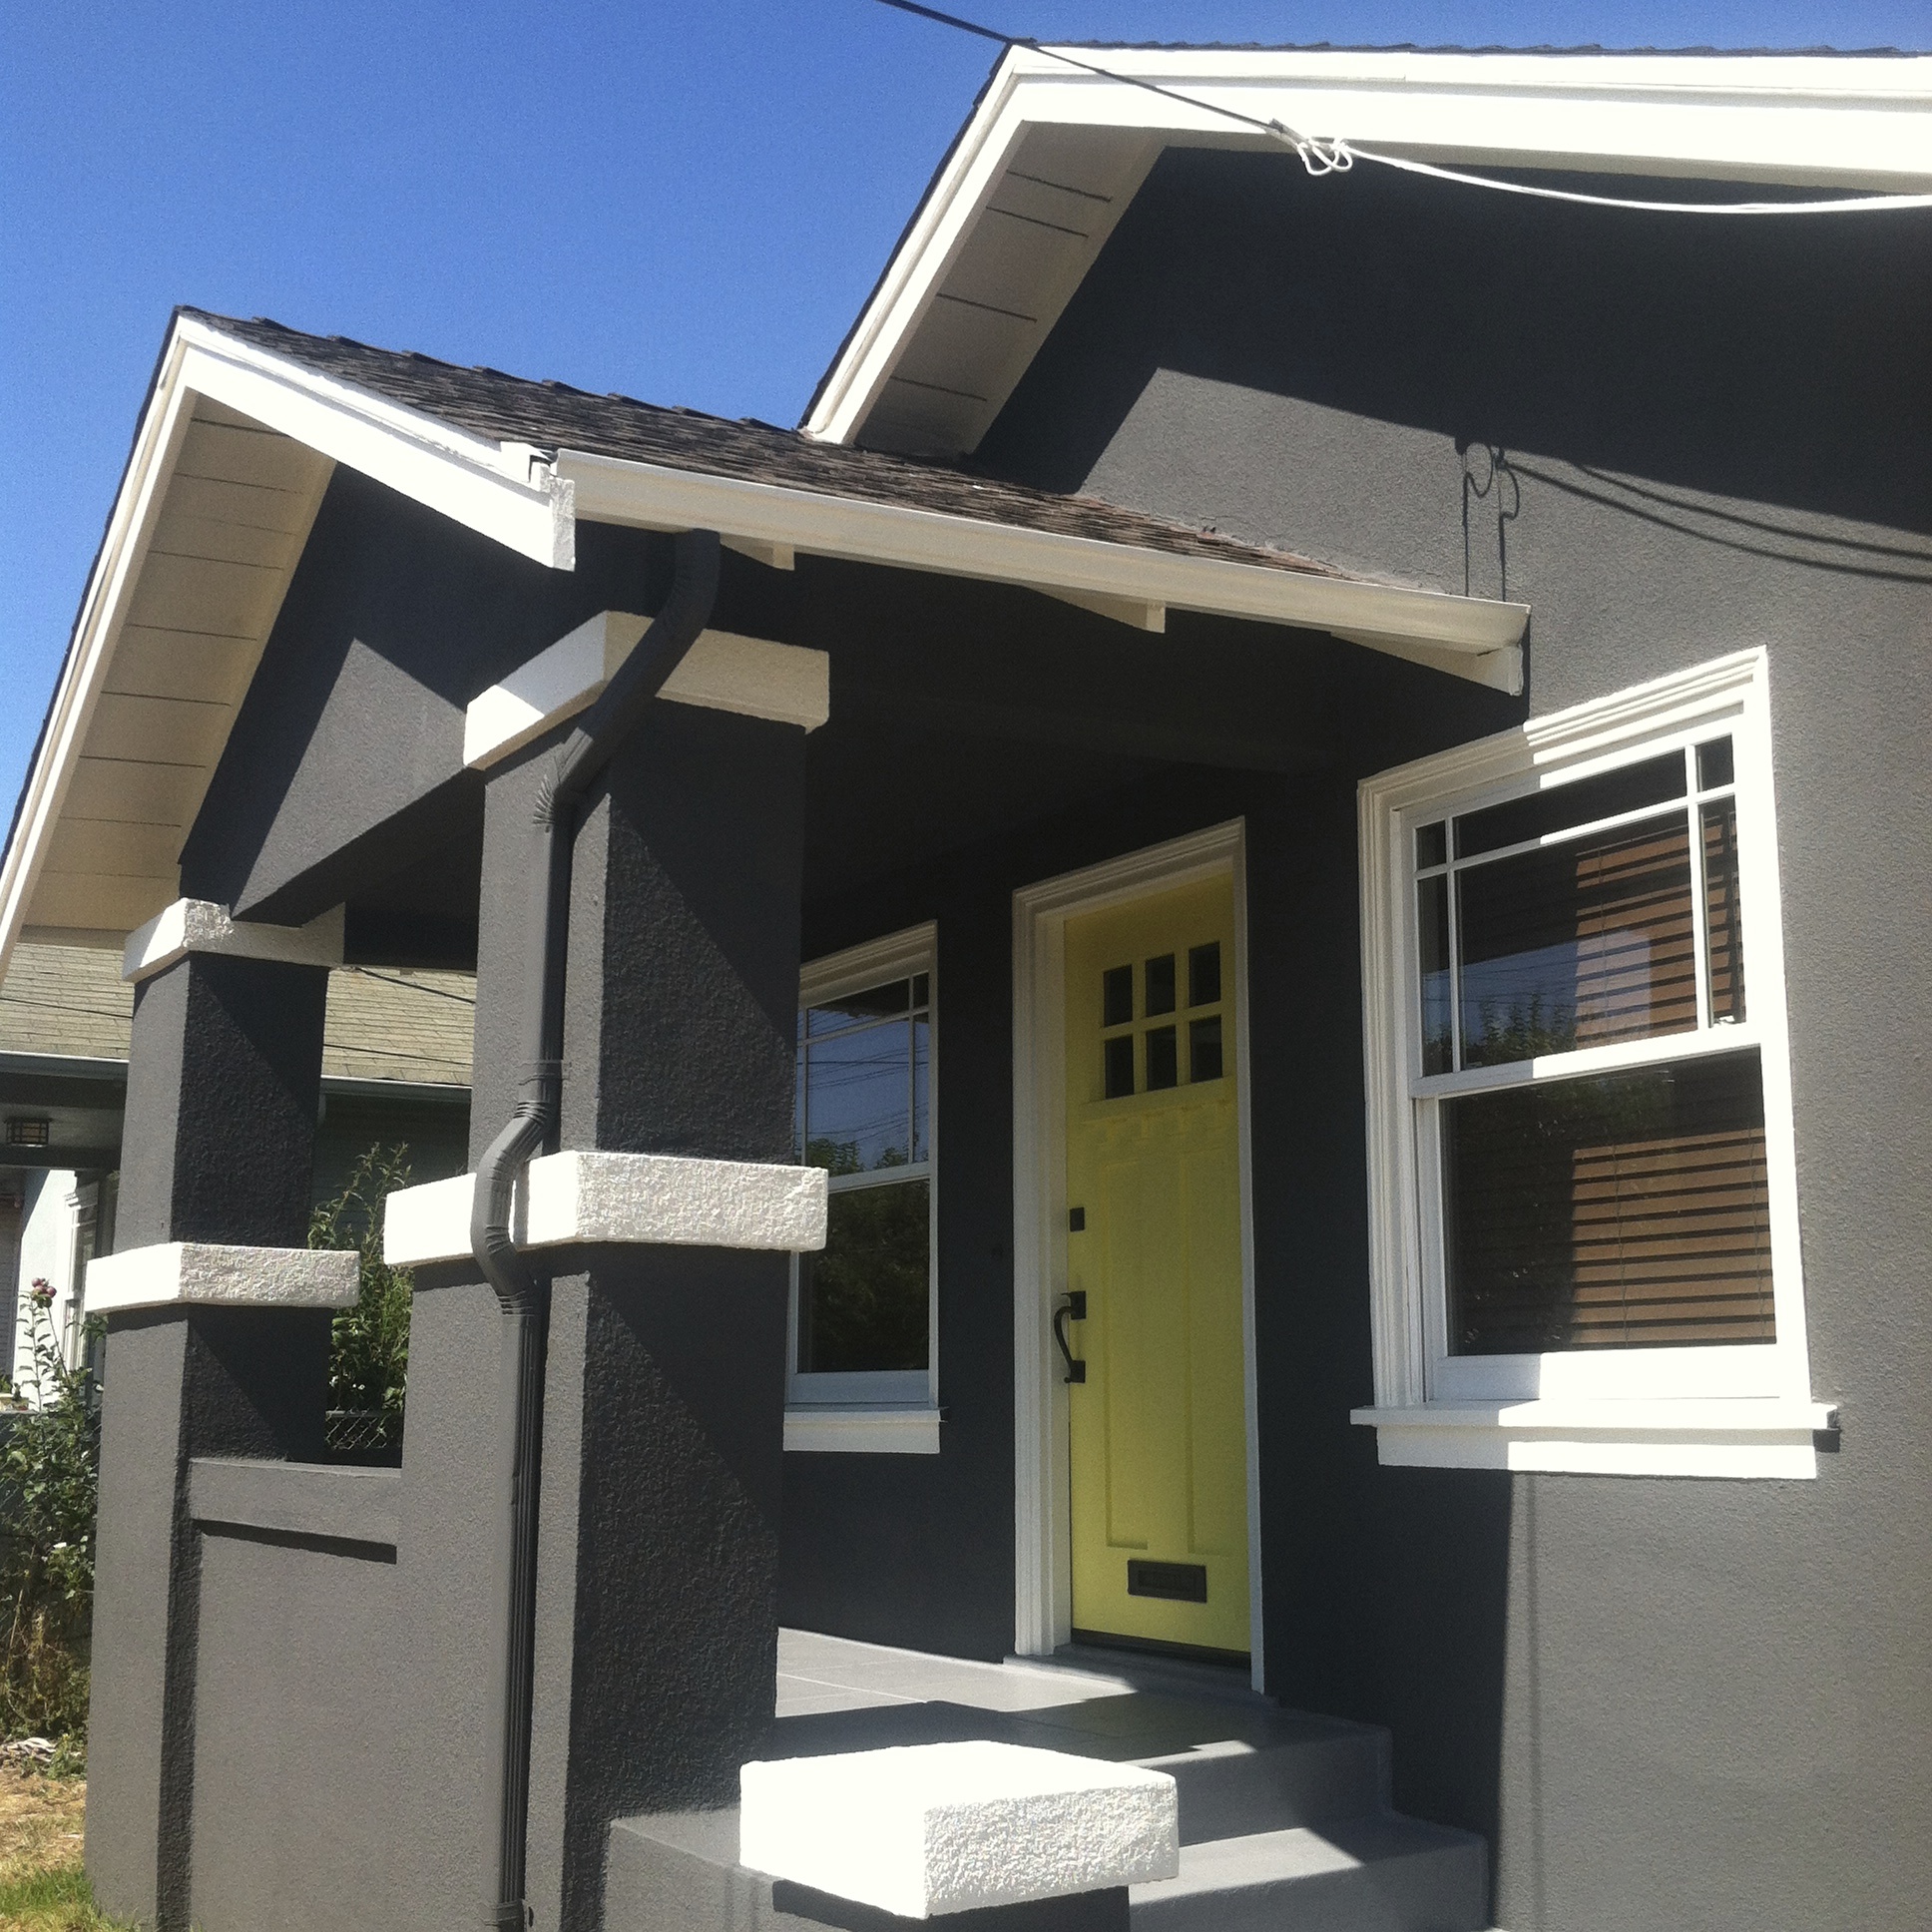
Body: Iron Mountain
Frames: White Dove
Door: Yellow Finch
Before…

And after…
After: Green Plum Design
Body: Saybrook Sage
Frames: White Dove
Windows: Millstone Gray
Doors: Stonecutter
Steps: Millstone Gray
Before…

Before: Green Plum Design
And last after…
After: Green Plum Design
Body: Linen Sand
Frames/Windows: Mountain Peak White
Detail: Modern Masters Brass Metallic
Voila – three weeks later – your home has had the full spa treatment and should look gleaming, sharp and clothed in immaculatey suitable colors.
Will be back soon with more transformations.
Ros
Fantastico, Ros! Beautiful work and so nice to see you back on blog!
Thanks Pam – they are few and far between so I try and pack in a lot of work!
SO pleased you’re back Ros – I’ve missed your bloggs.
love your colour schemes…..!
sim
Gorgeous work, Ros! Well done and congratulations! Becky in Ct.